The forgotten stitch

Sometimes what you won't do seems to be as important as what you intend to do.

I want to be seen as original. I'm not cut from the same cloth anyway. After the trial period, I want to publish subsequent installments behind a paywall. This is how I plan to cover my expenses to maintain this site.

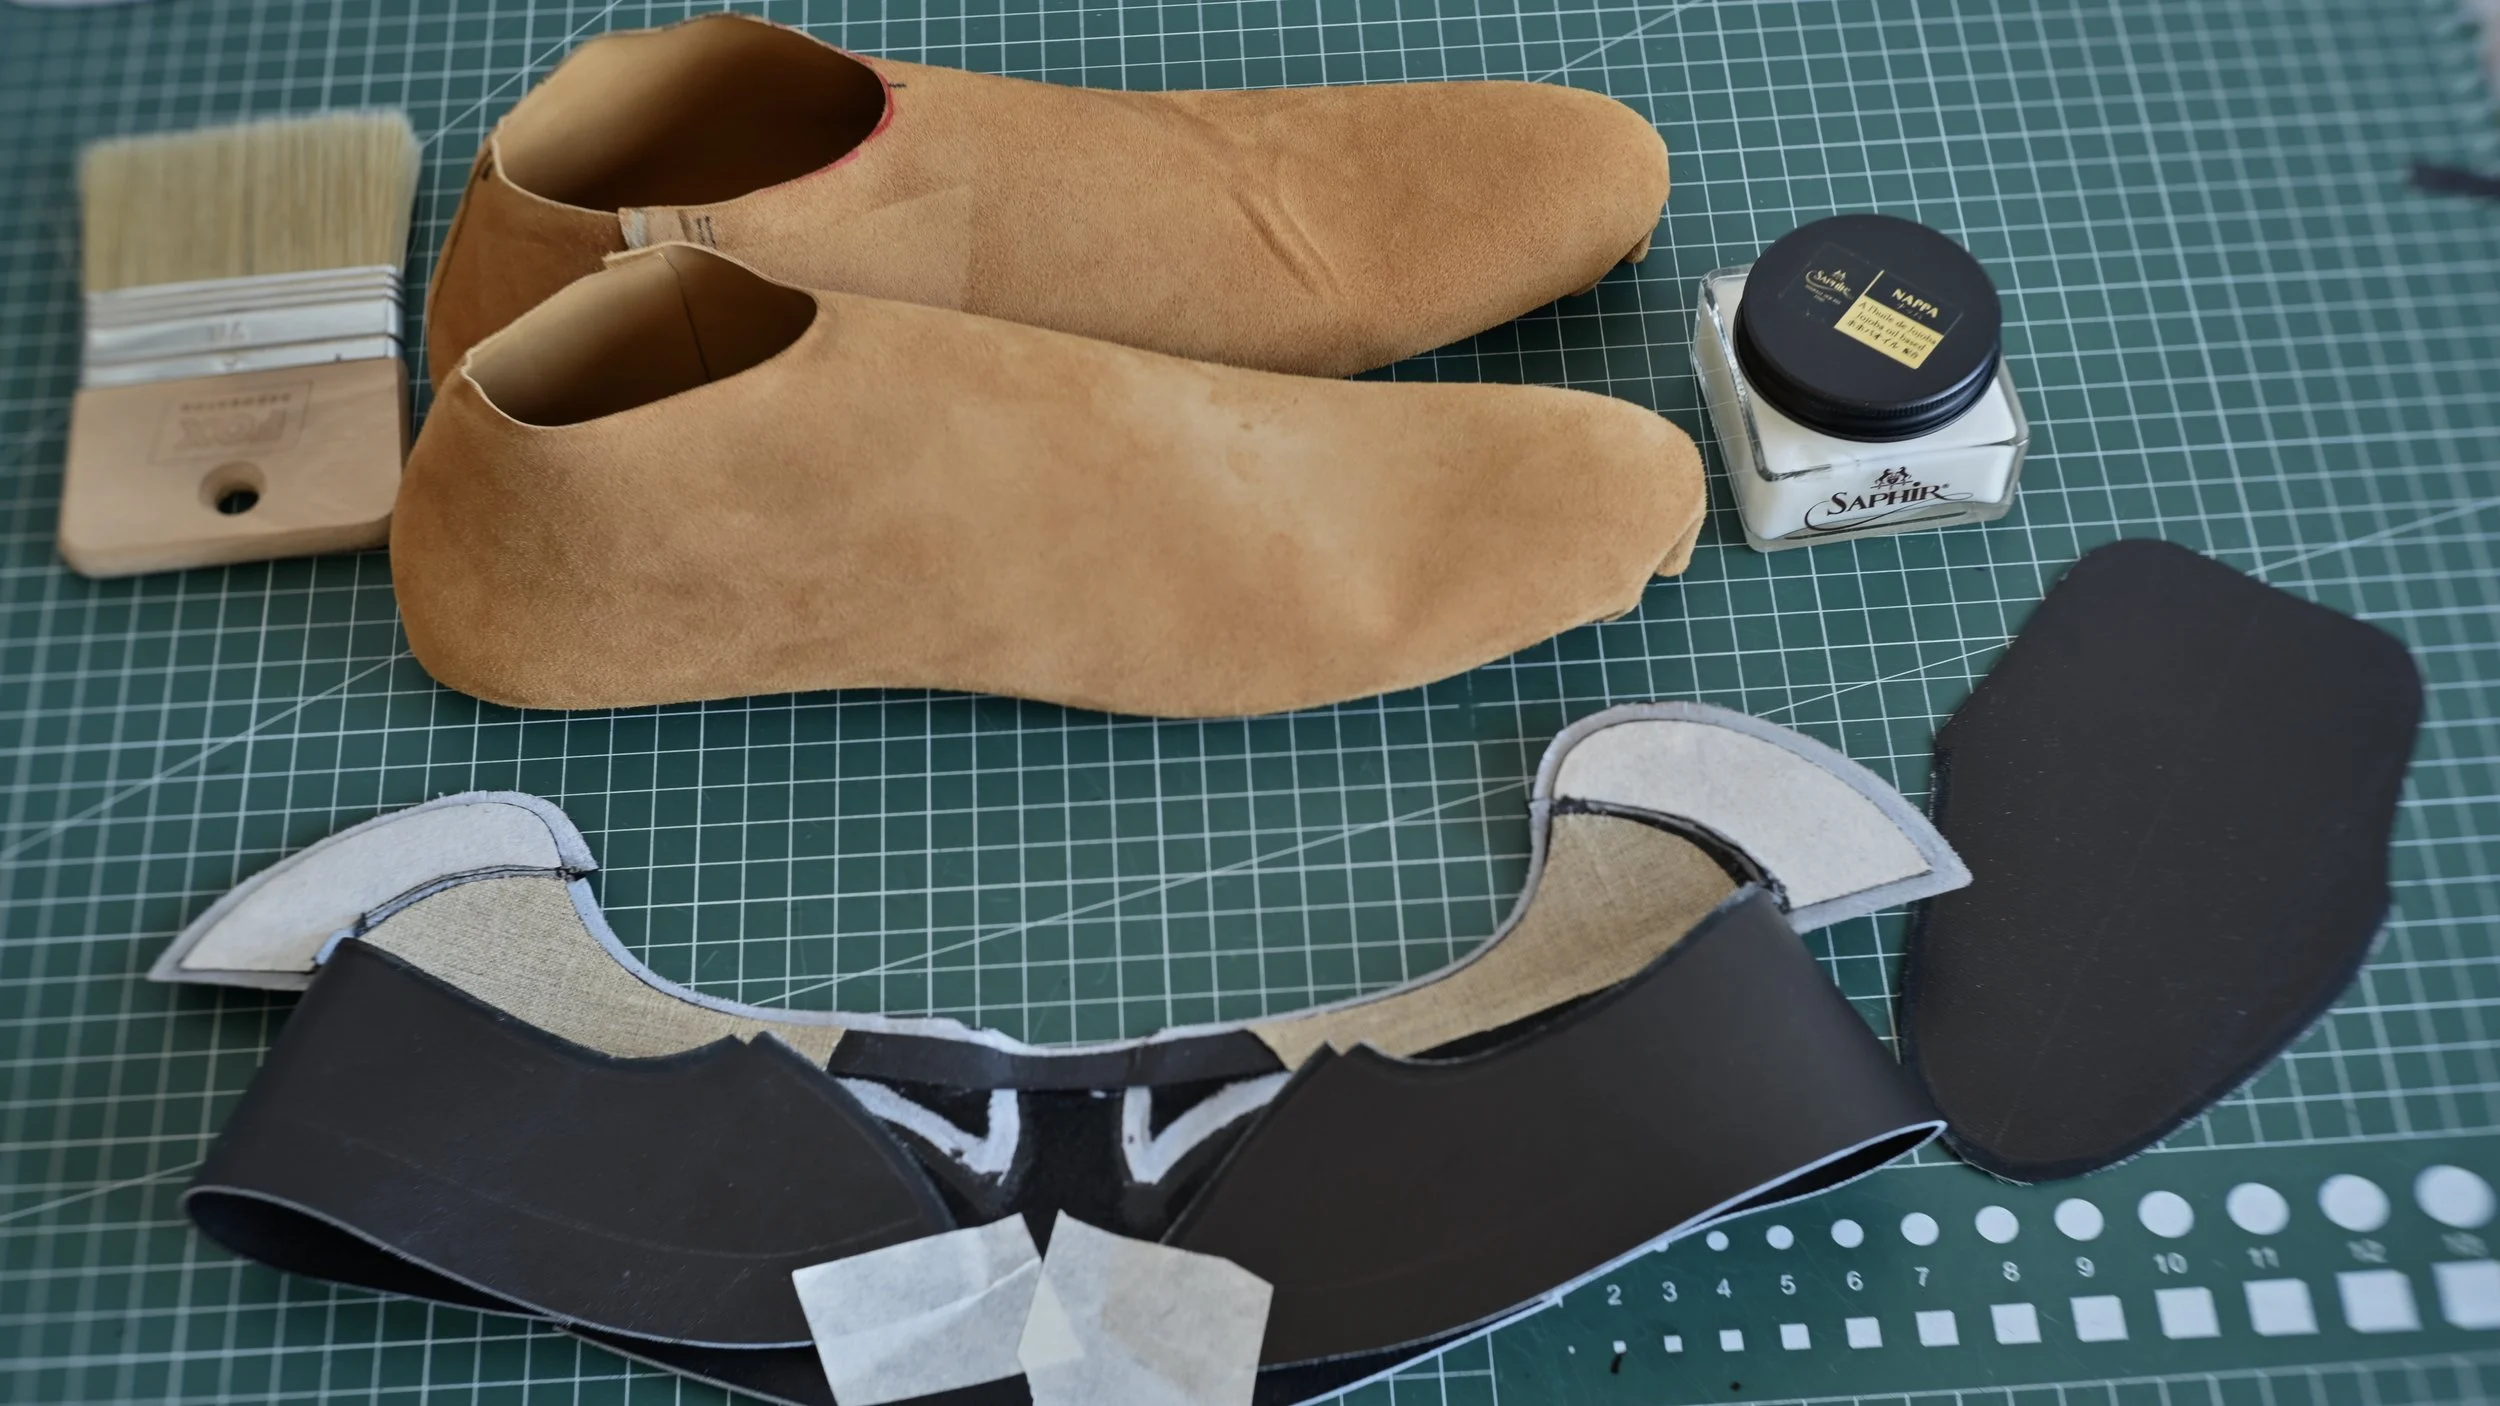
For now, I'm conducting research, comparing online courses and tutorials to see what I can bring to the table. At the same time, I already have an interesting idea for showcasing my favorite shoemaking tools from Starko, offering you tips and useful information, showing how I use them in my daily work. I'll be starting this series soon.

Time will tell what this little side project will become. I want something fun, yet useful. Playful, yet intelligent. Cool, but in a new, original way.

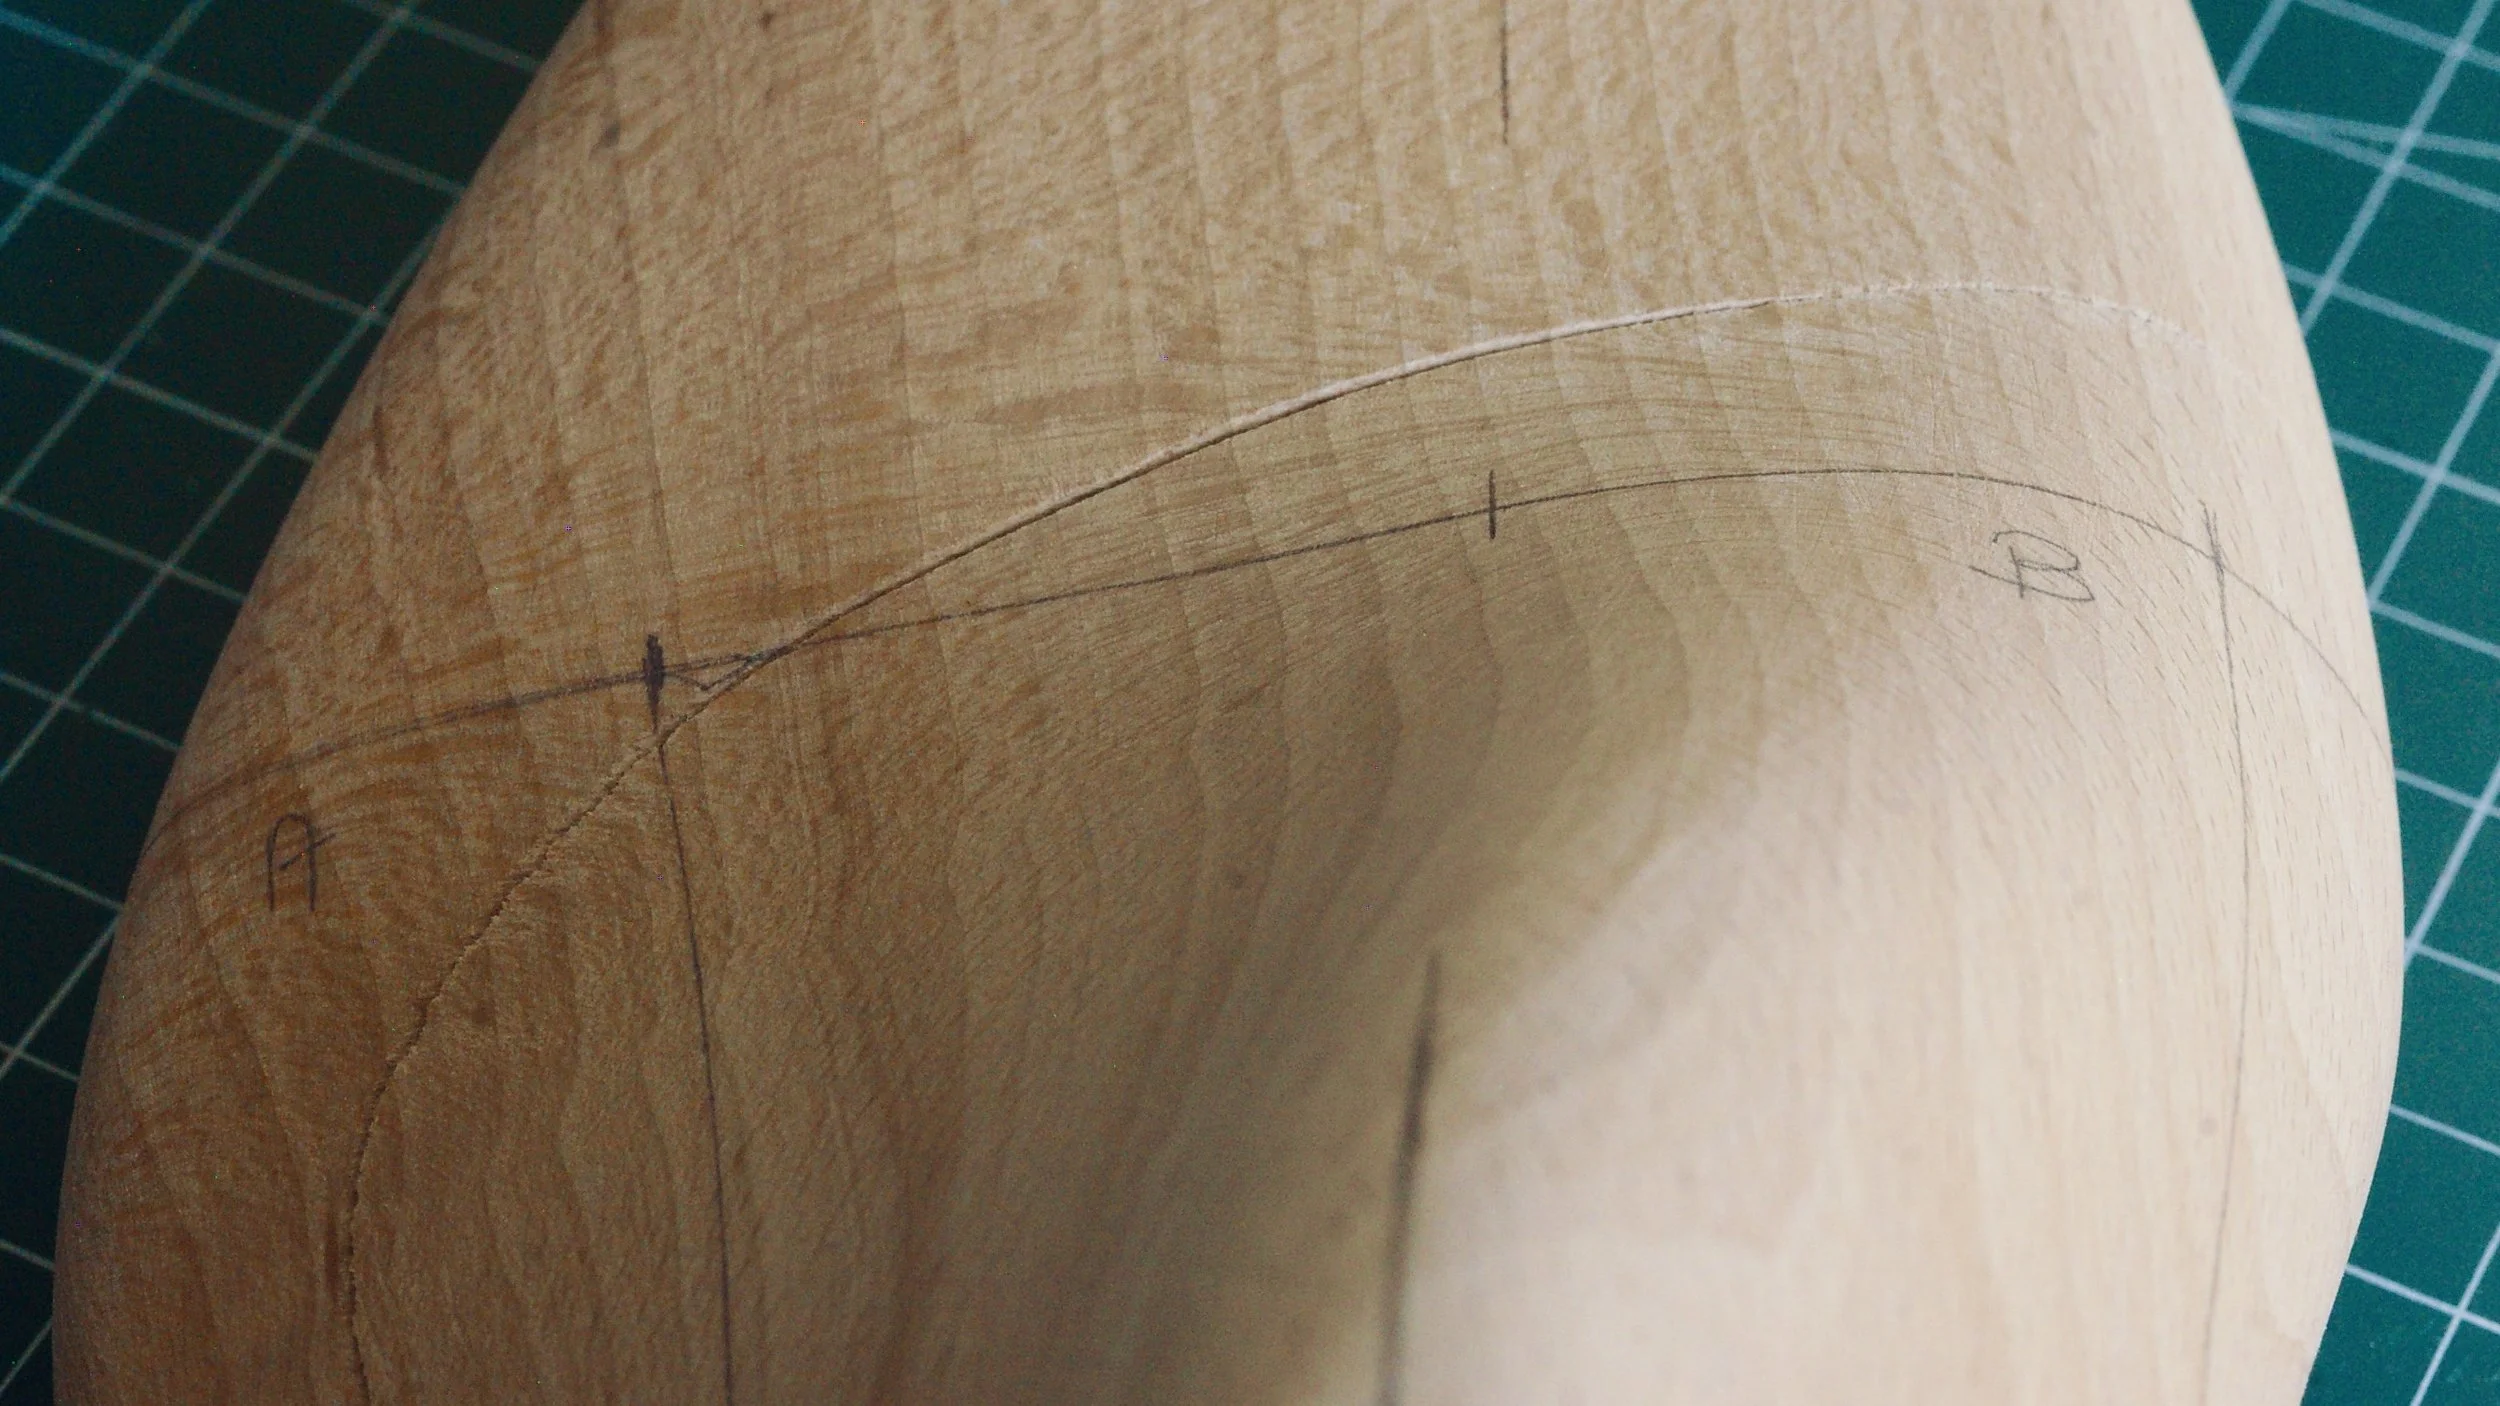
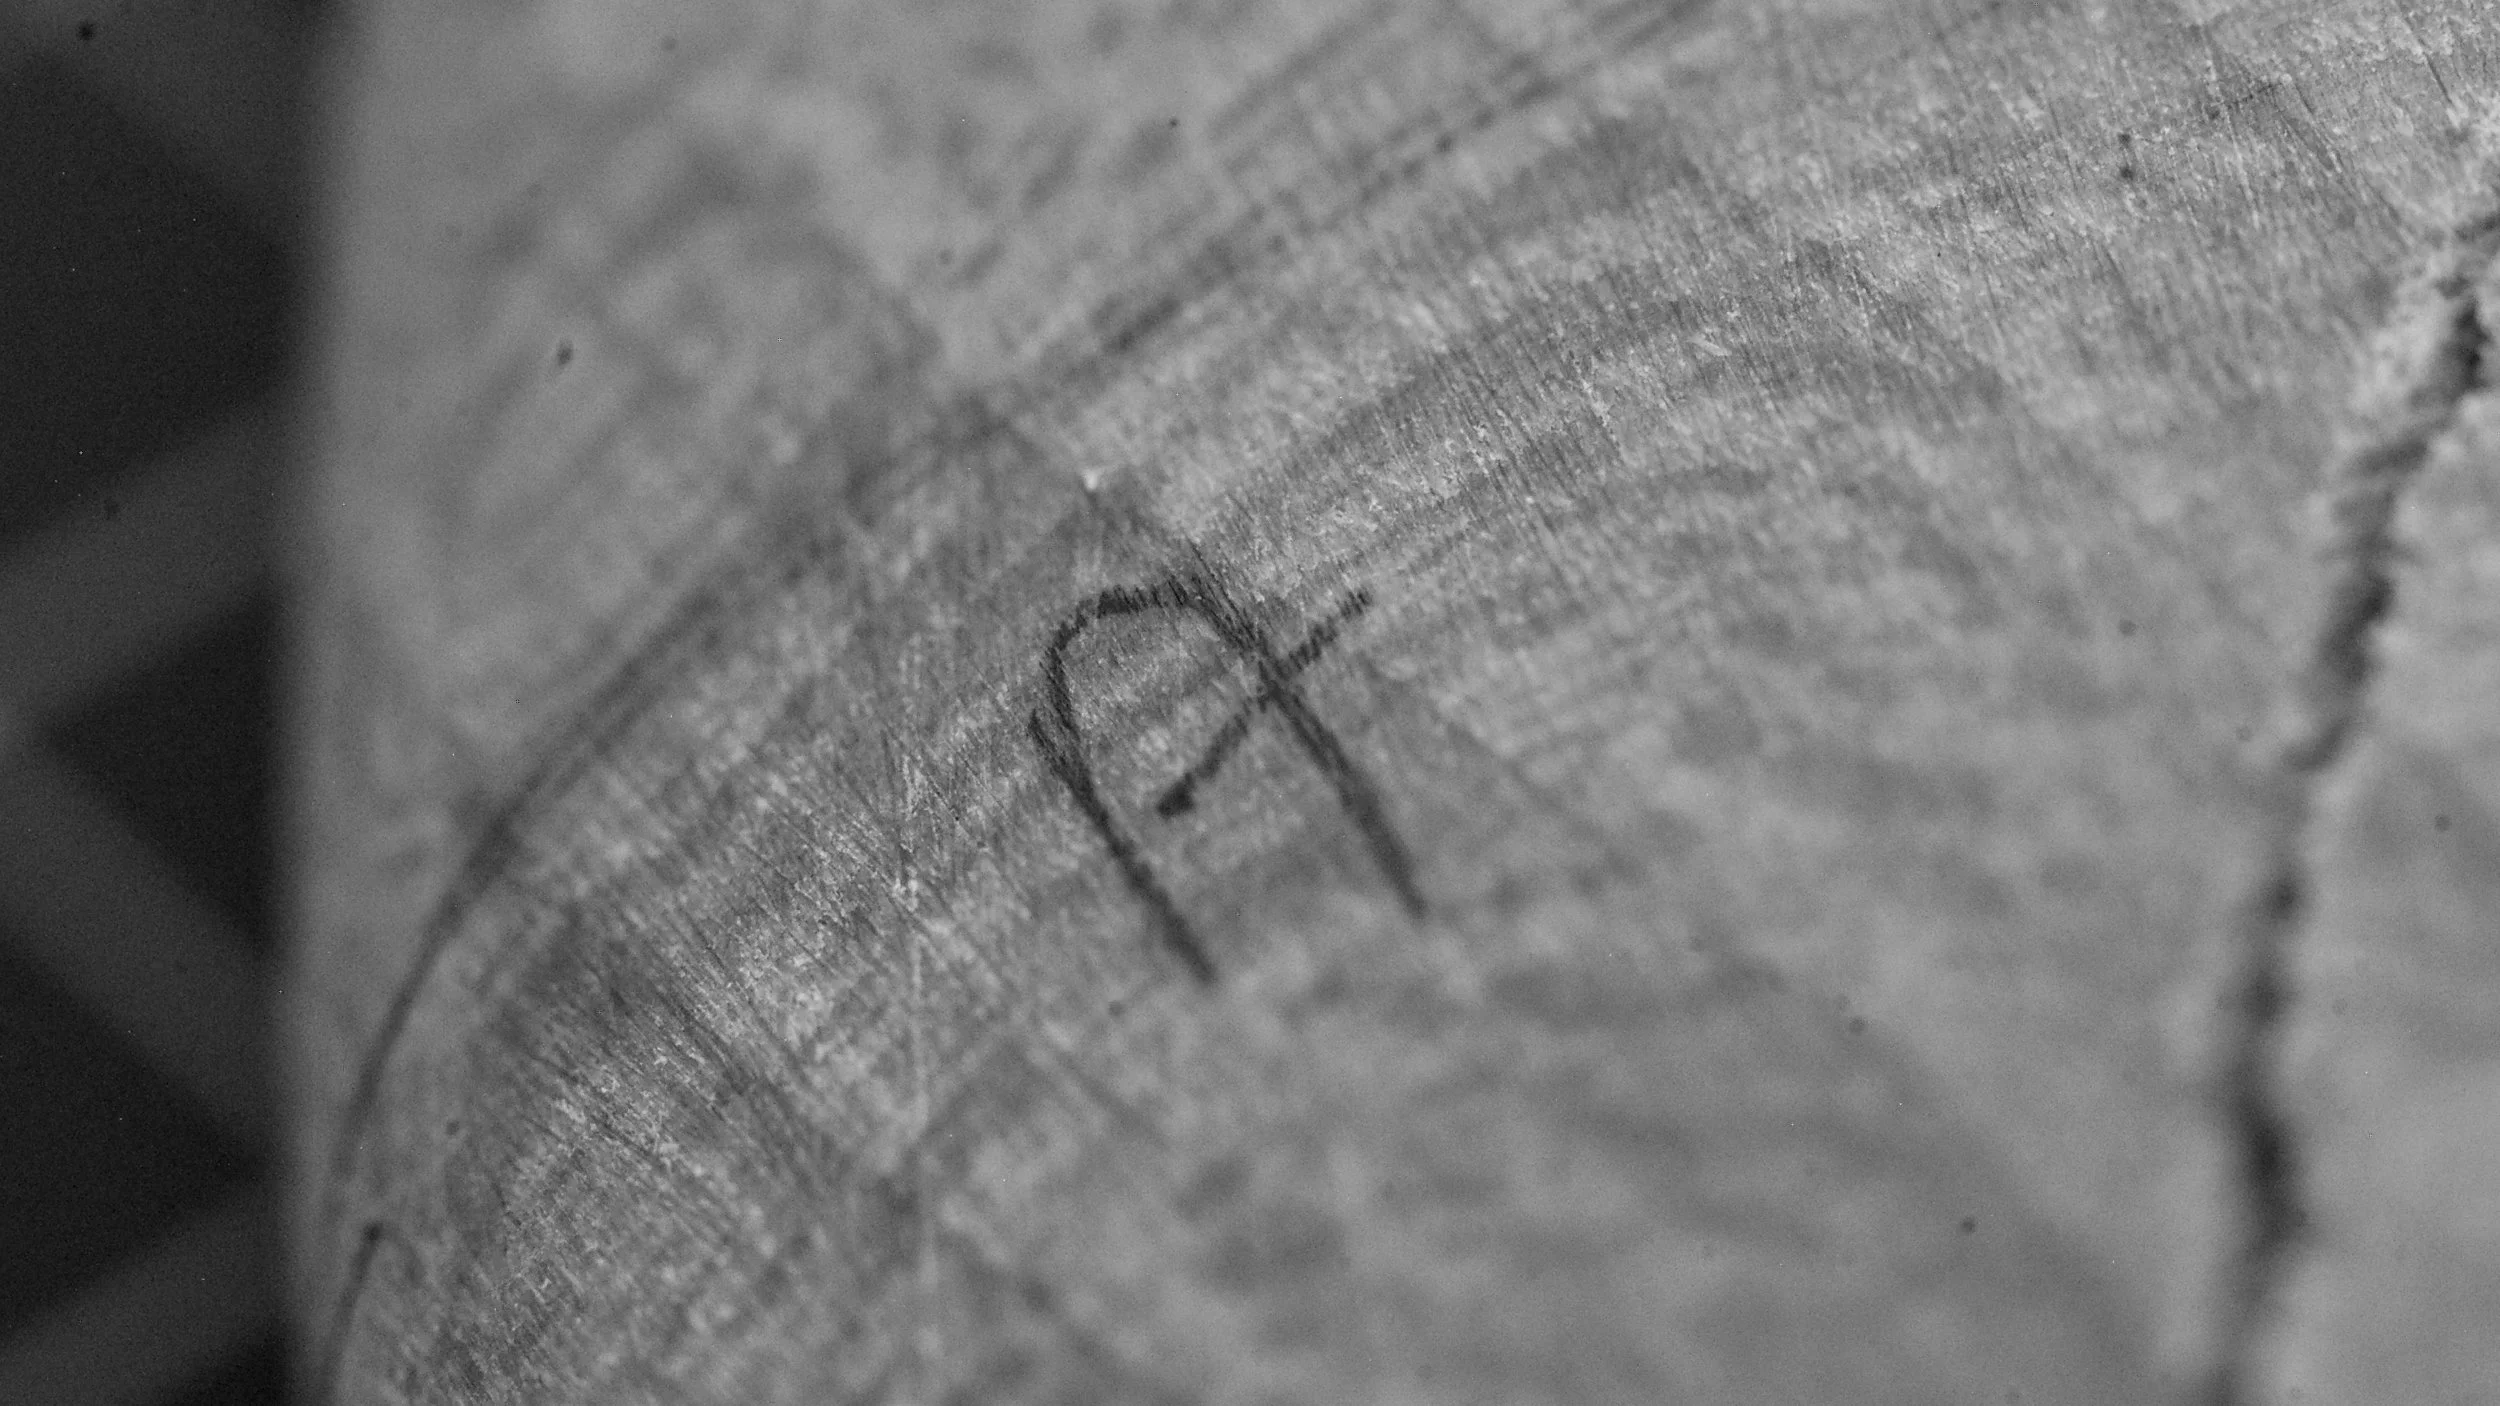
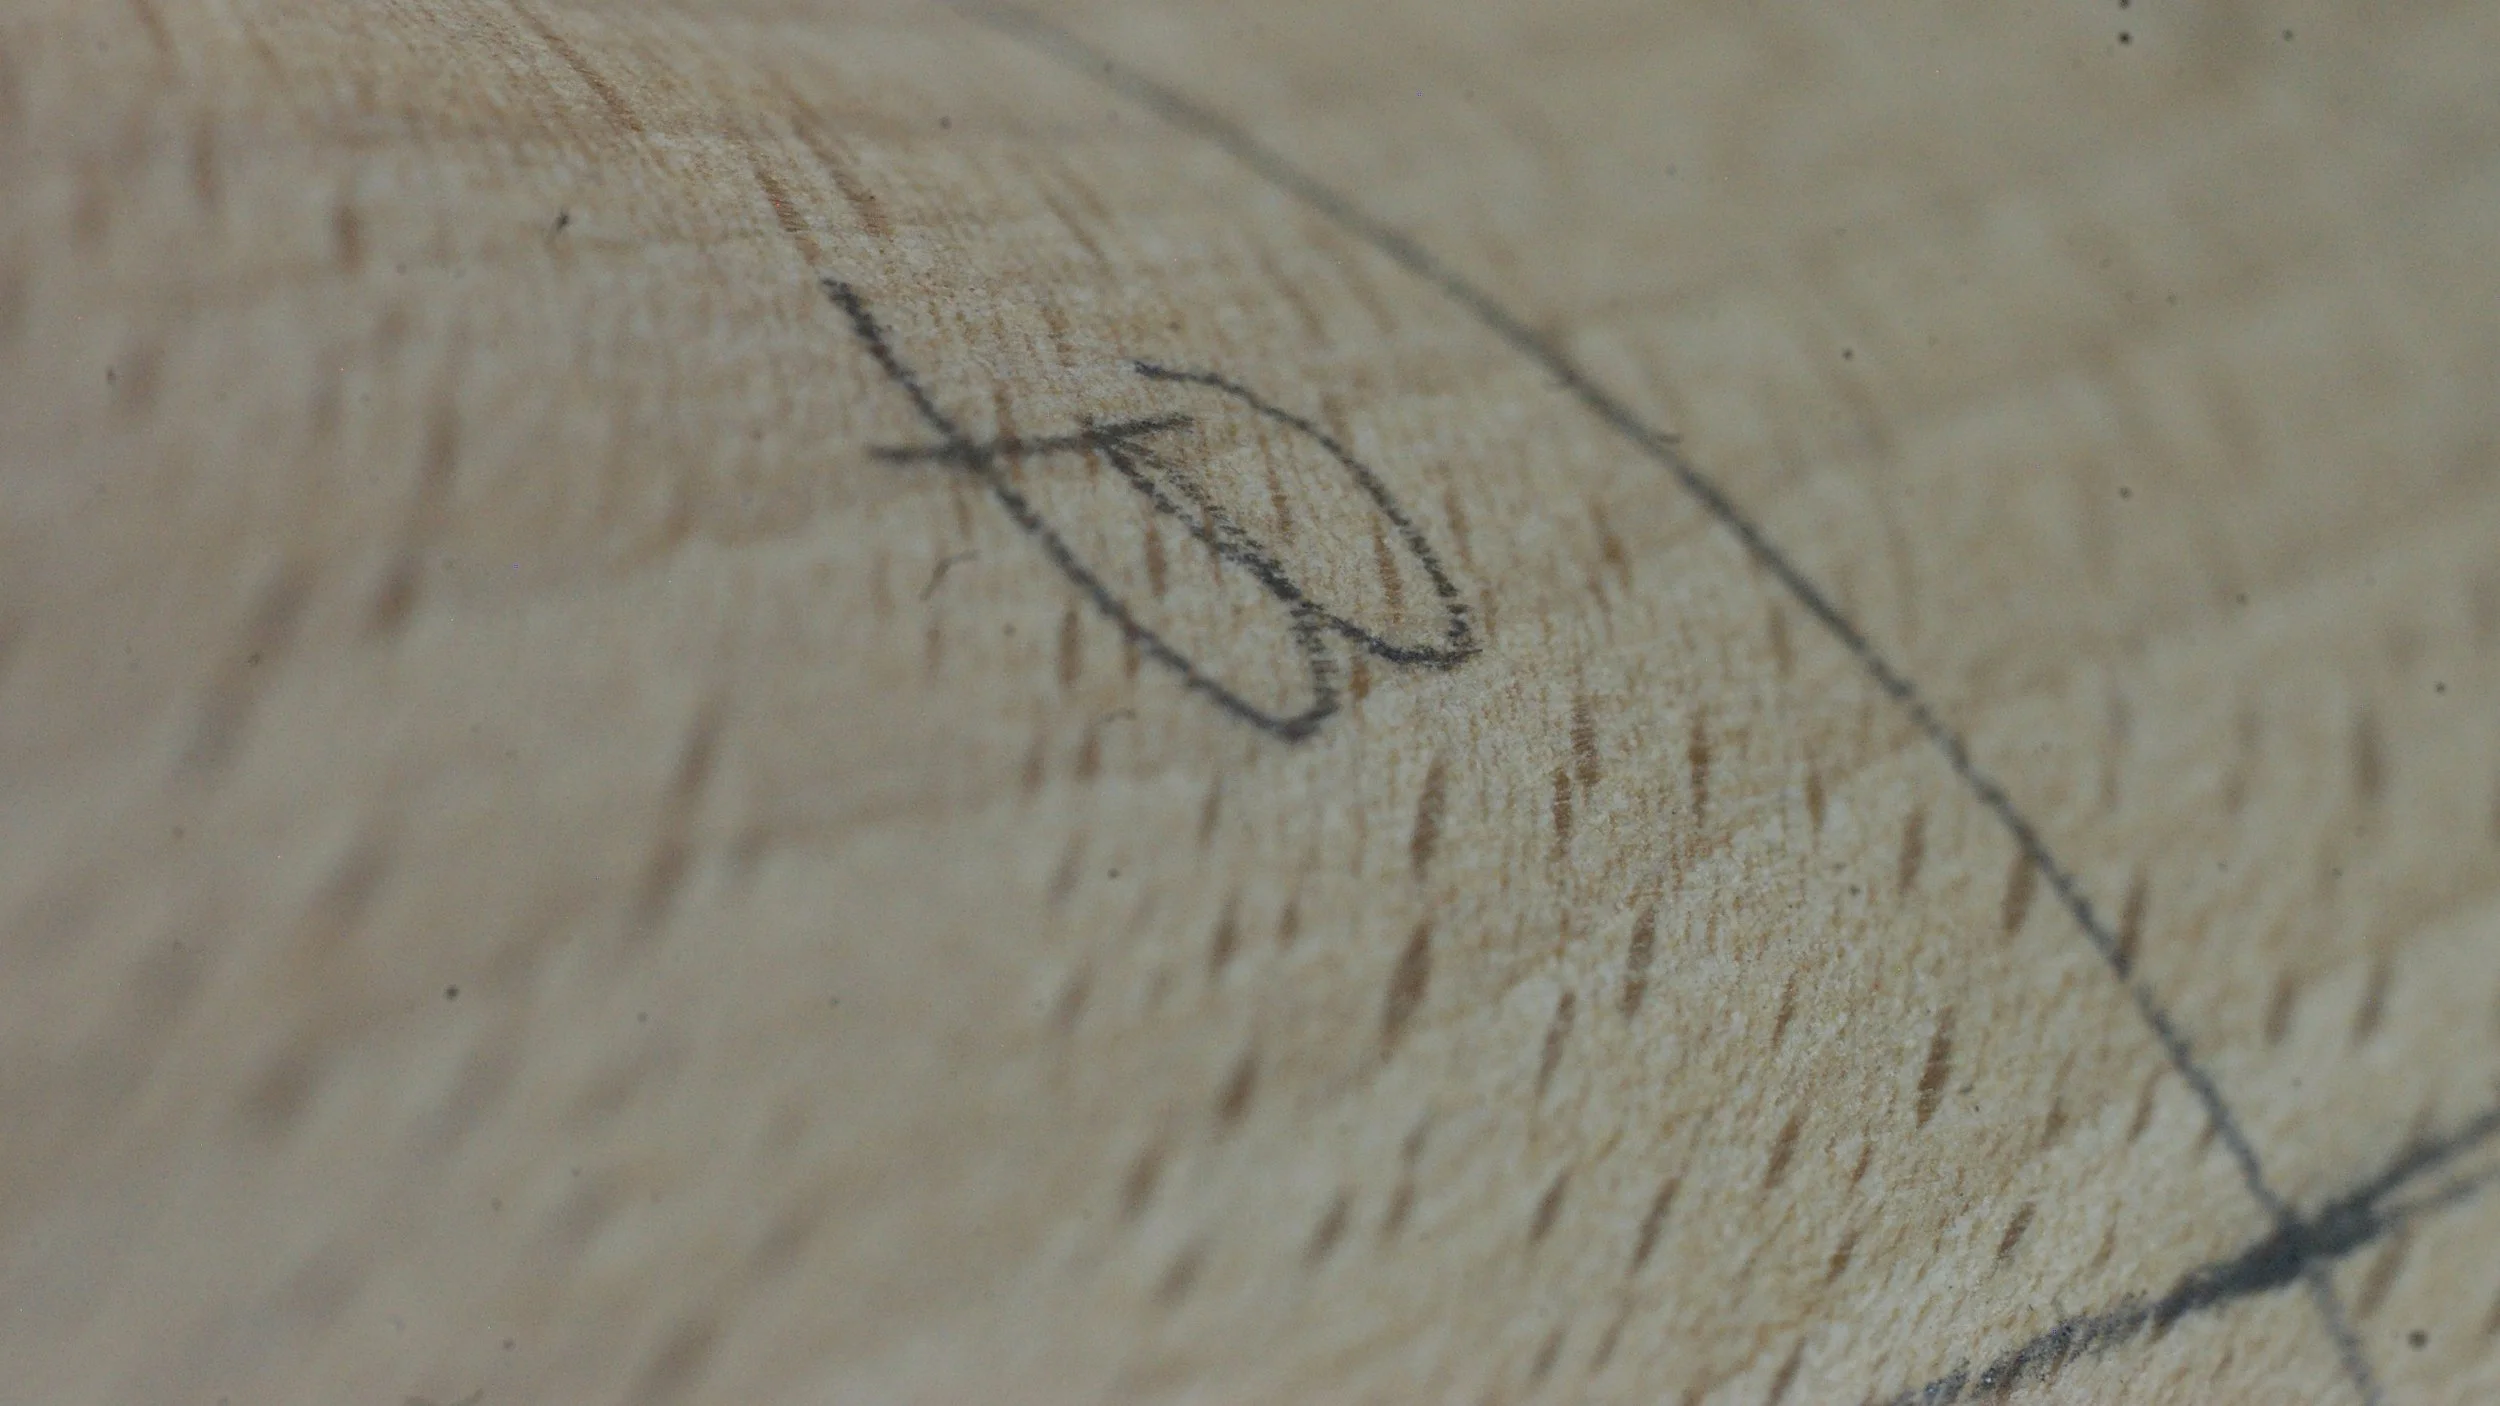
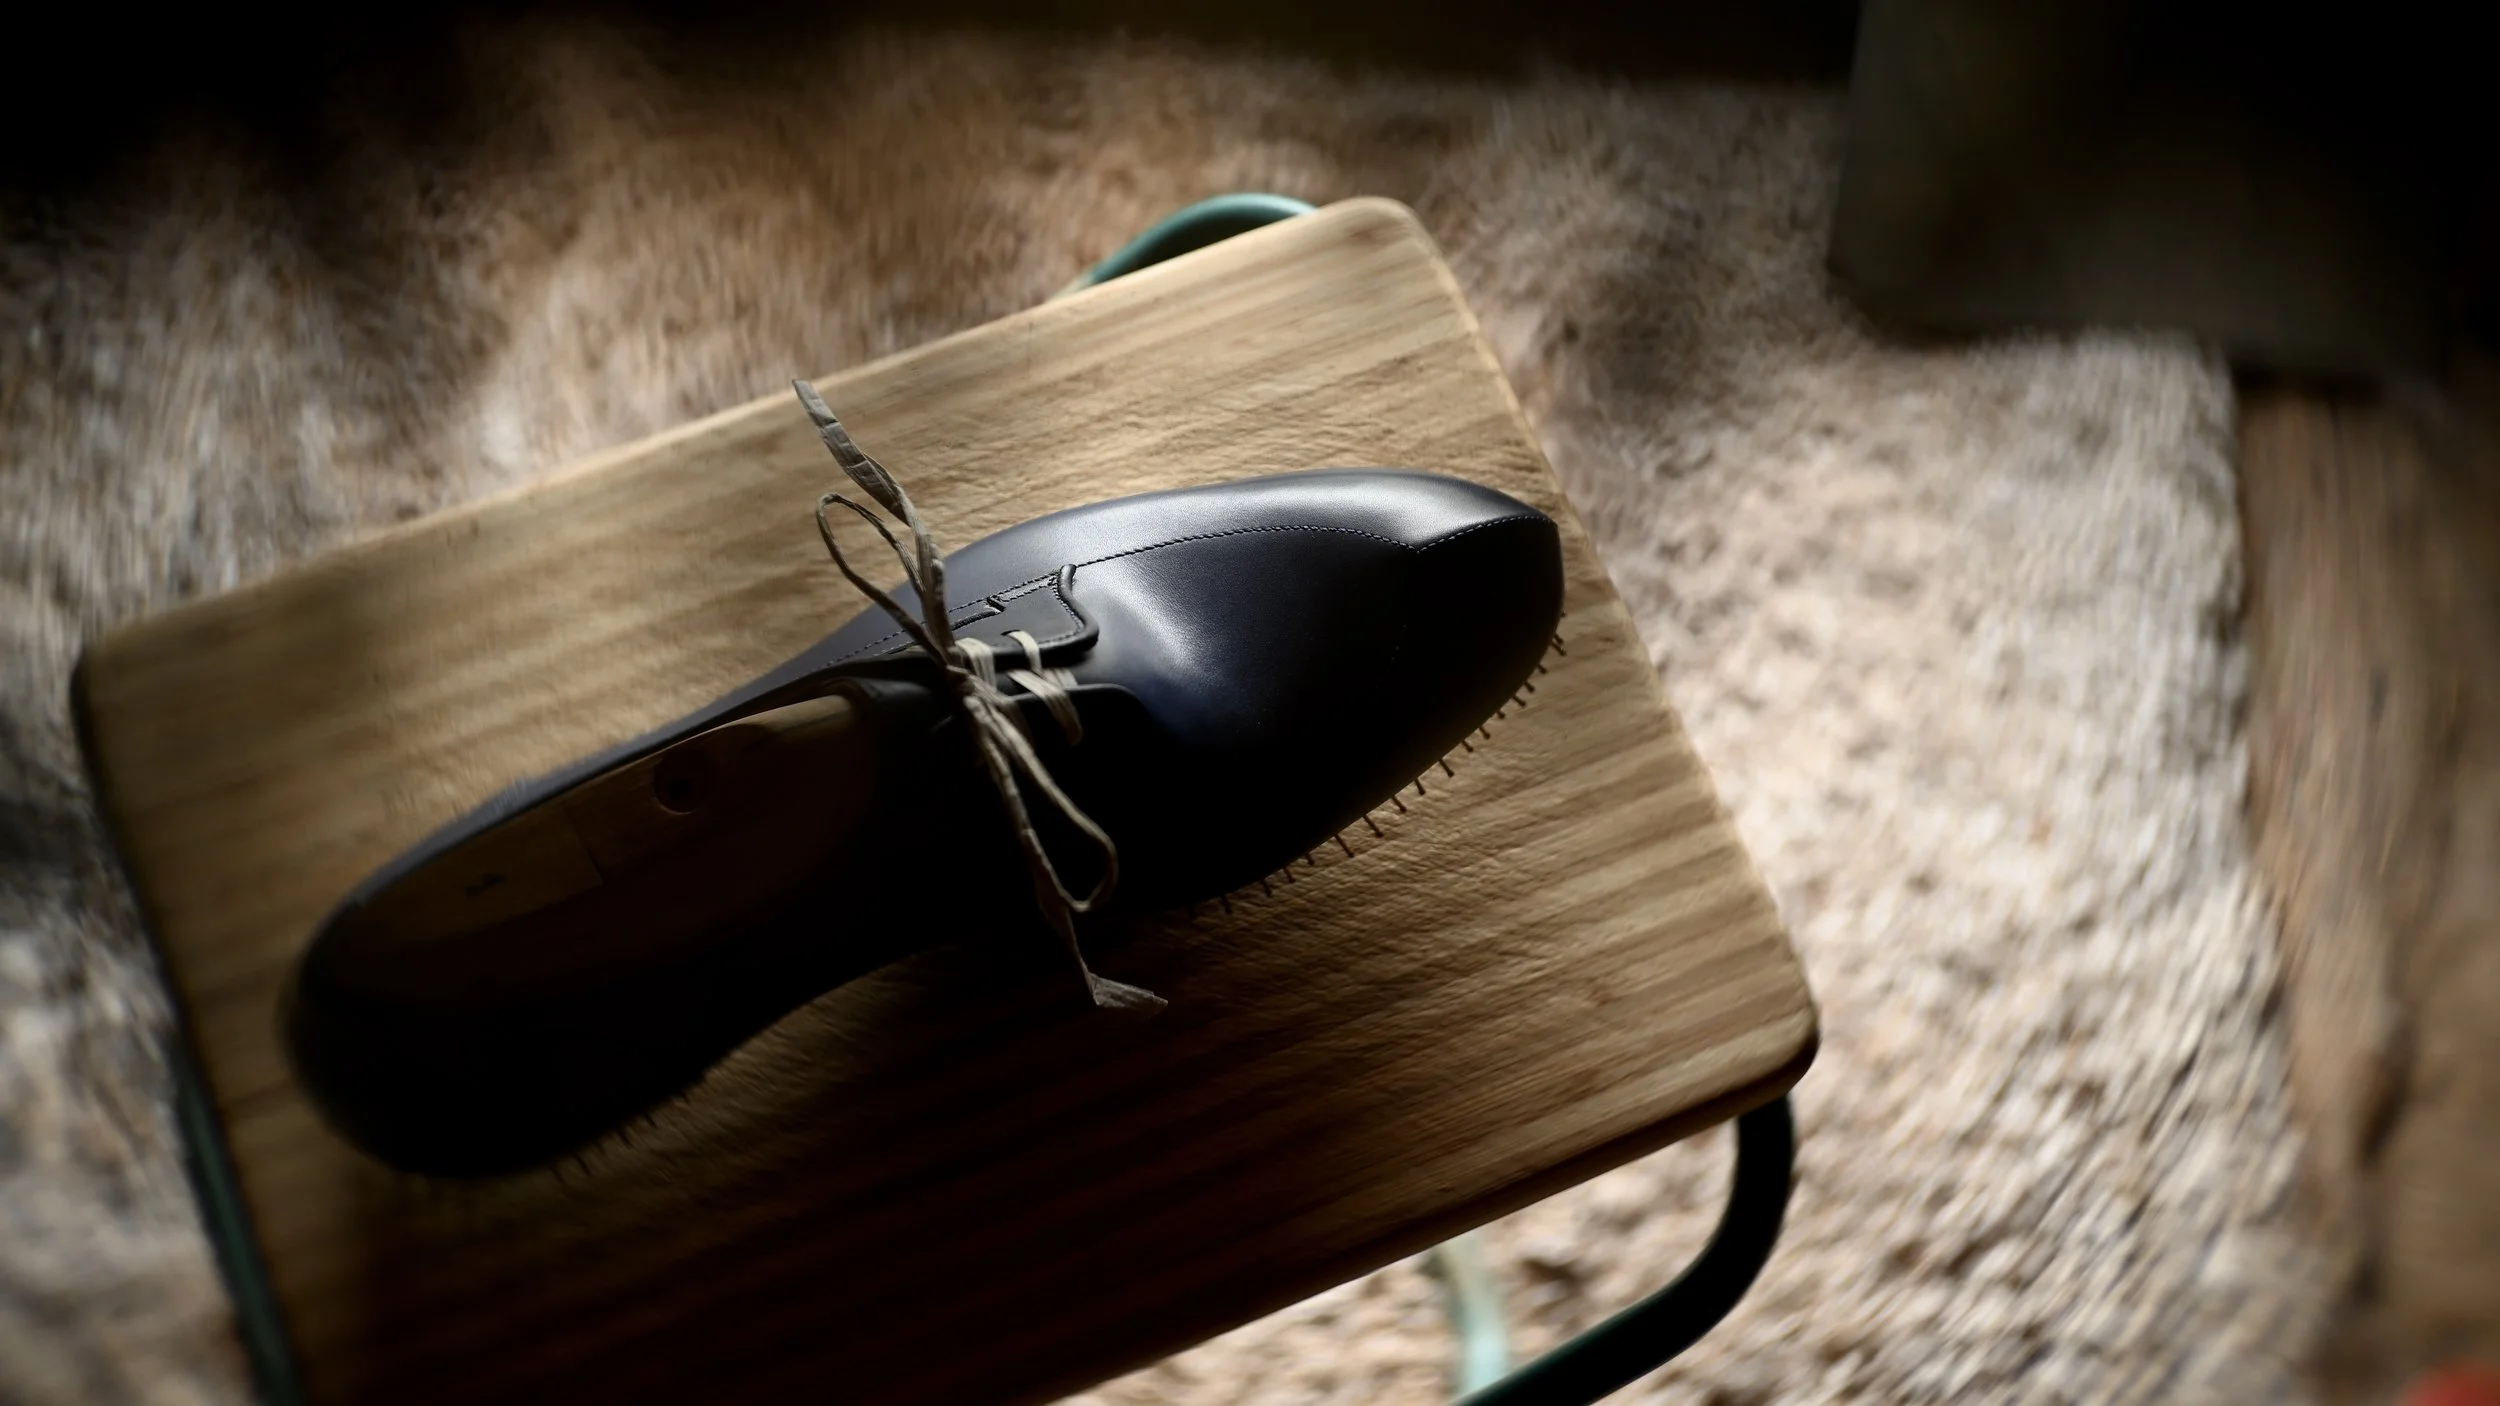
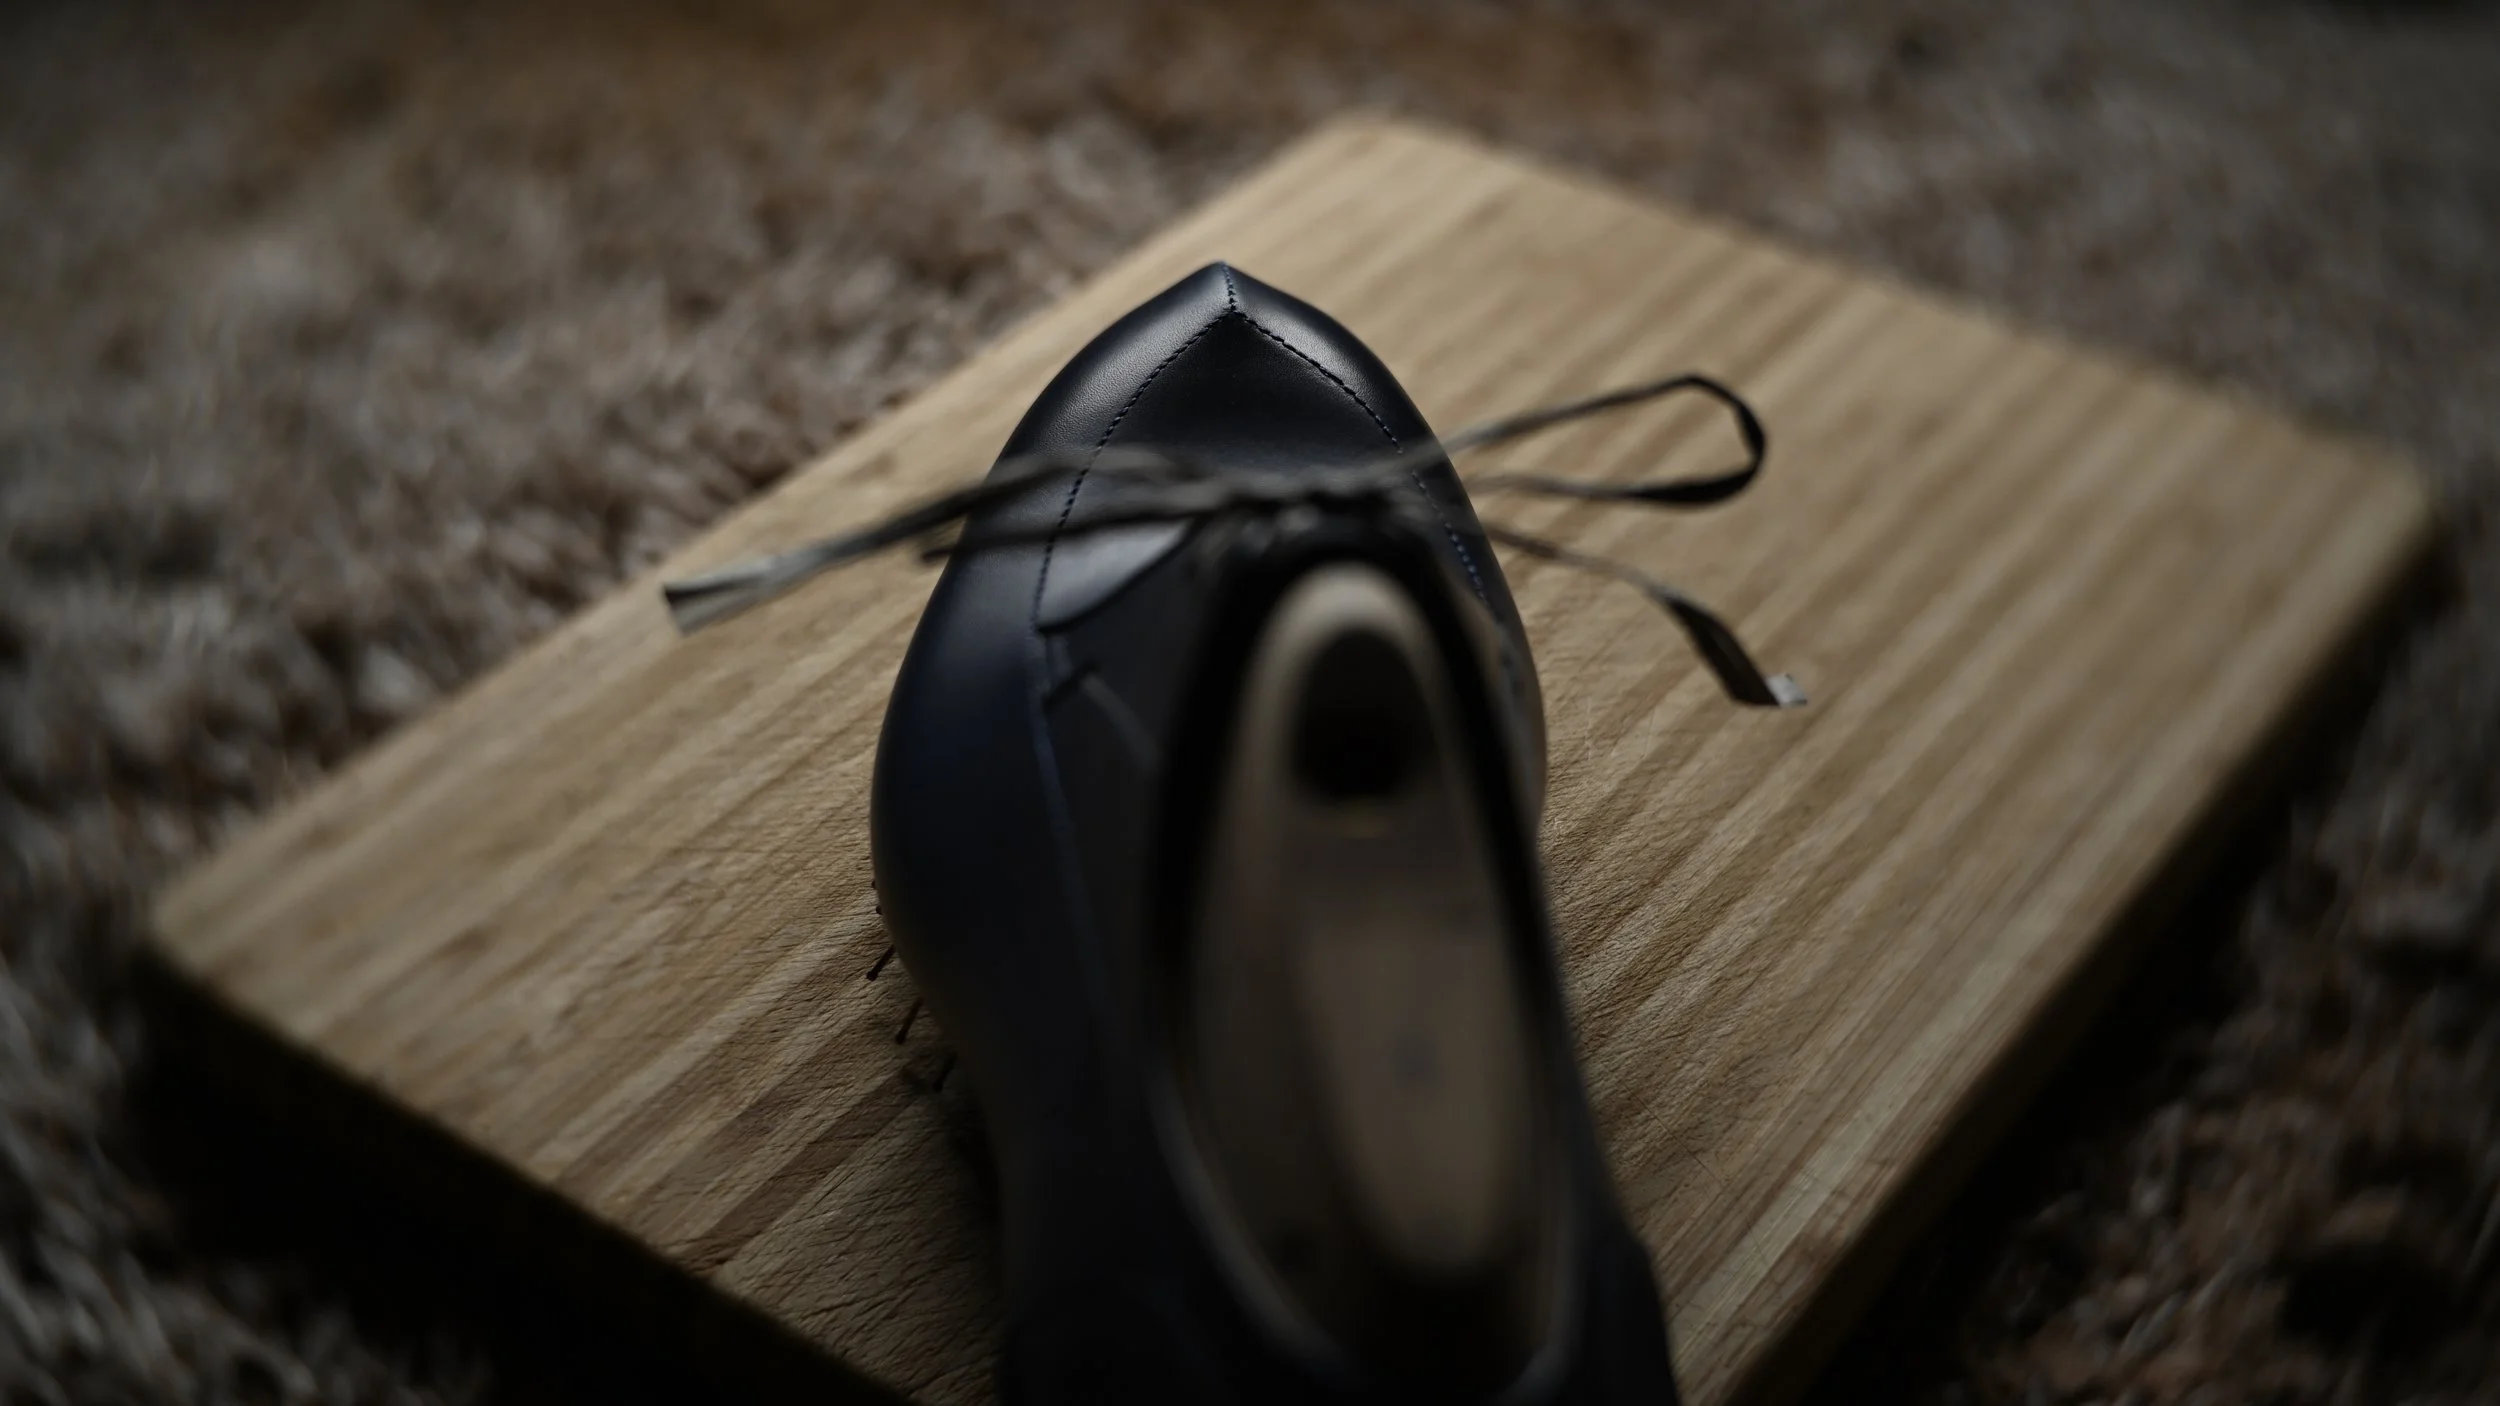
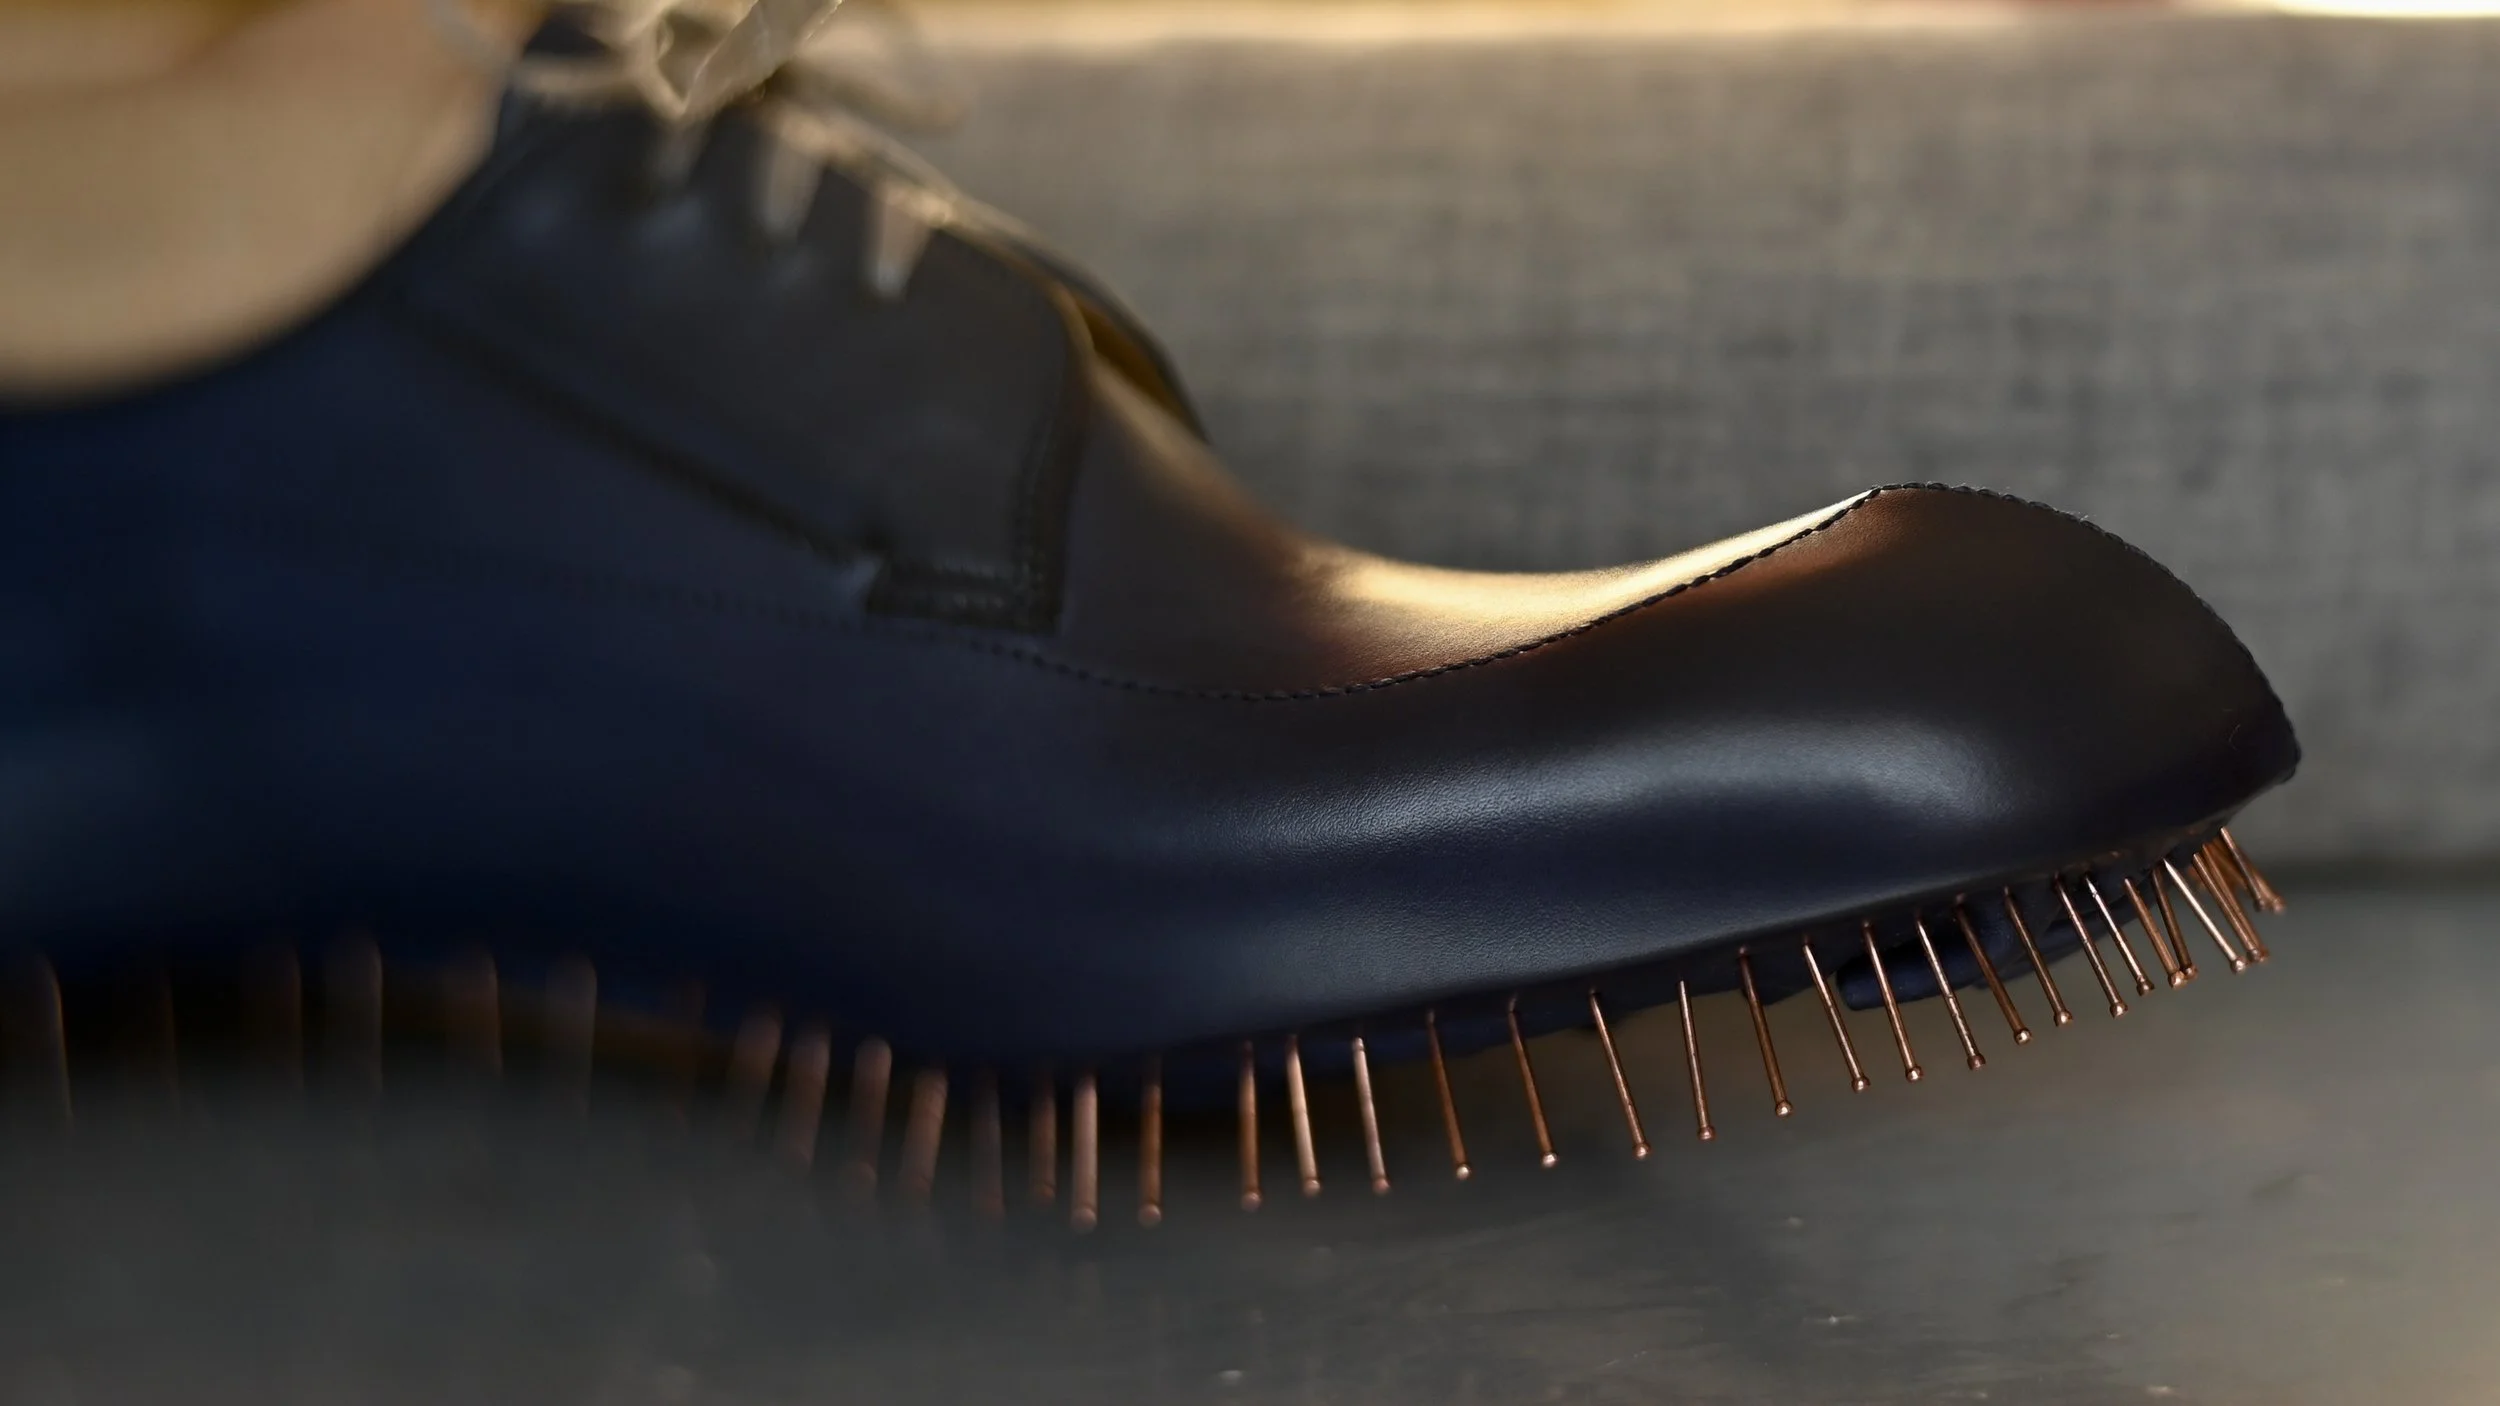
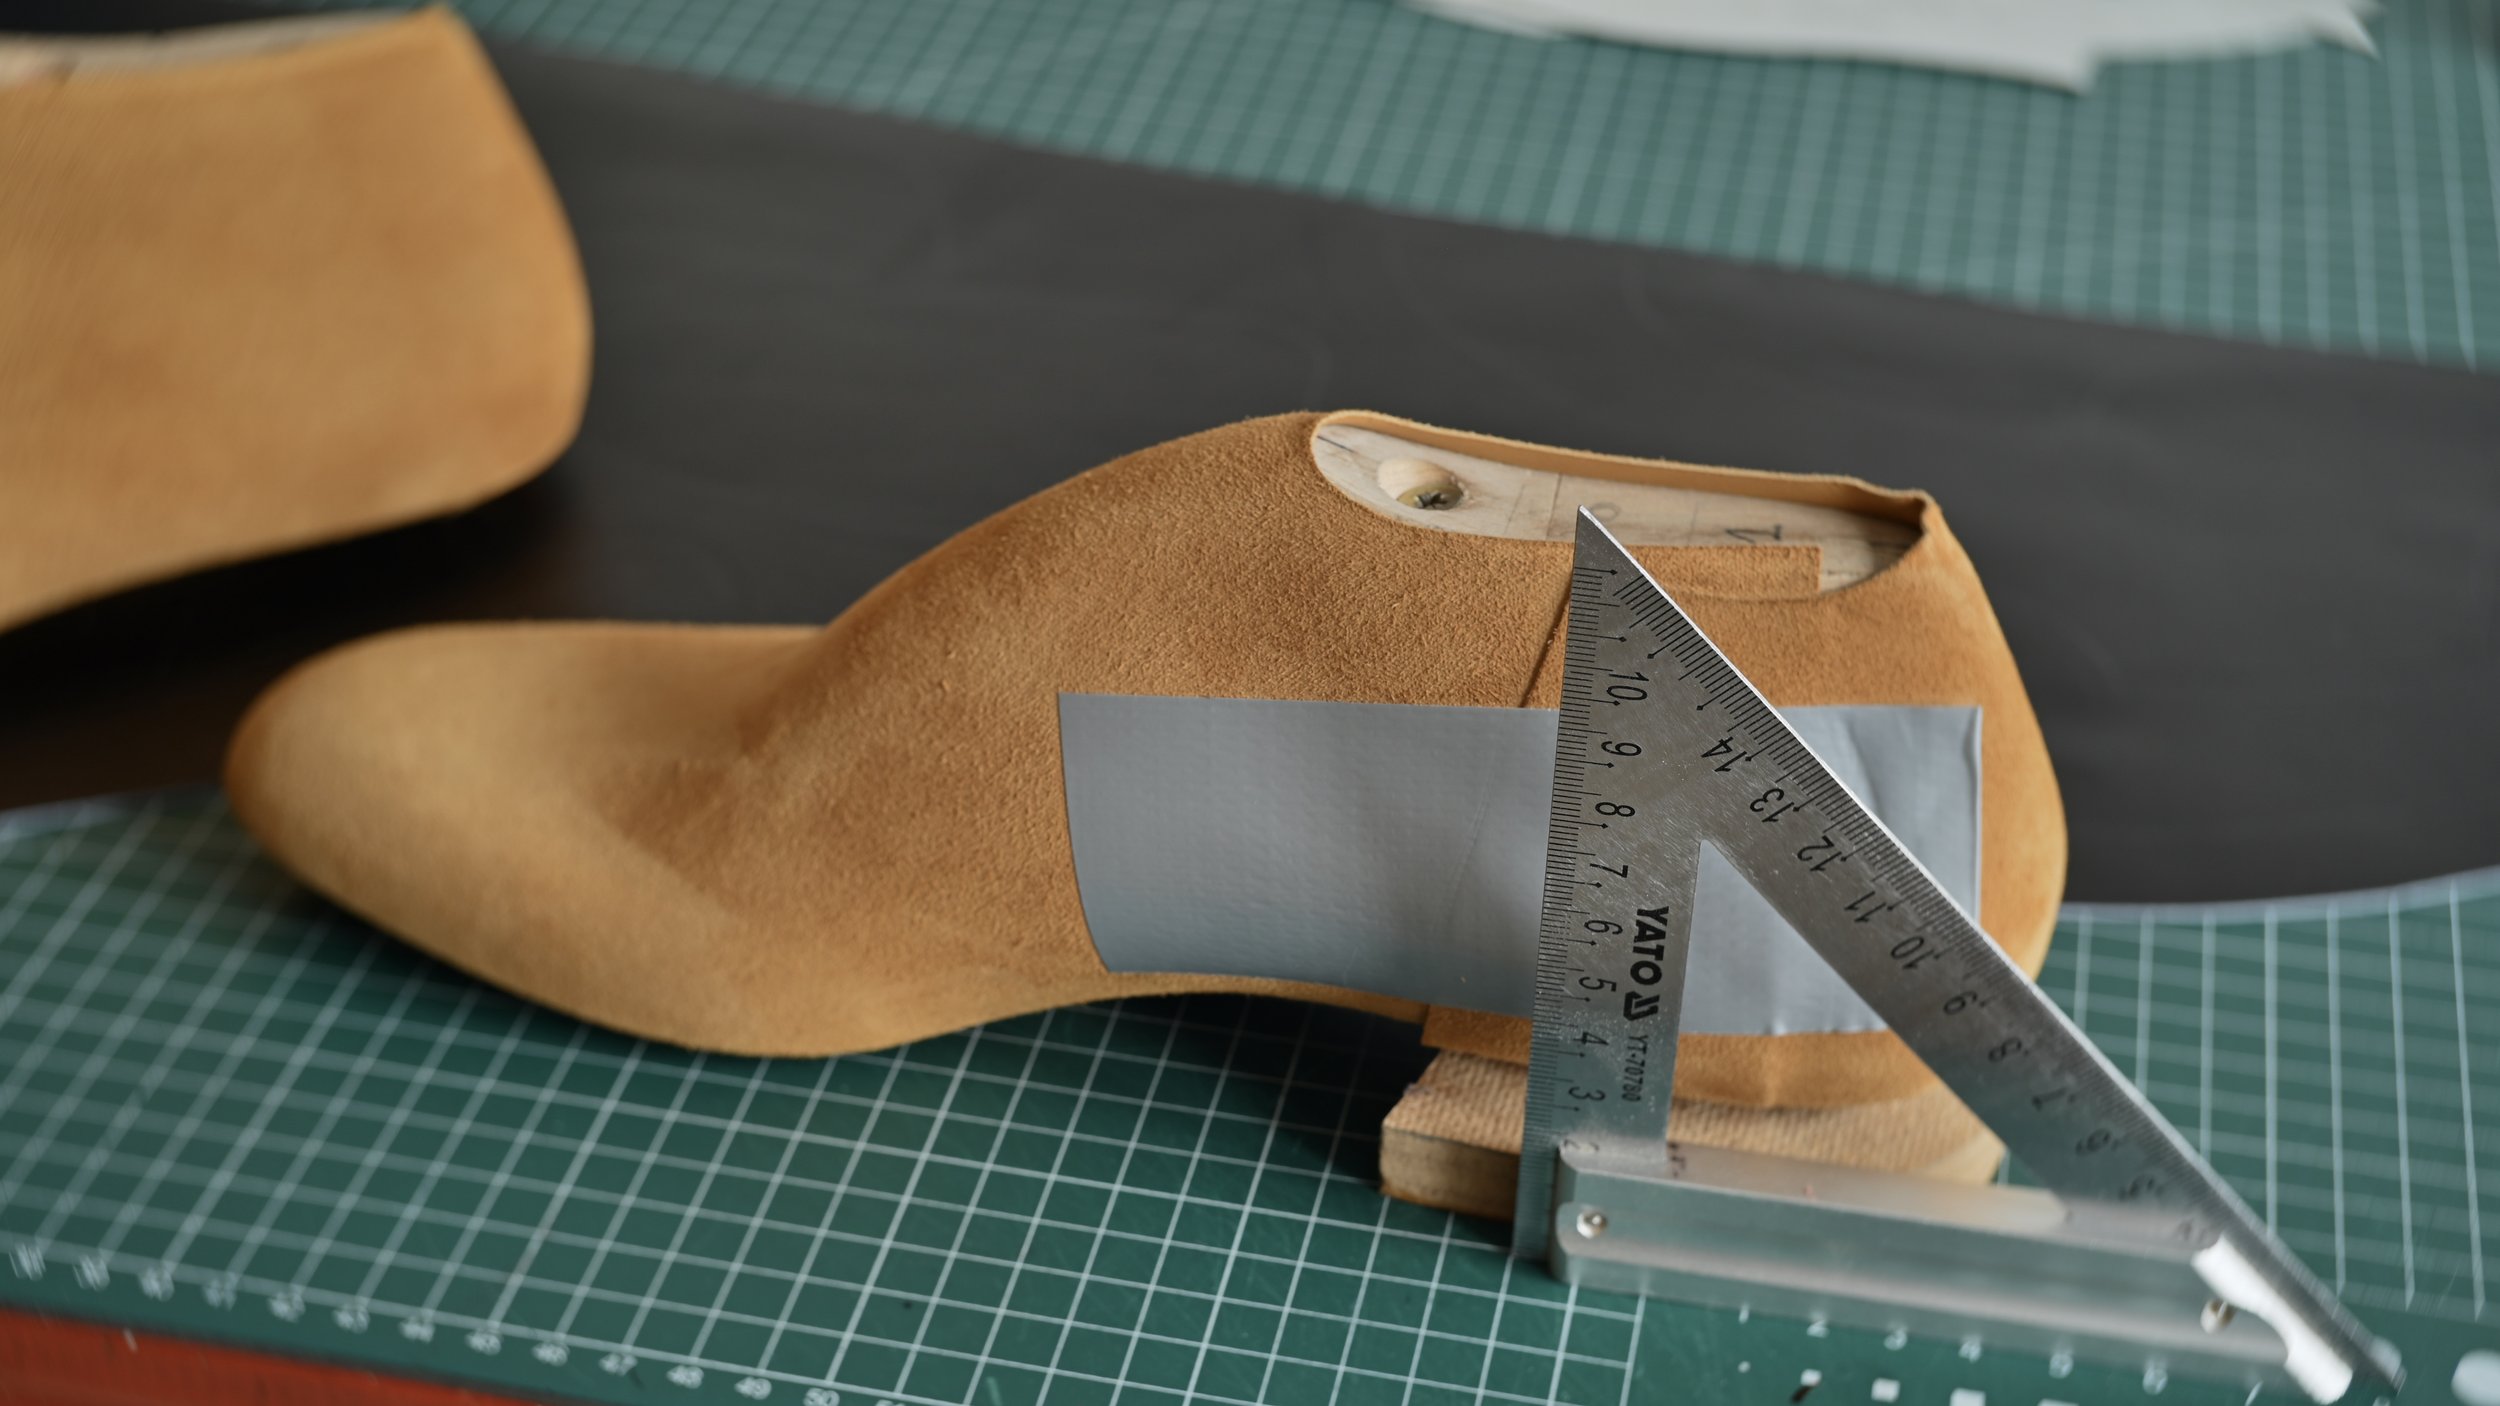
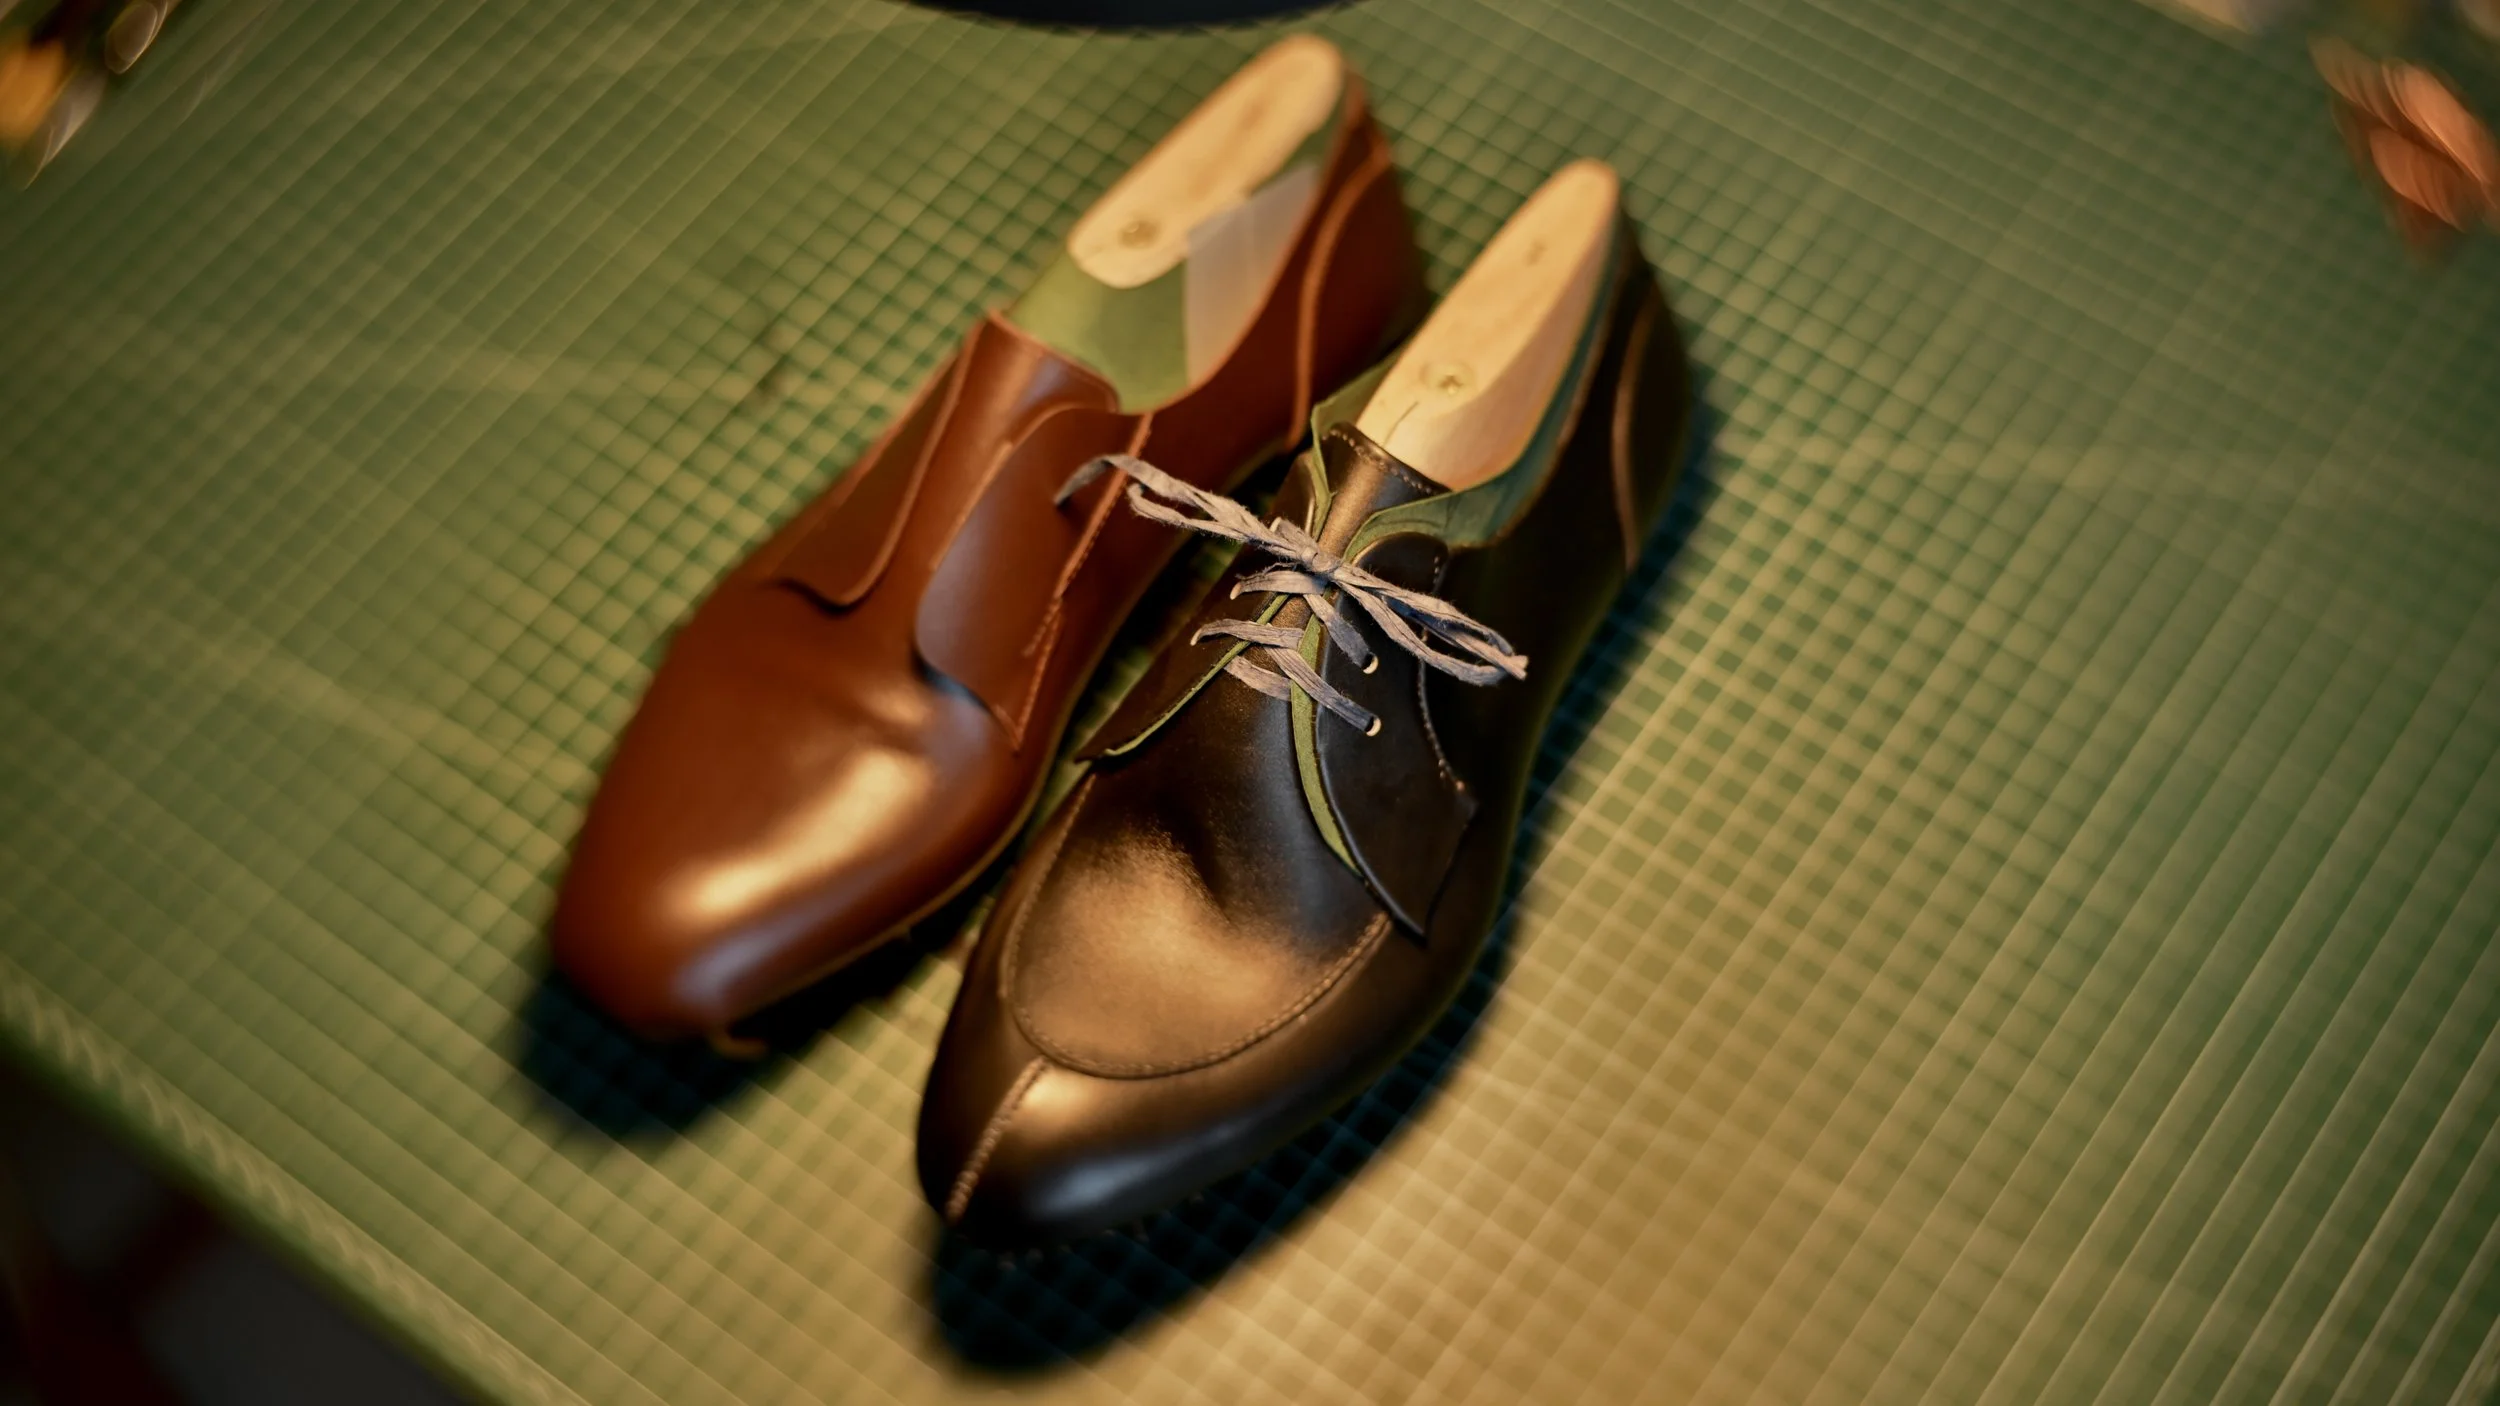
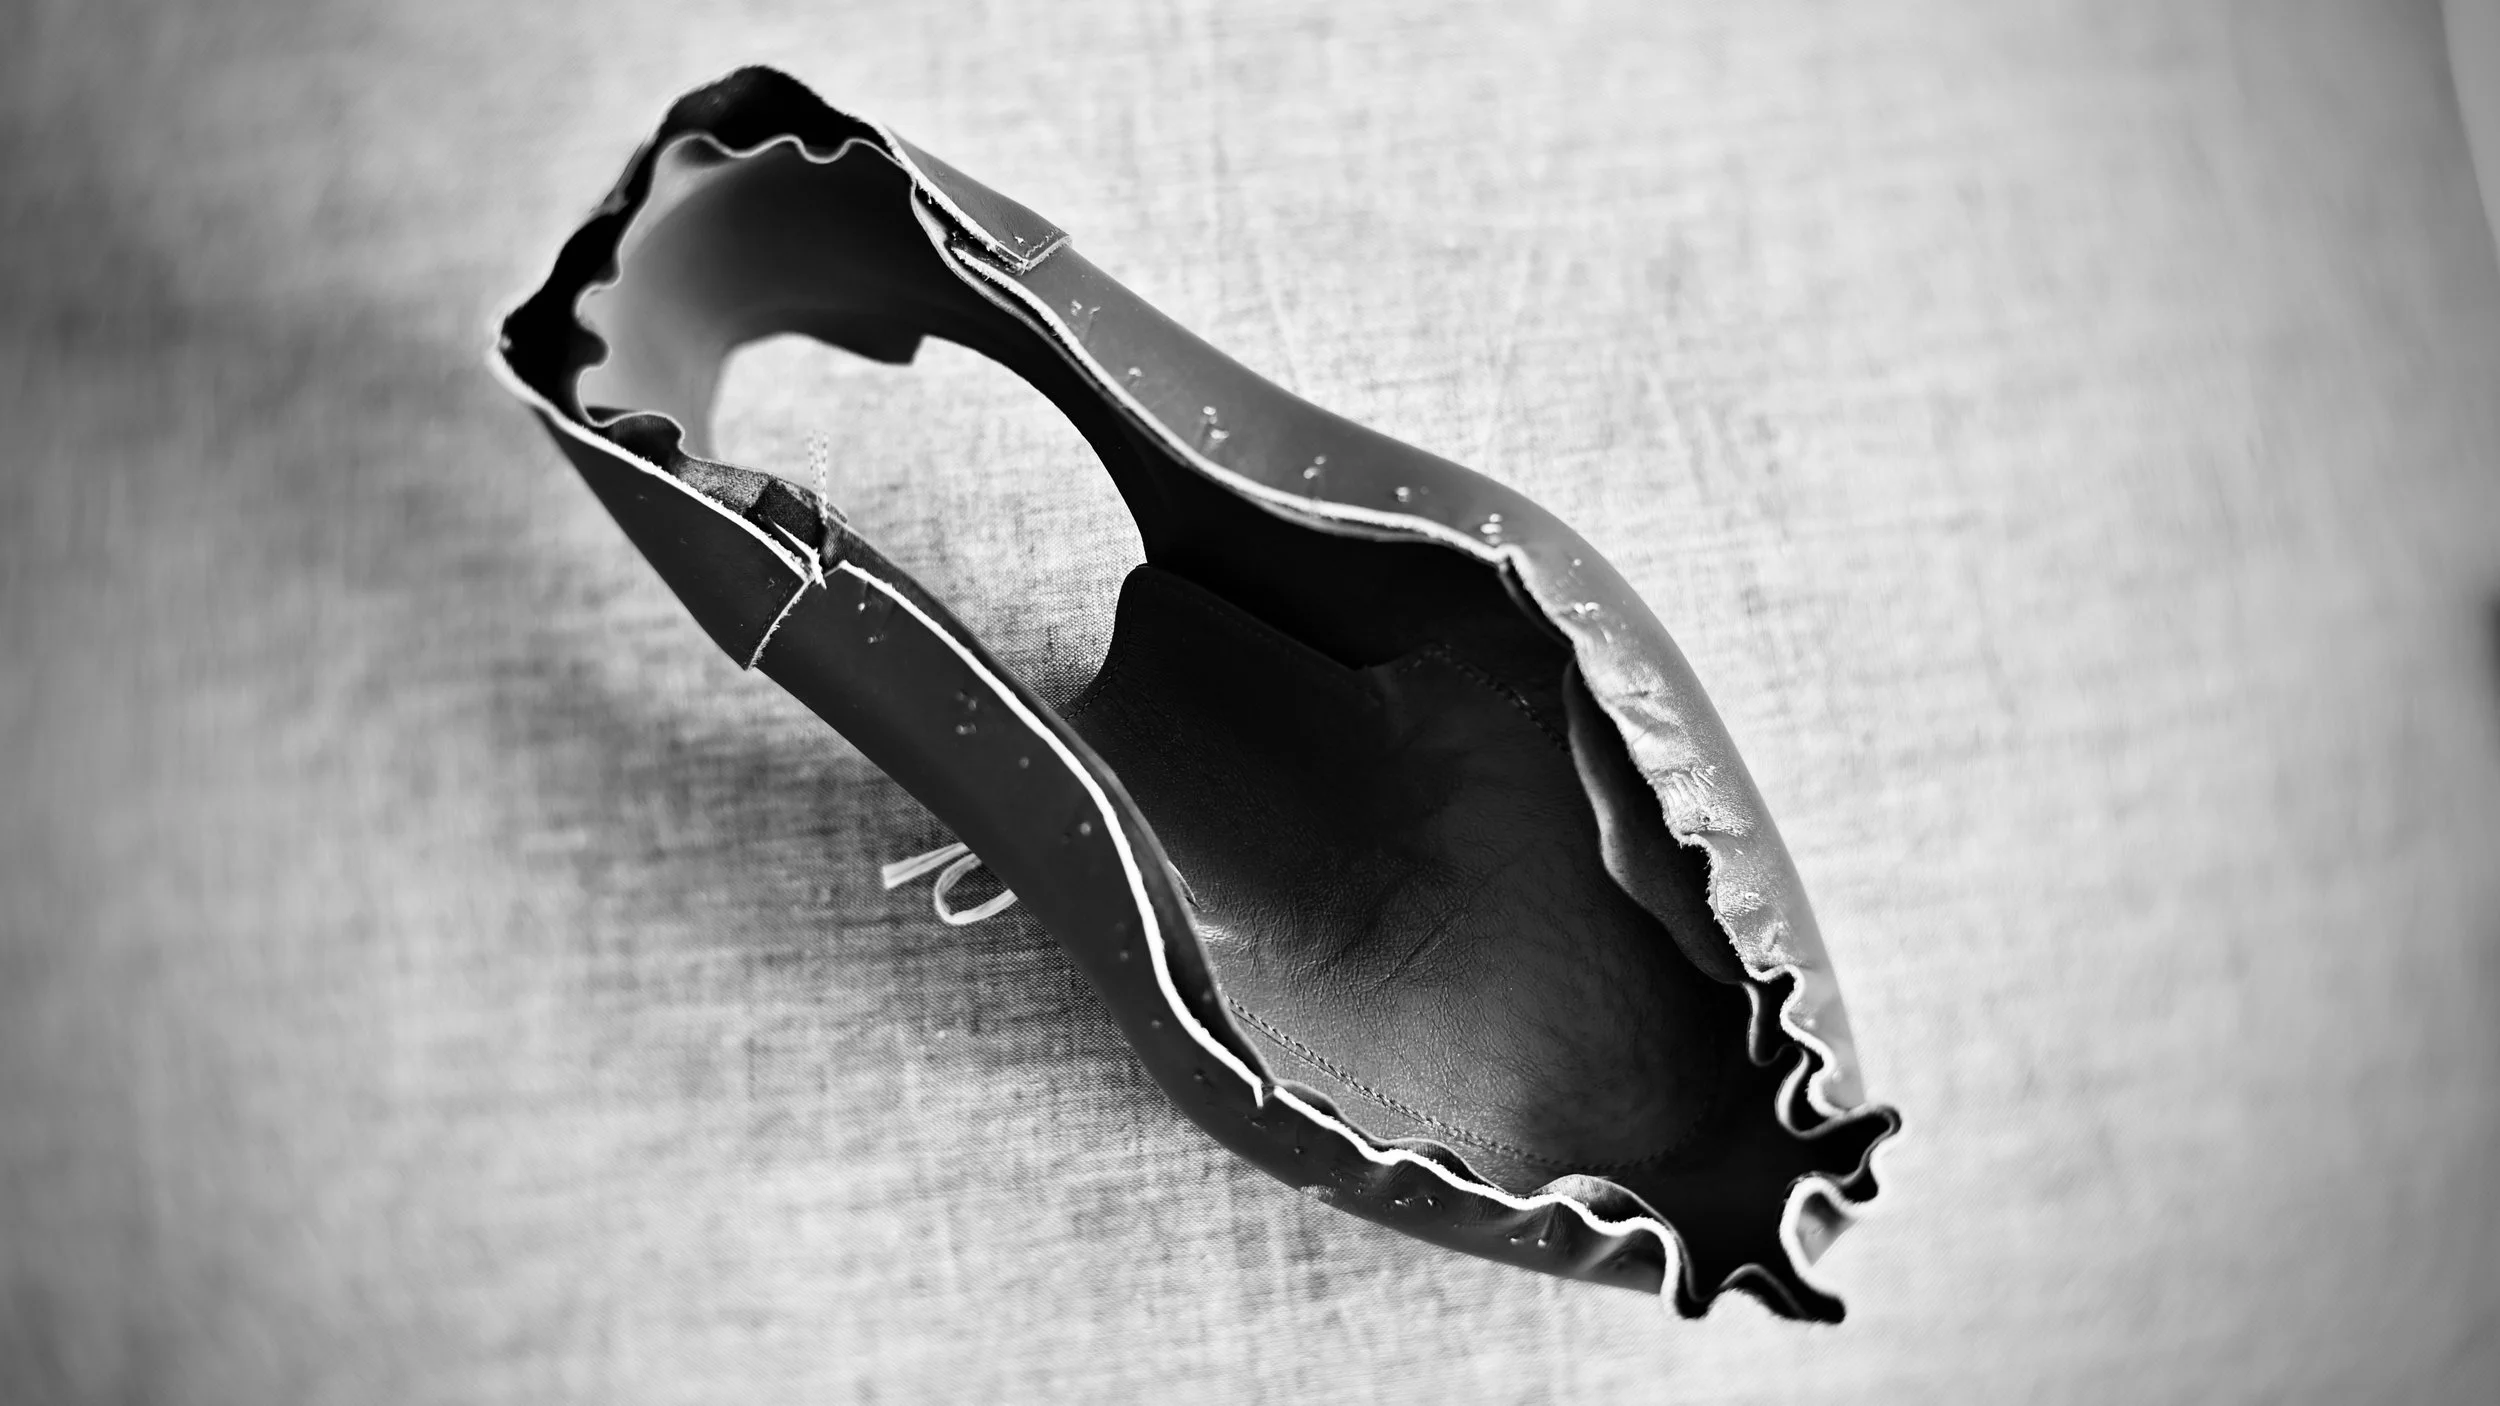
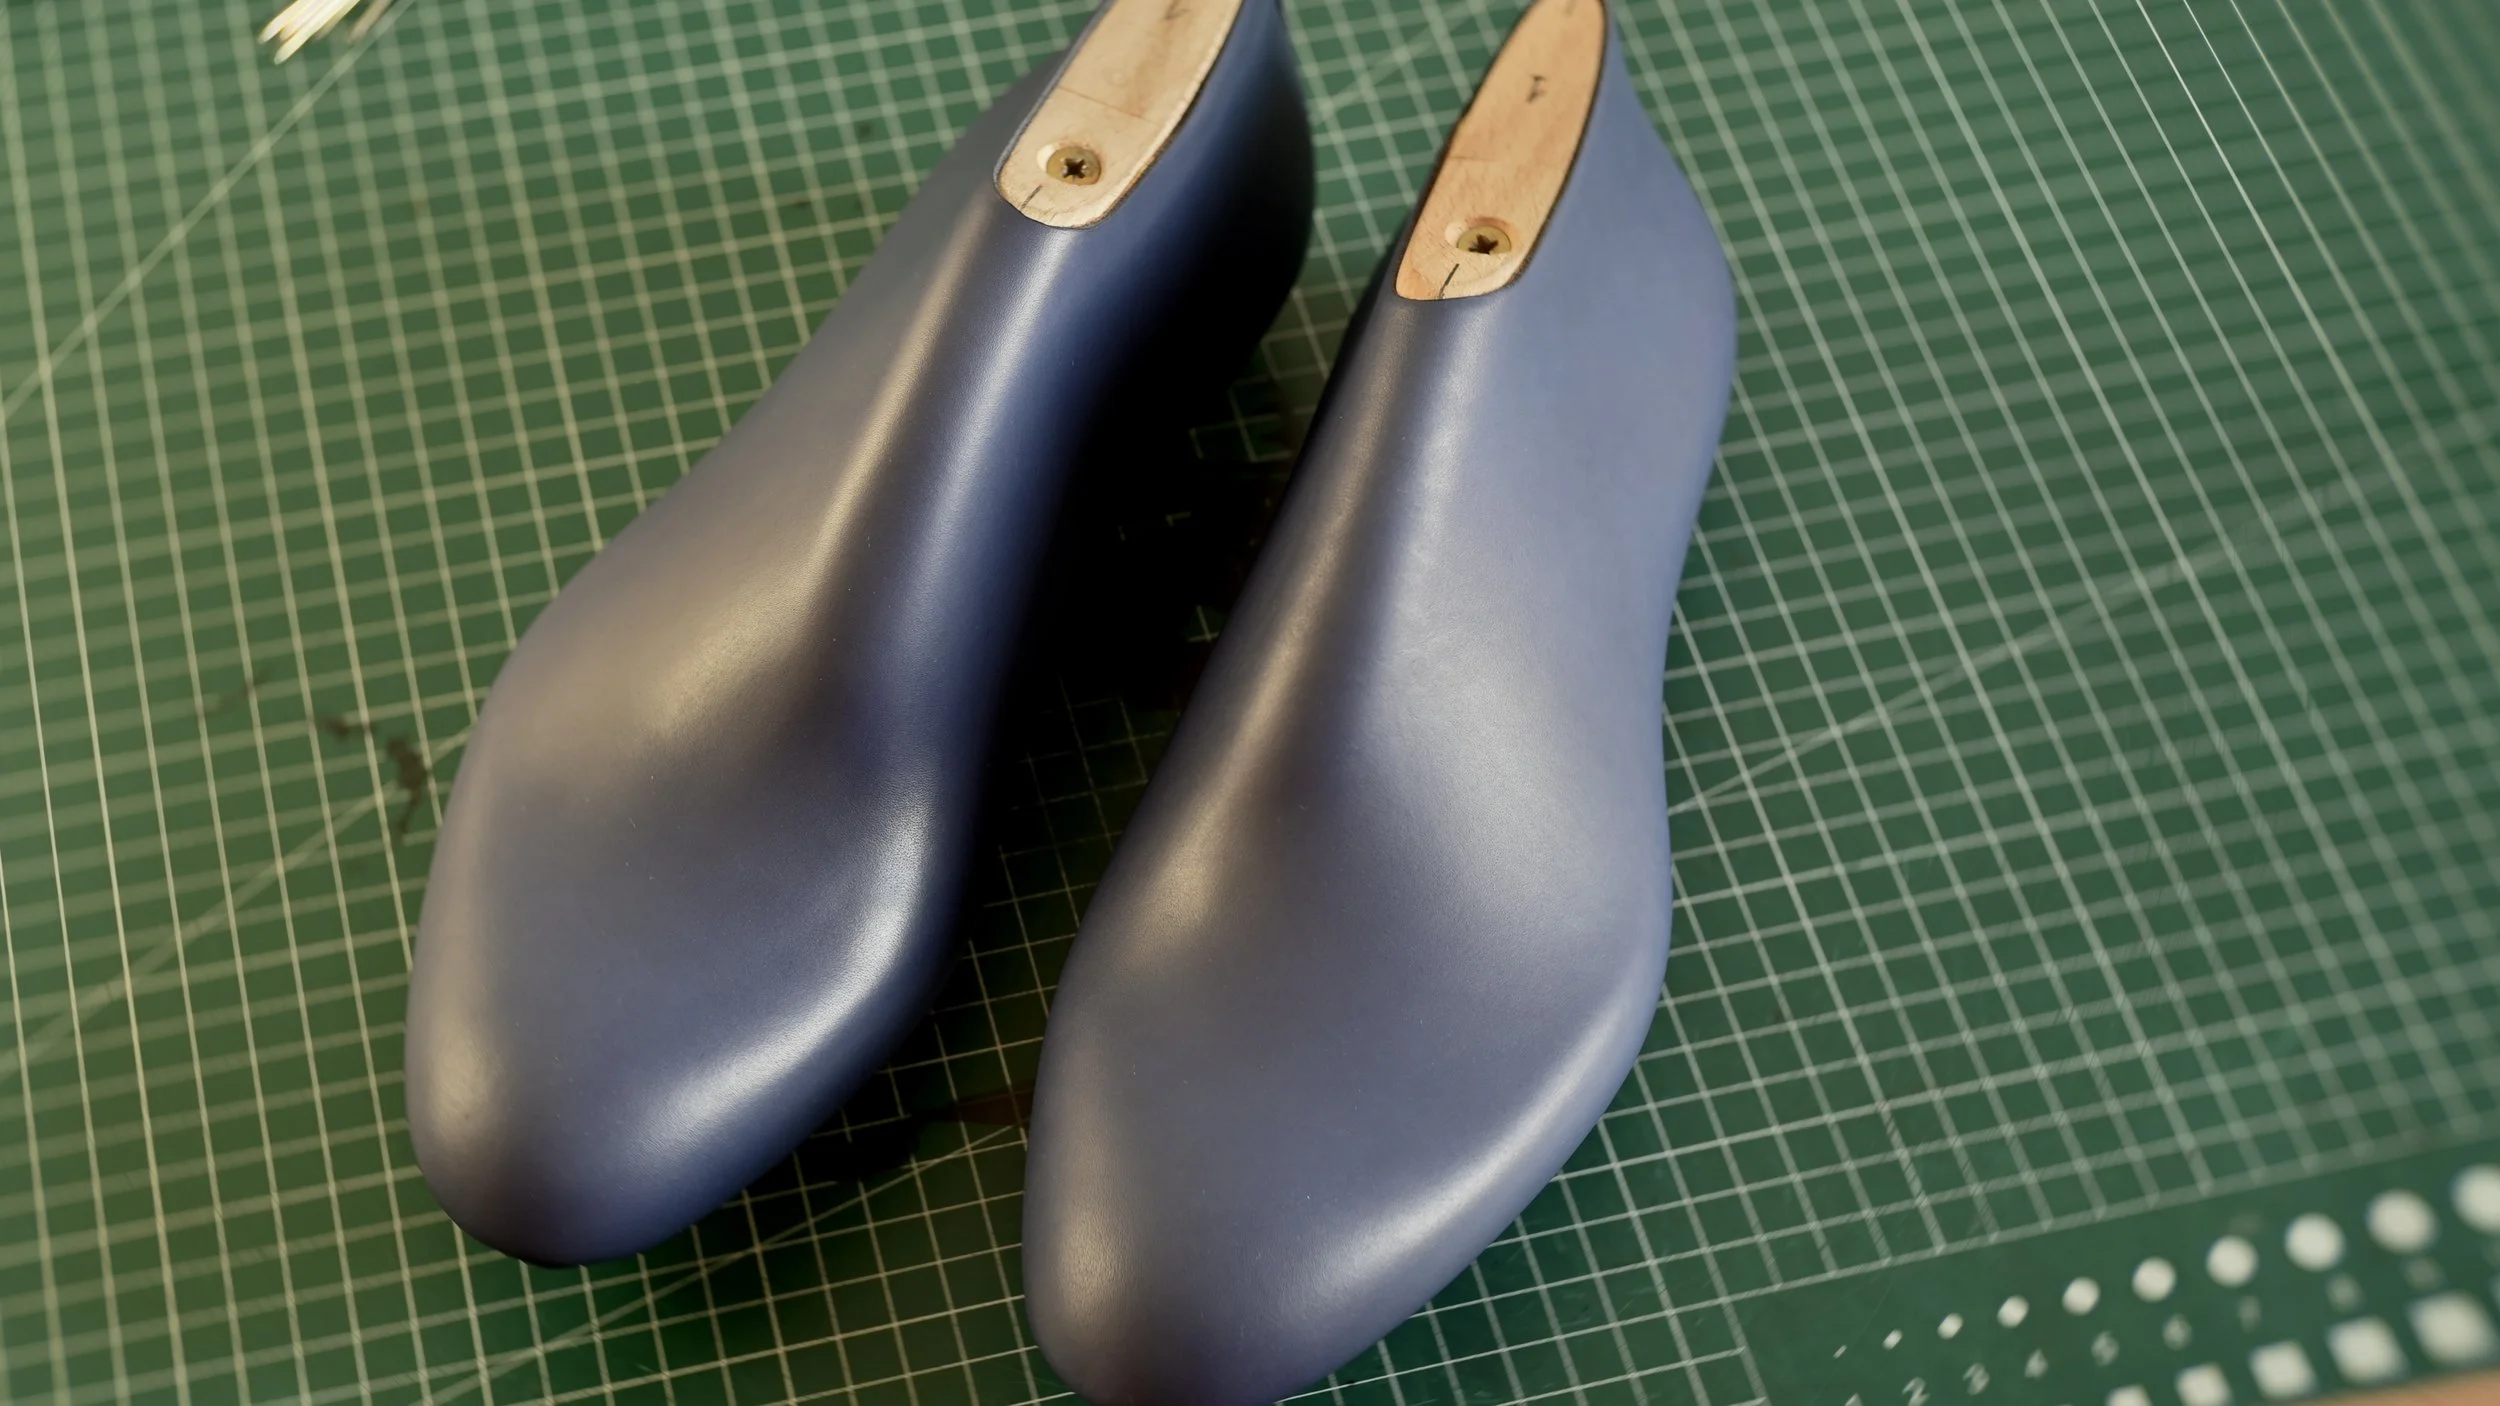
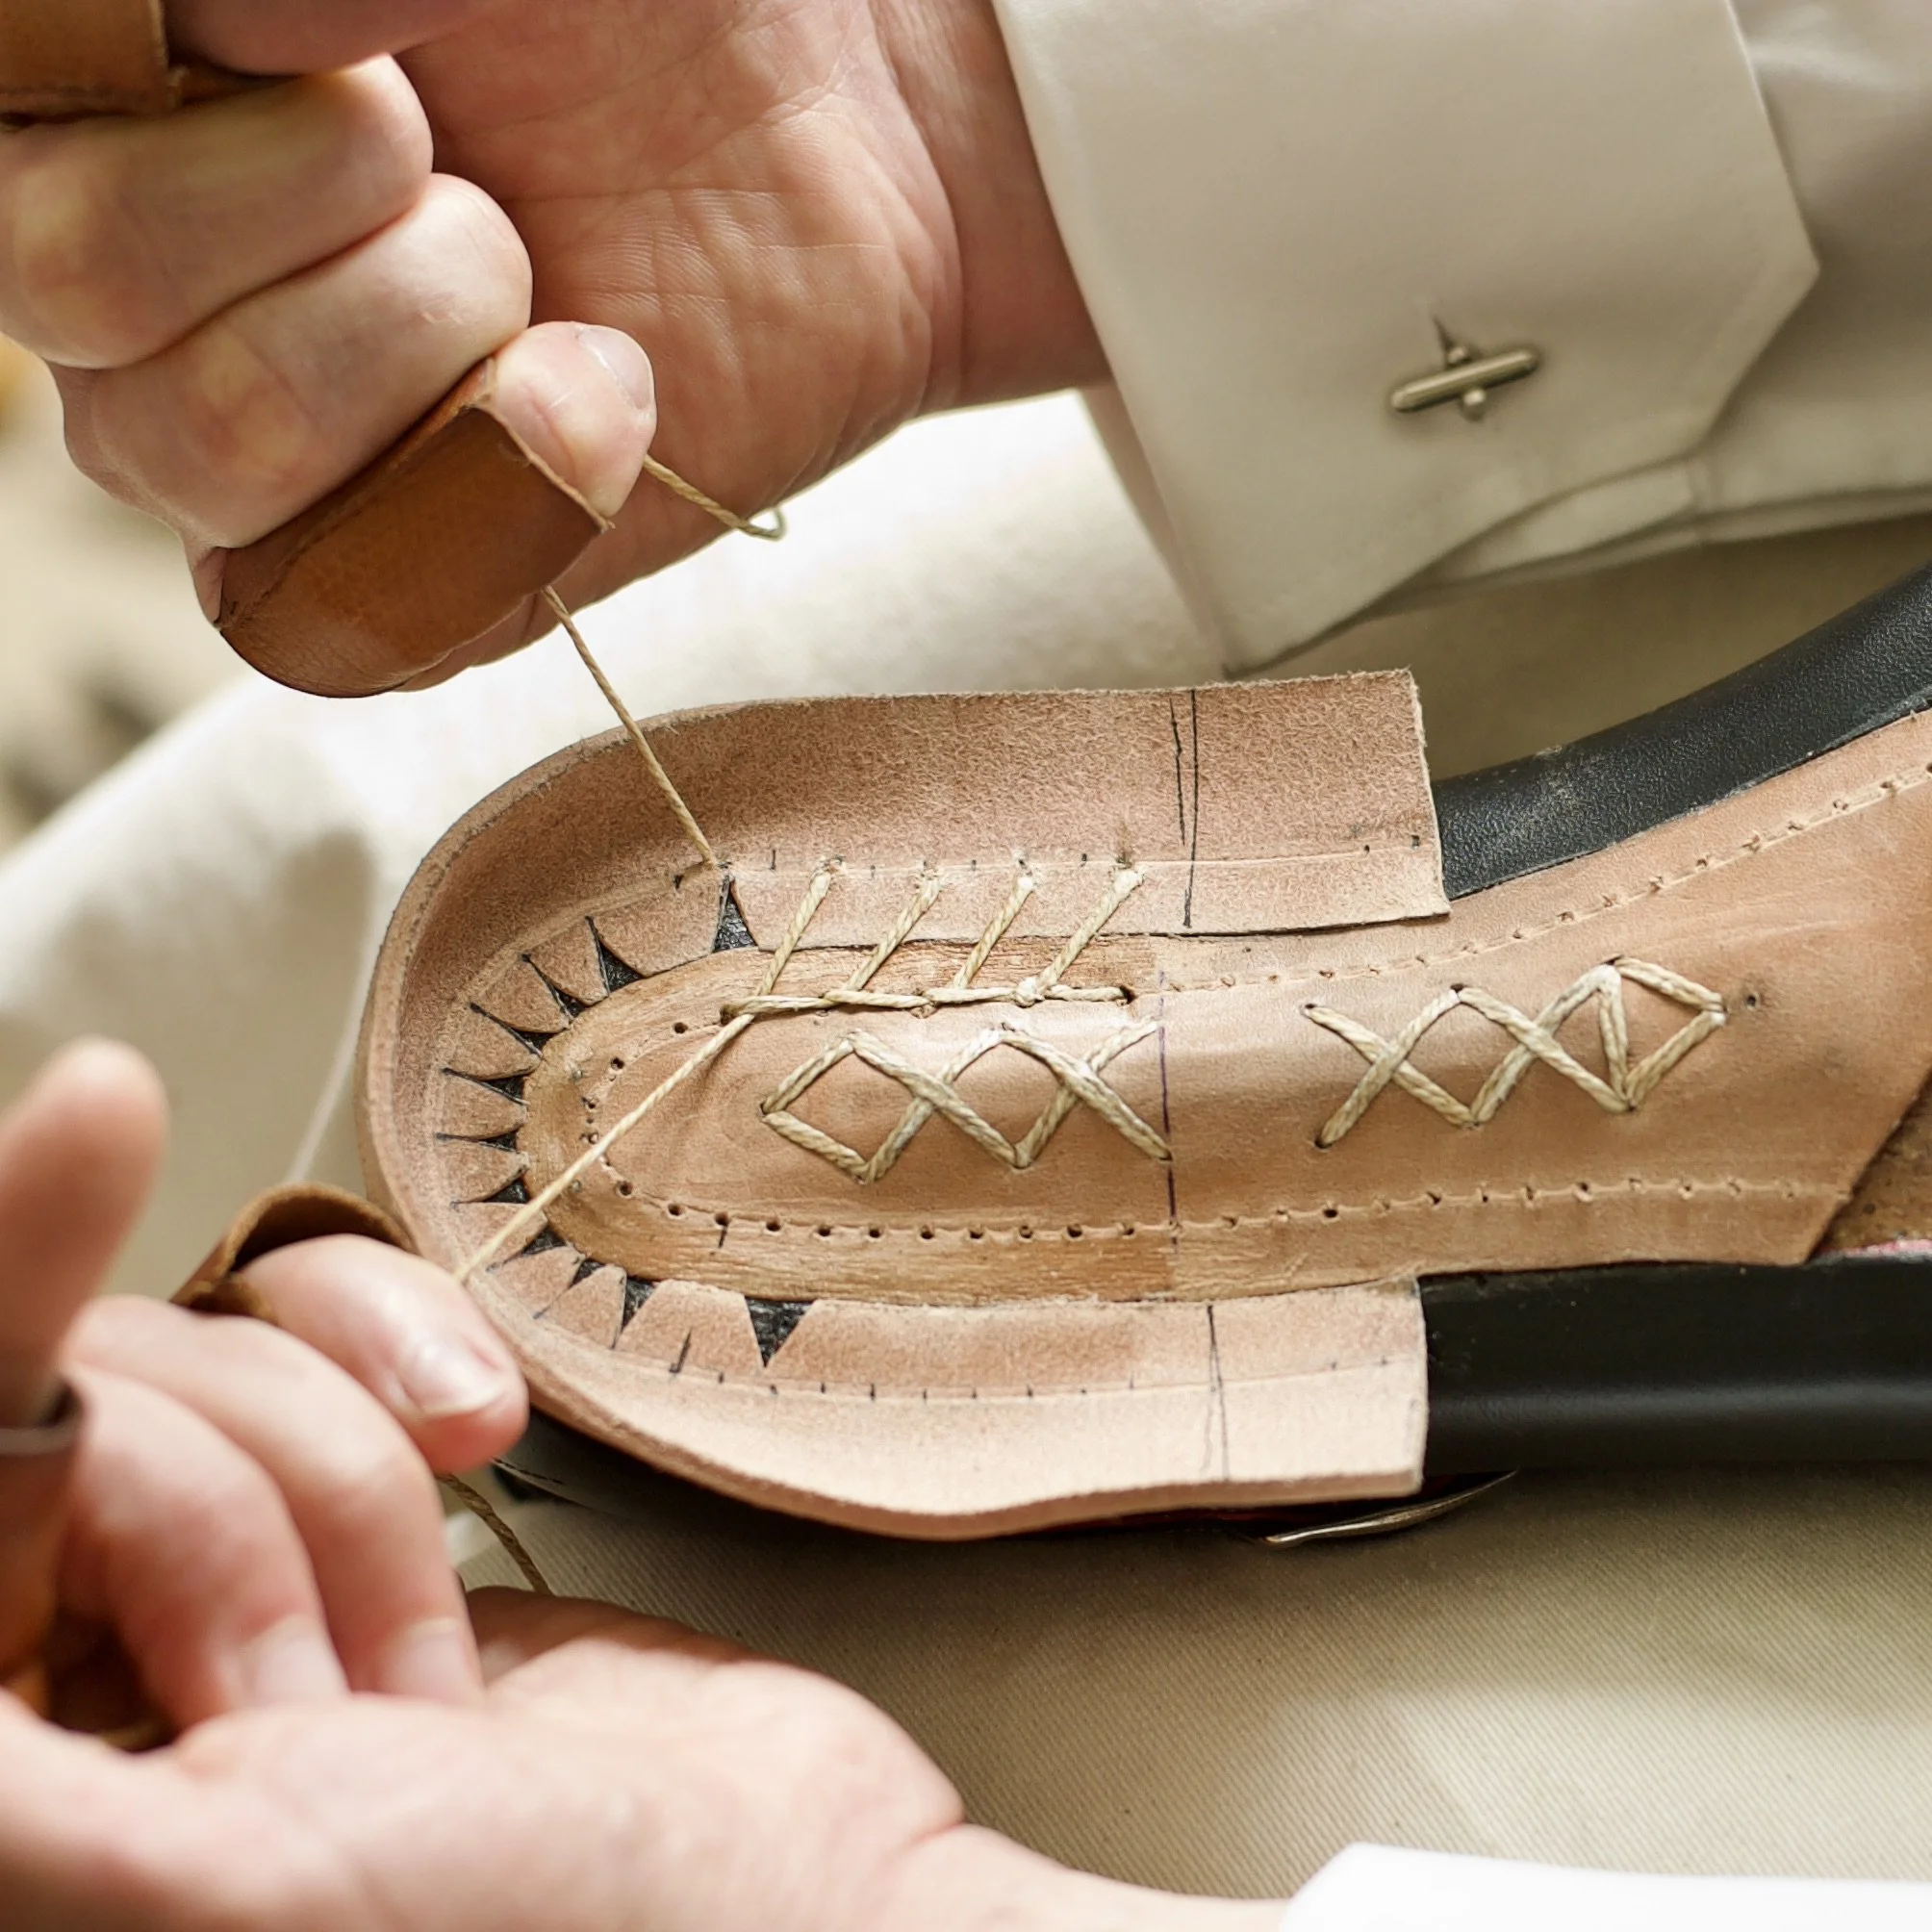
Working on this prototype went quite quickly. The lines are the result of a single design session. It was a successful session. The idea was to capture the design as simply as possible and then try to redesign it if I felt the need after spending some time with it. It's always safe to let this soak in like a seasoning into your mind.

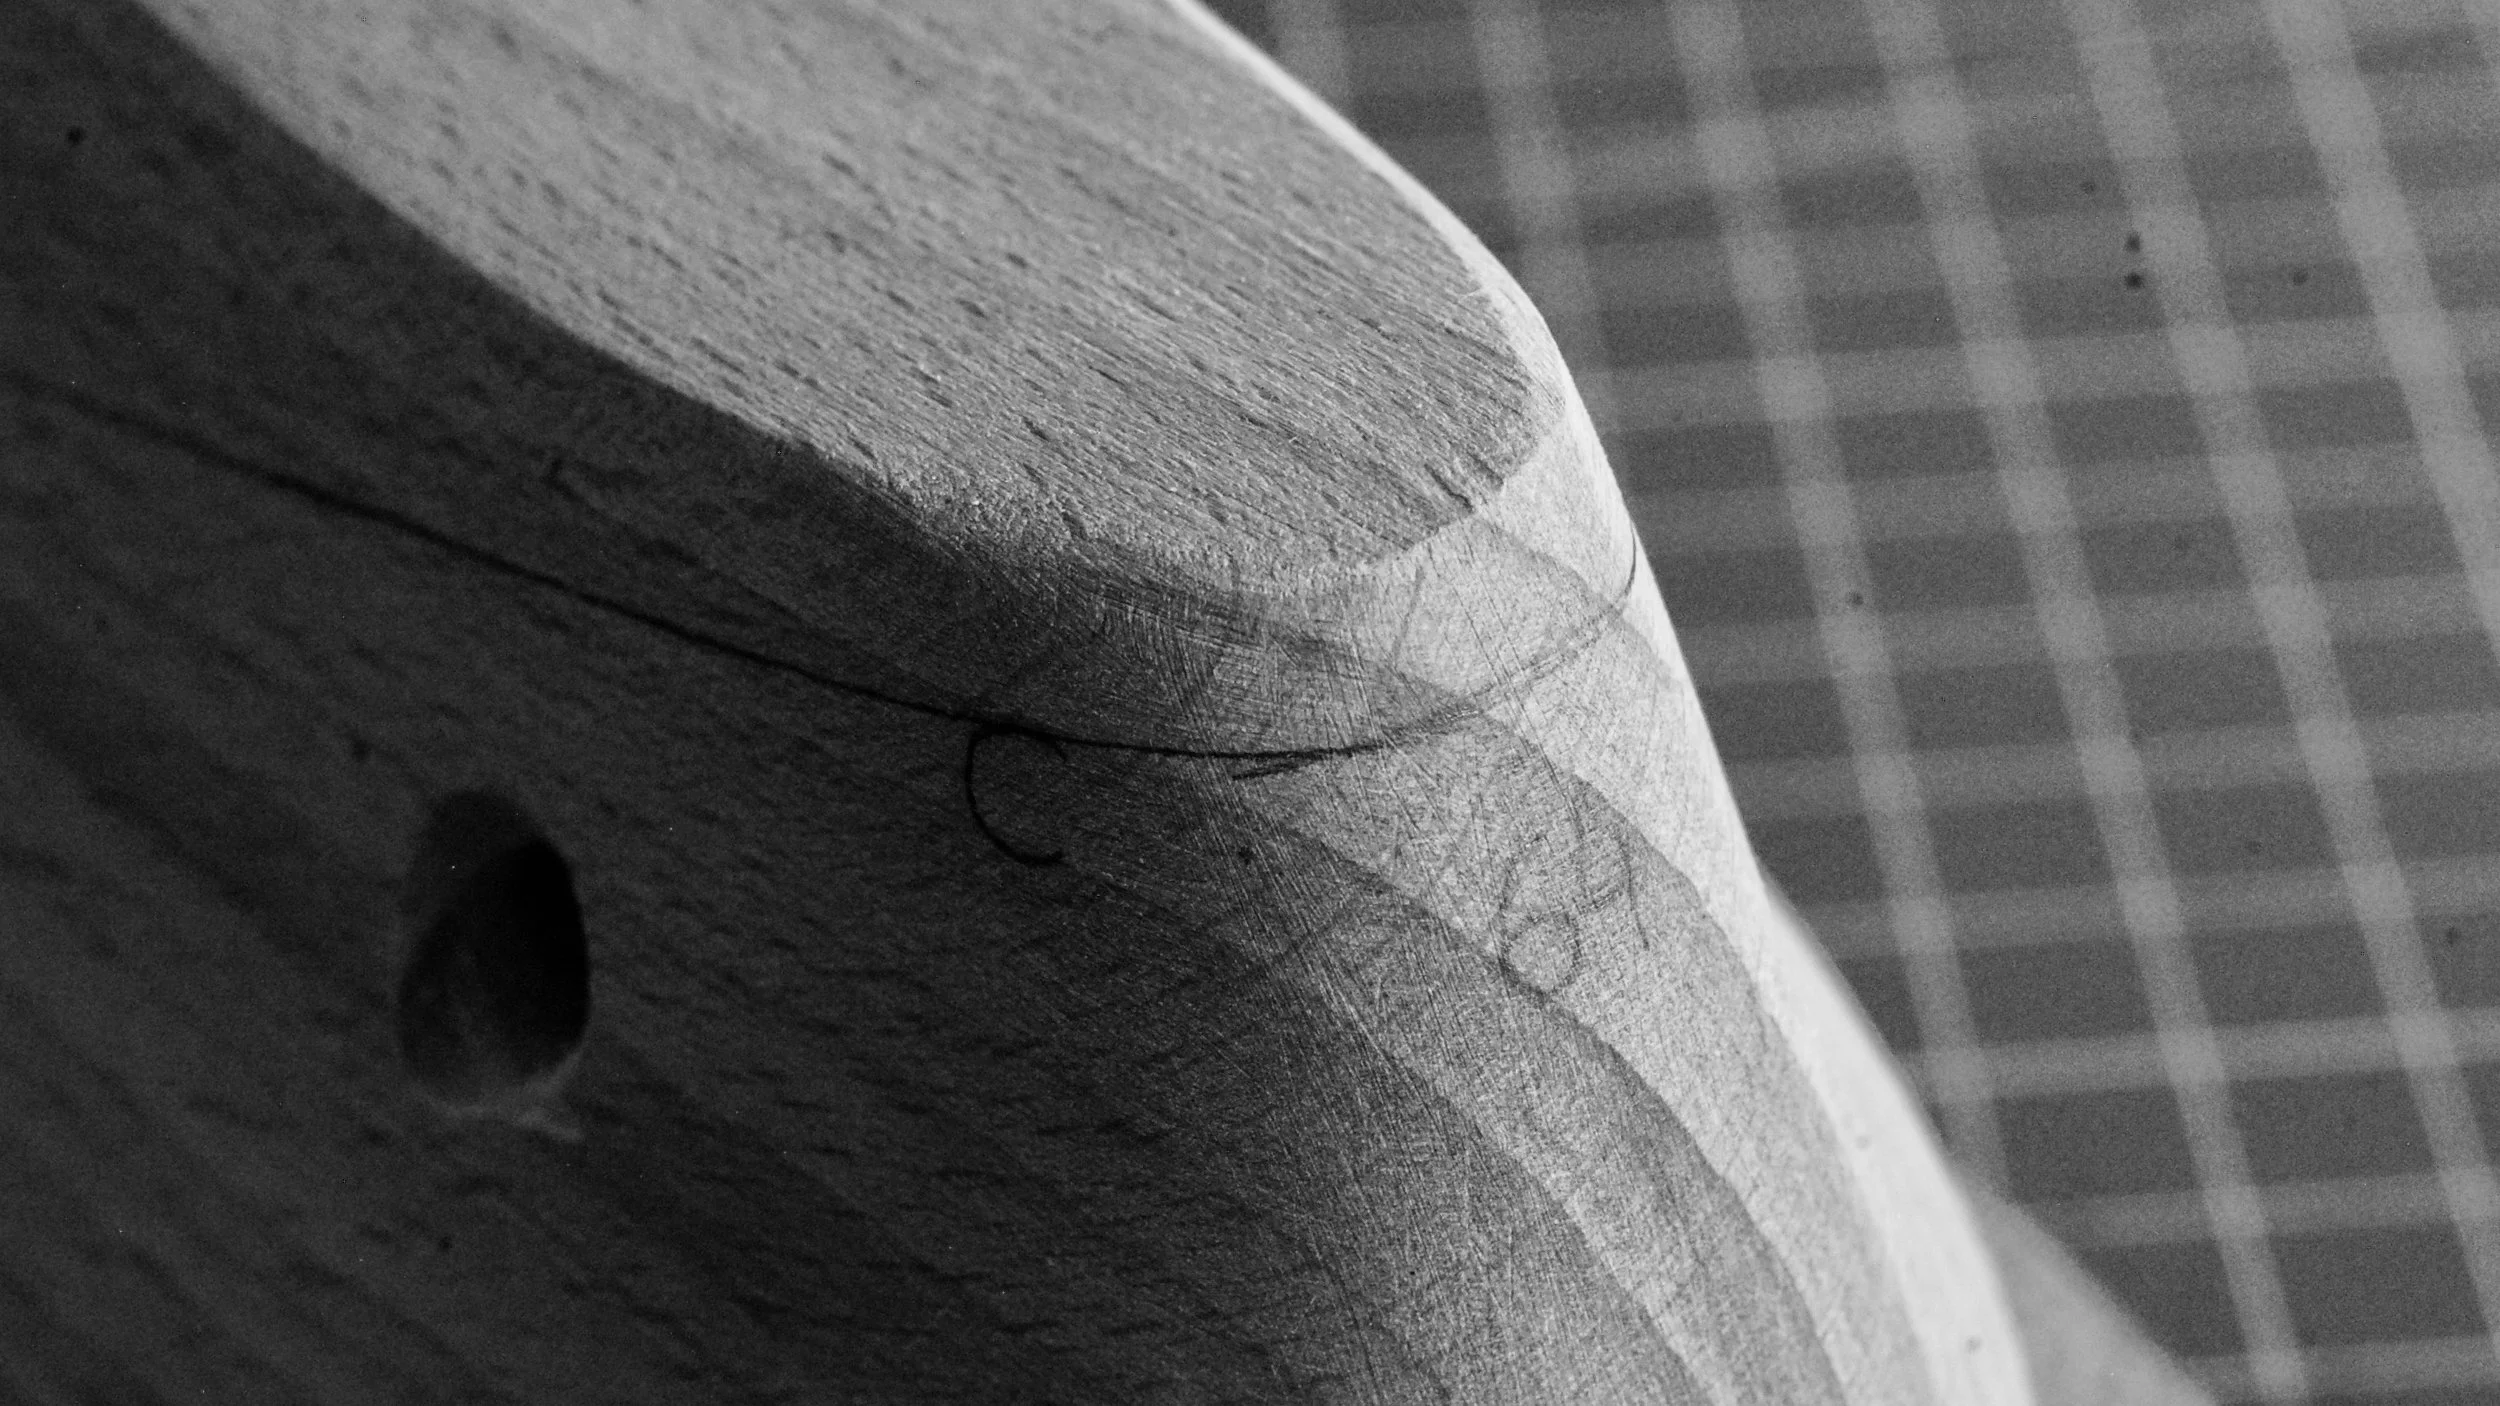
This project has been on my mind long enough to have undergone some changes. I've tried to produce a different upper, even use a completely new last. But I've made my final decisions. You can't keep thinking about it forever...
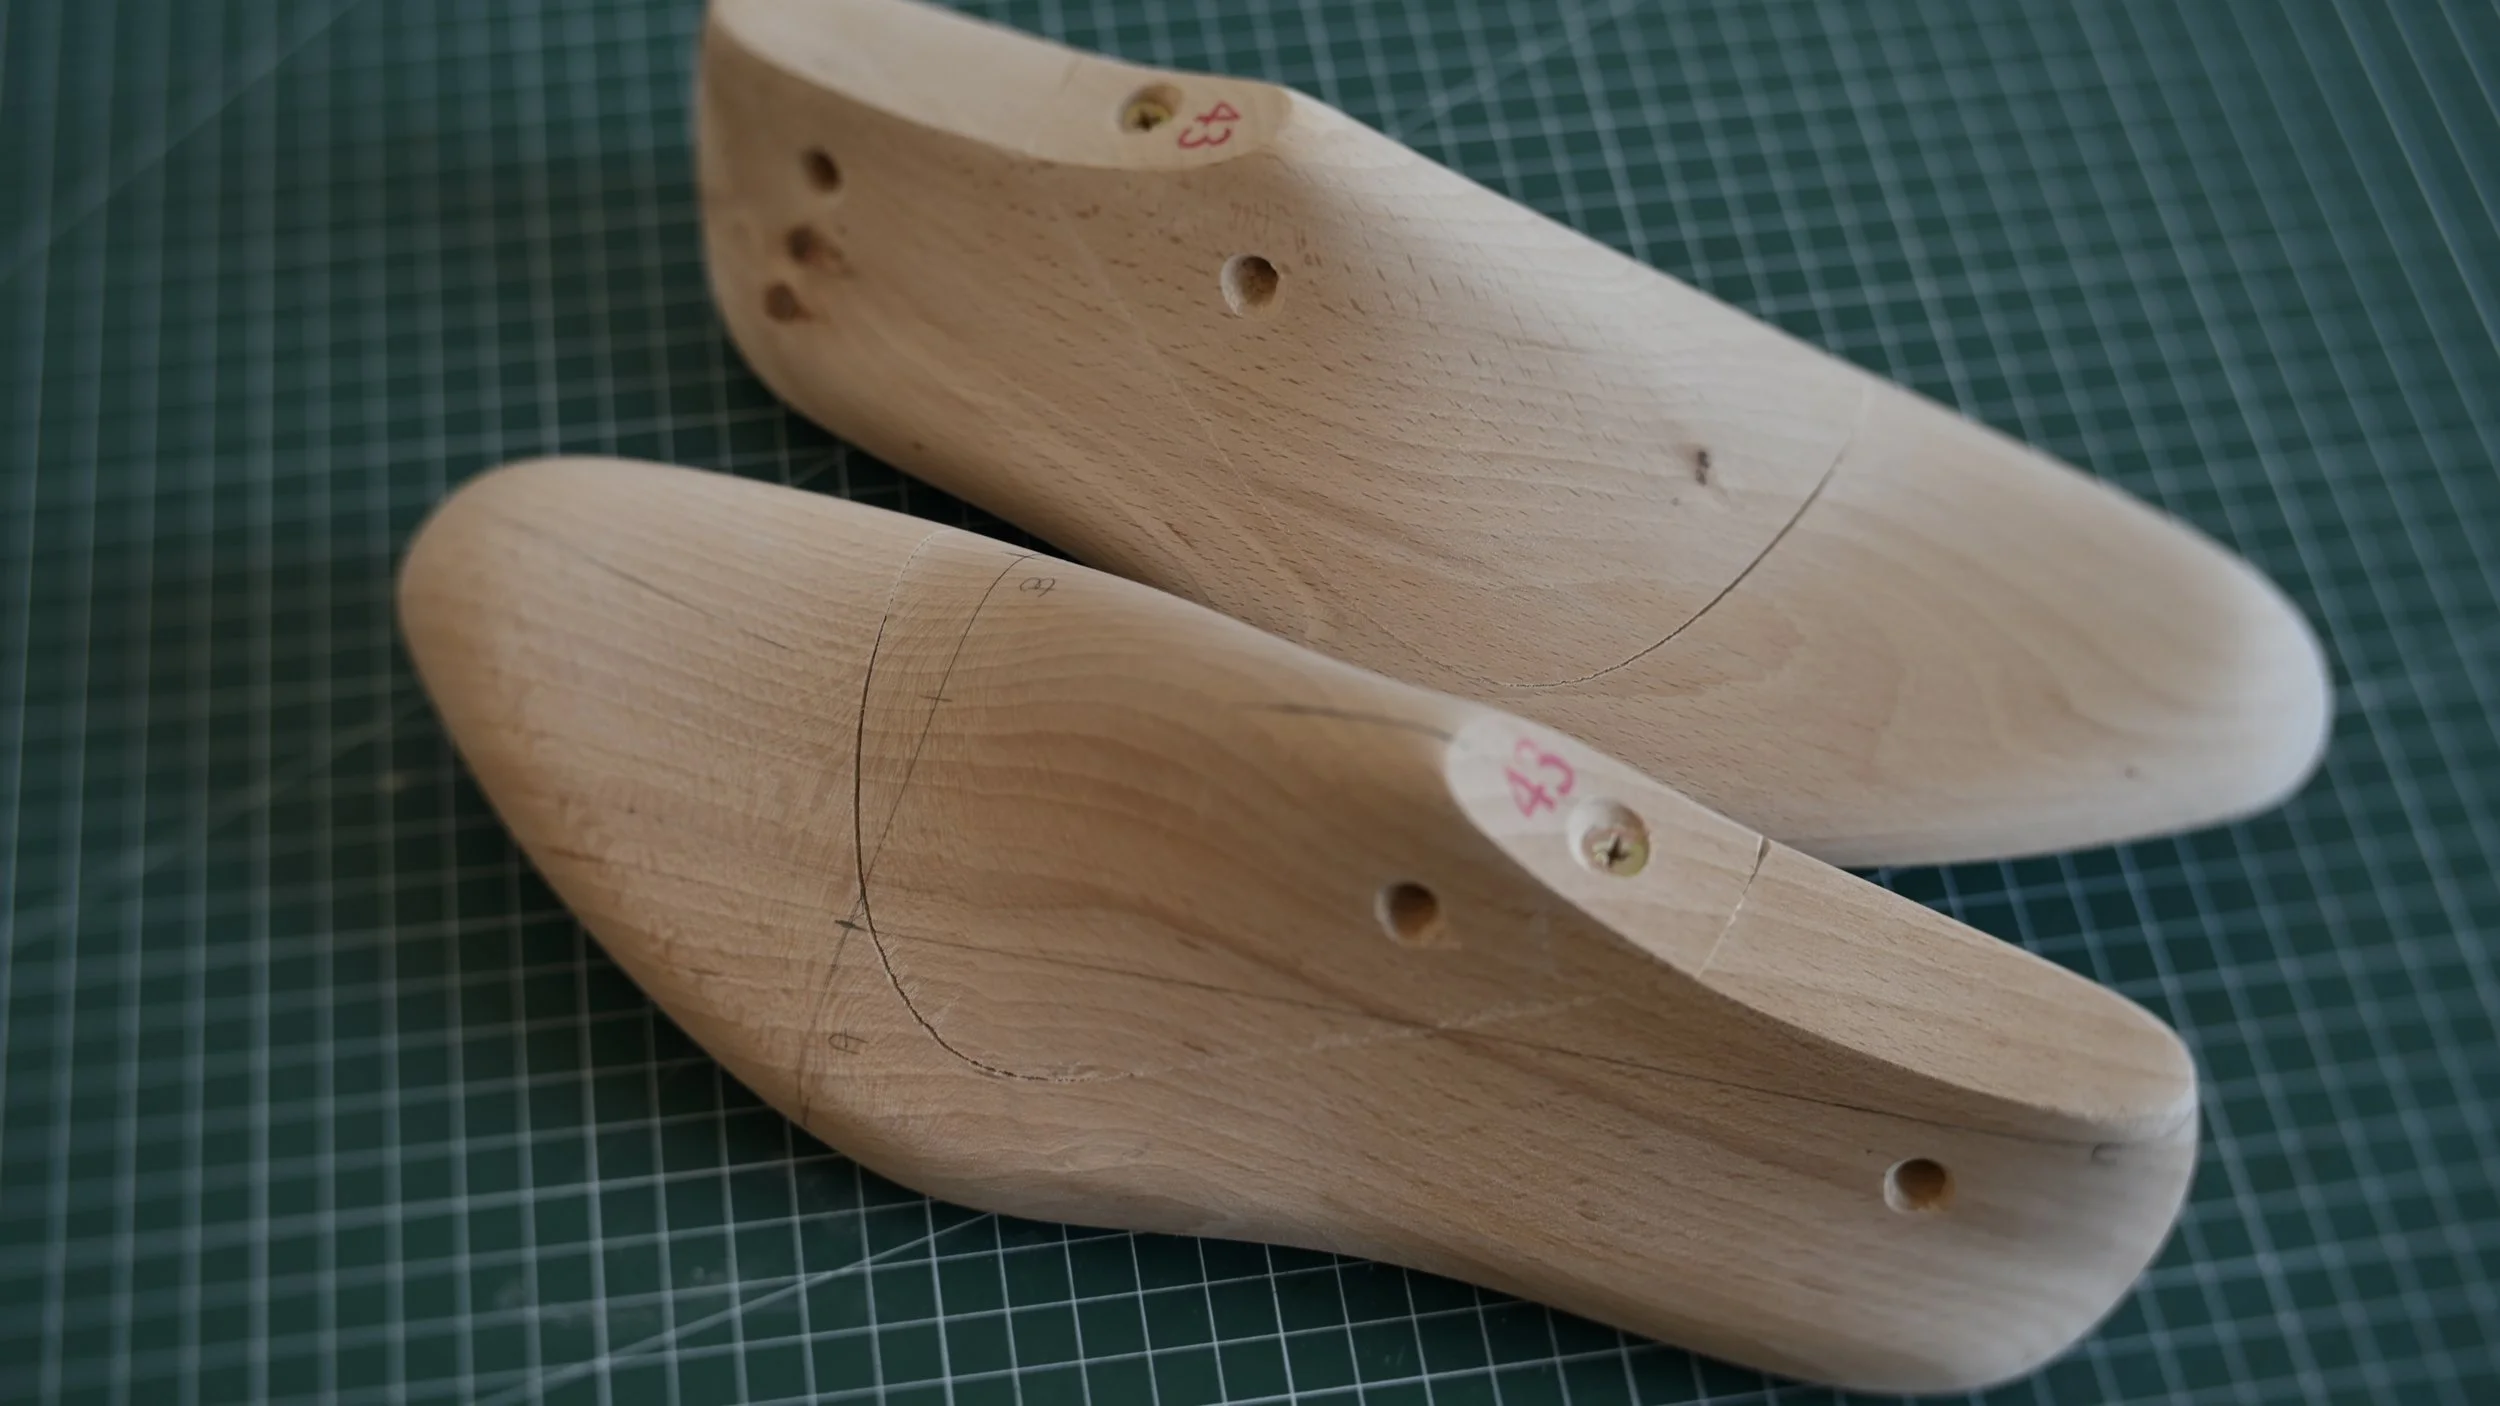
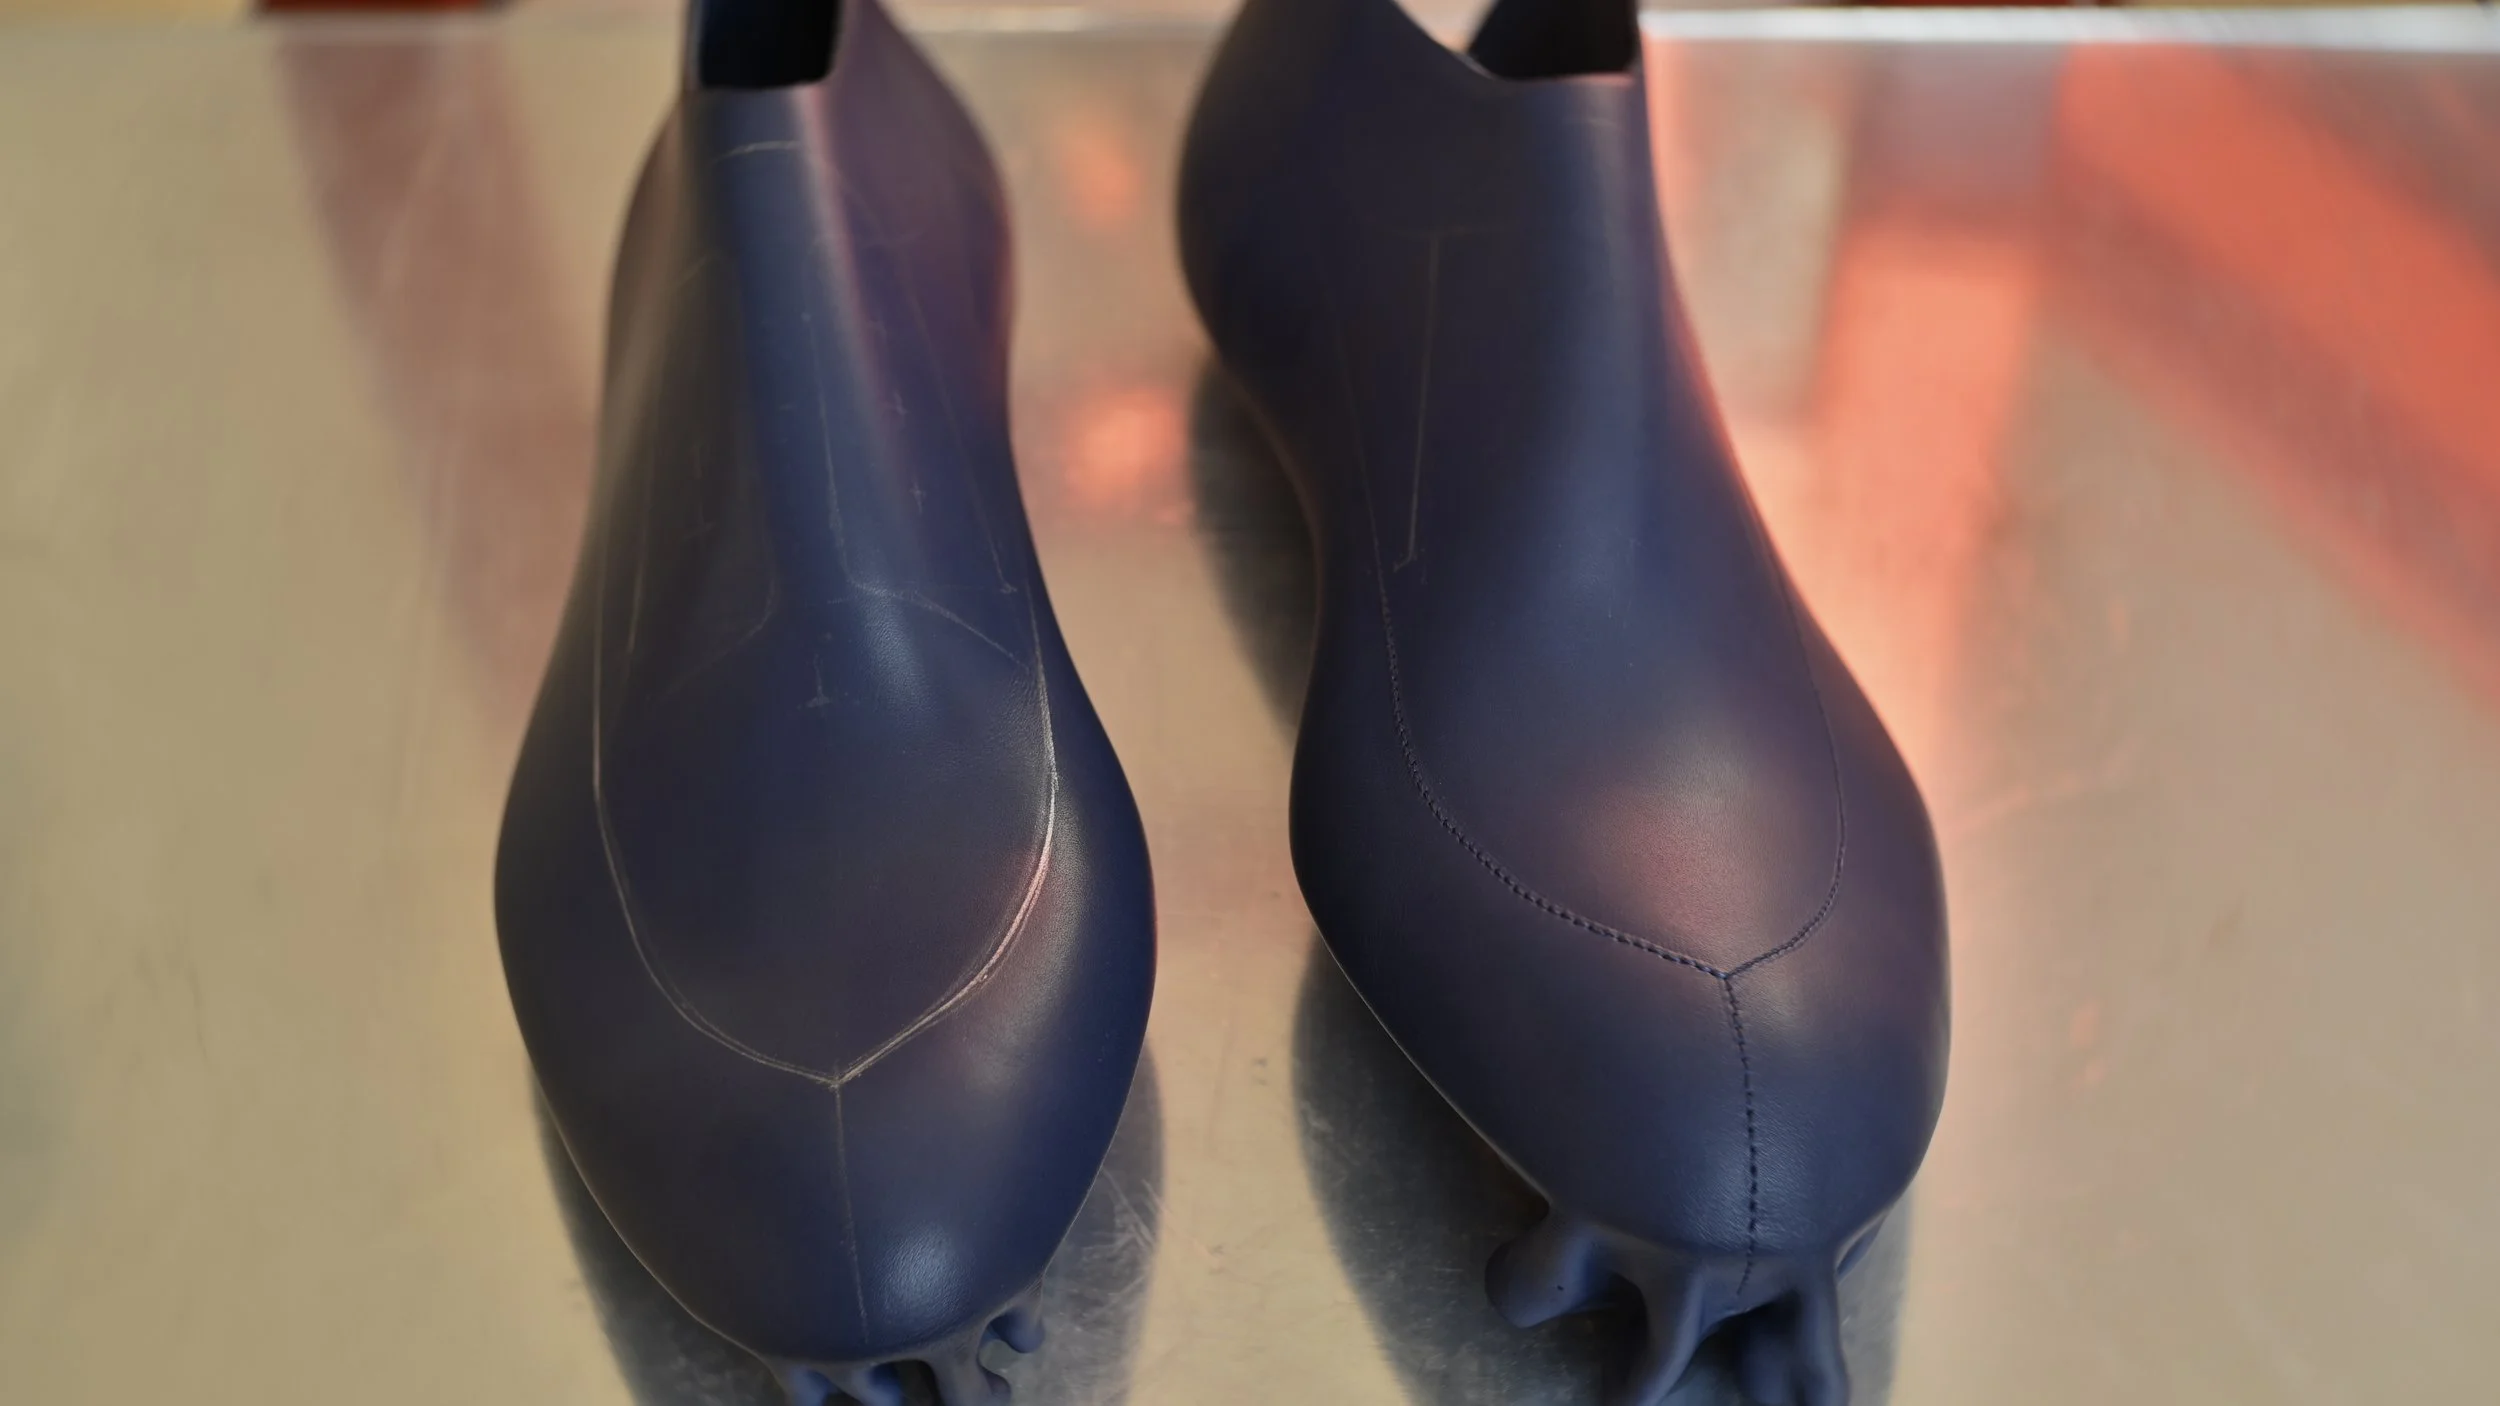
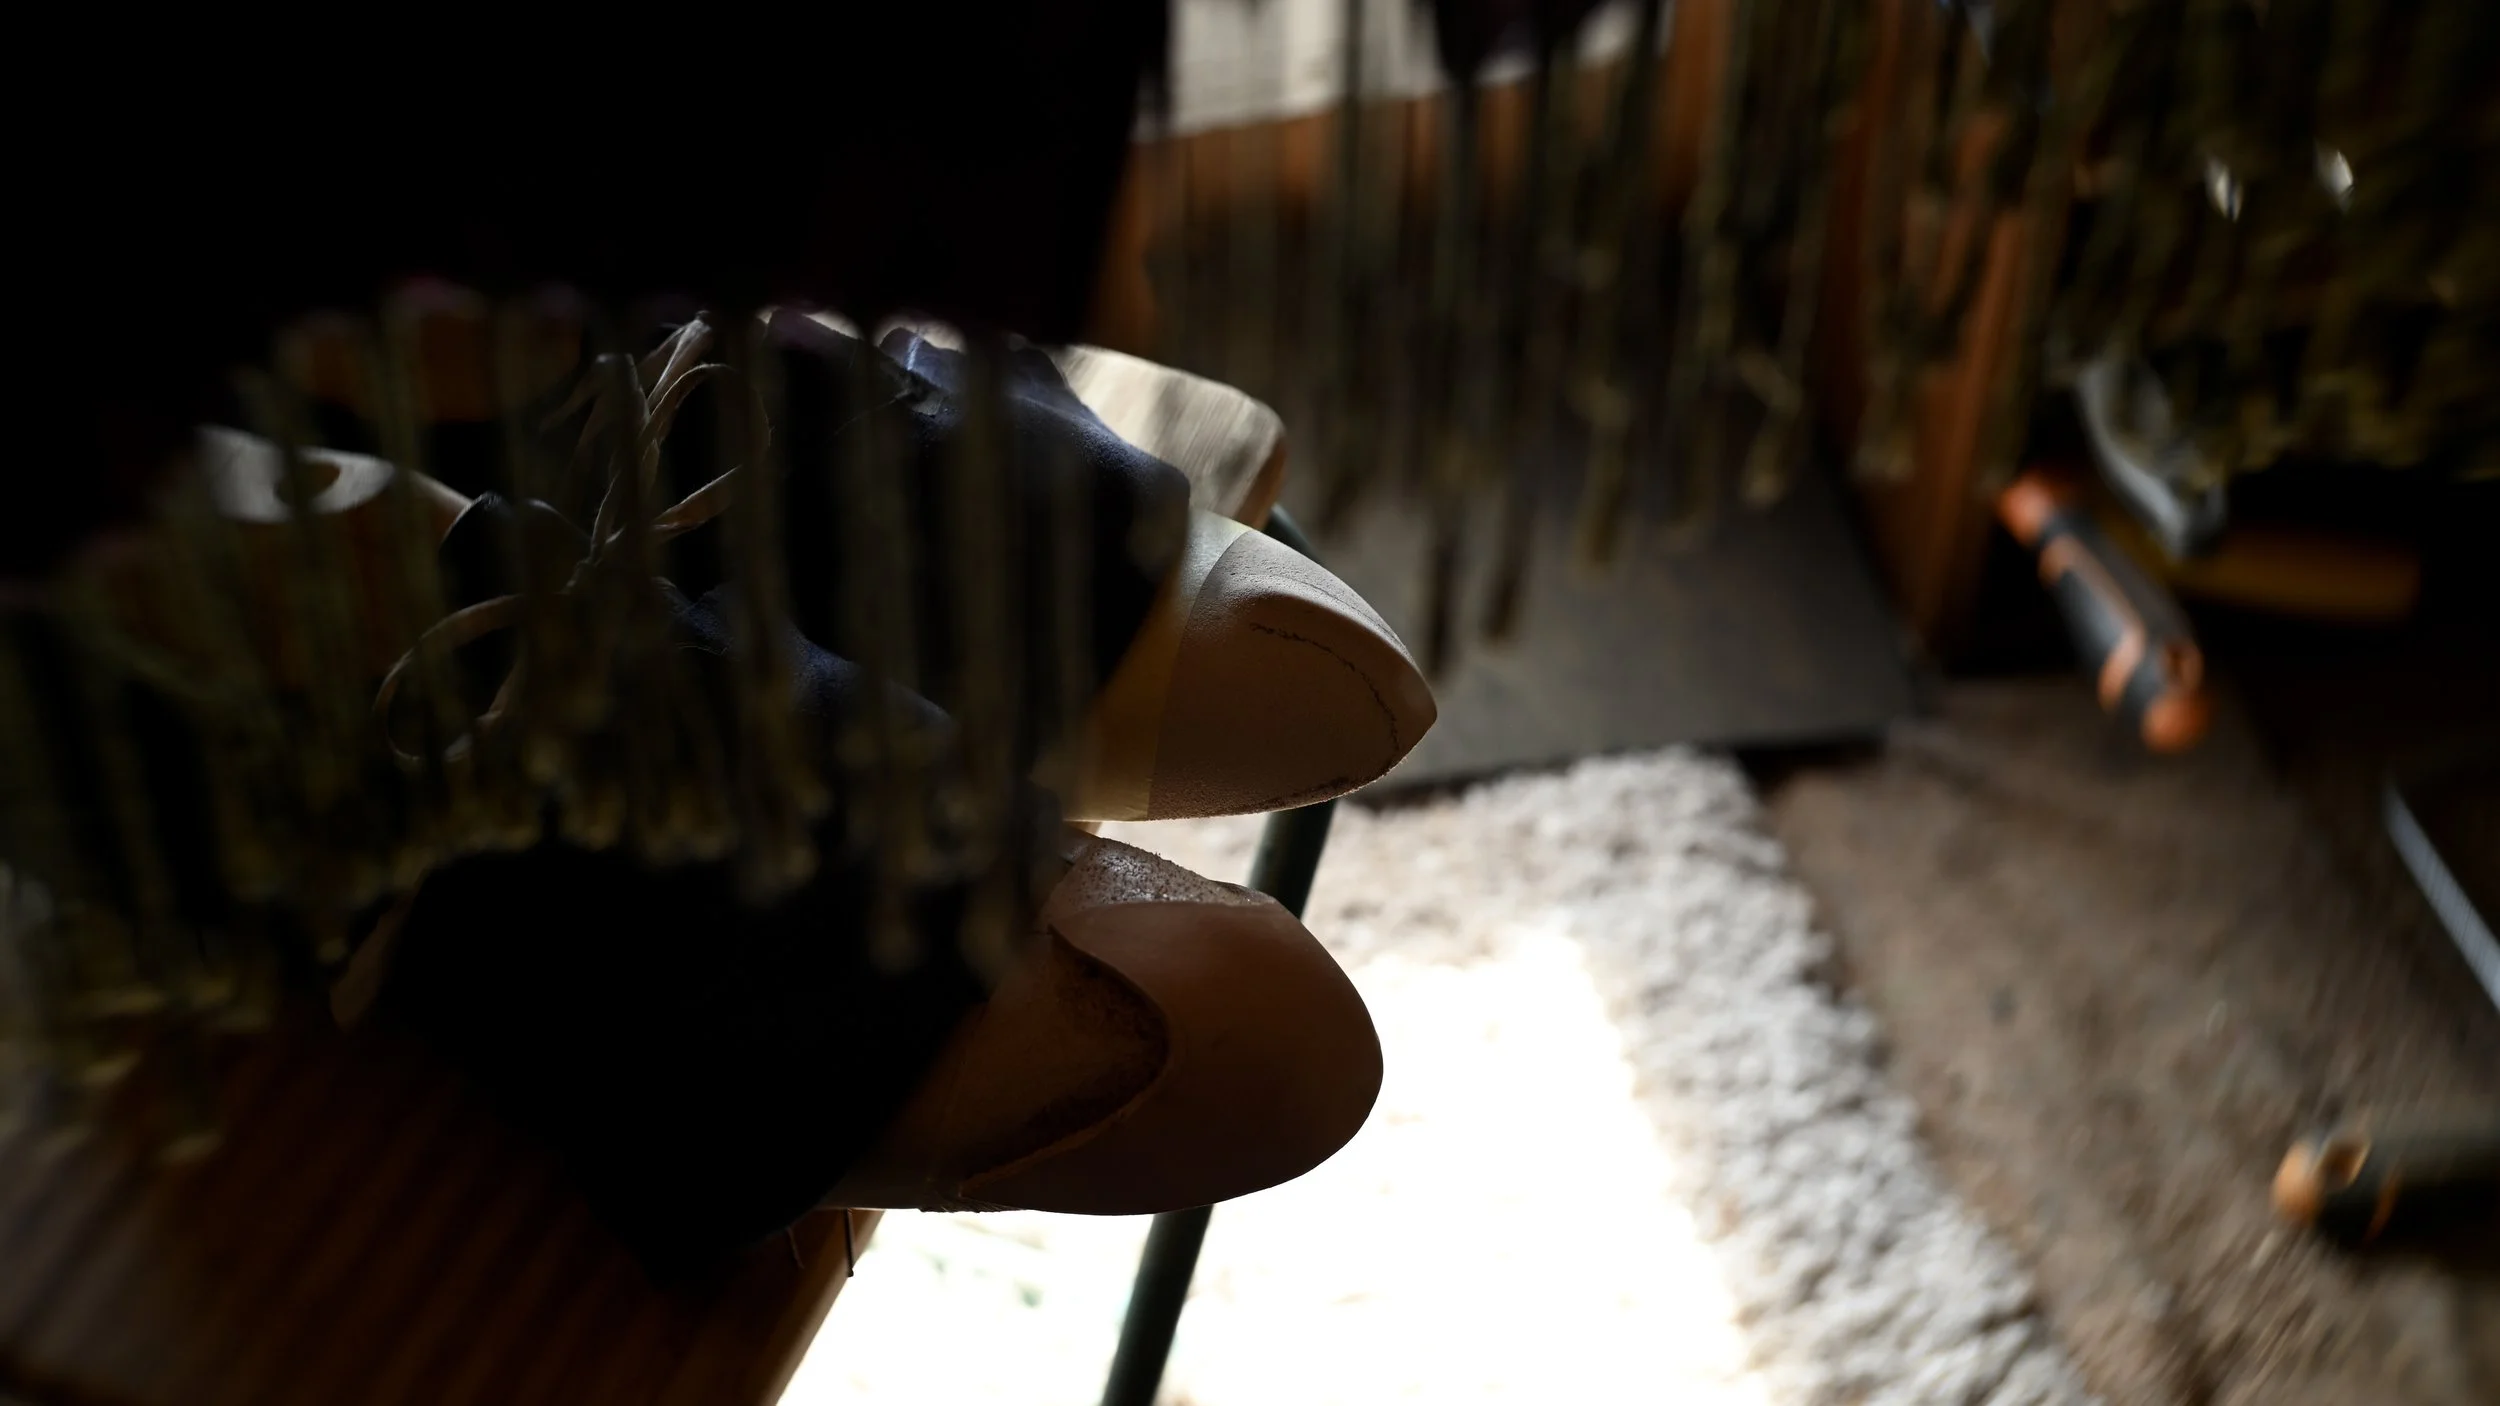
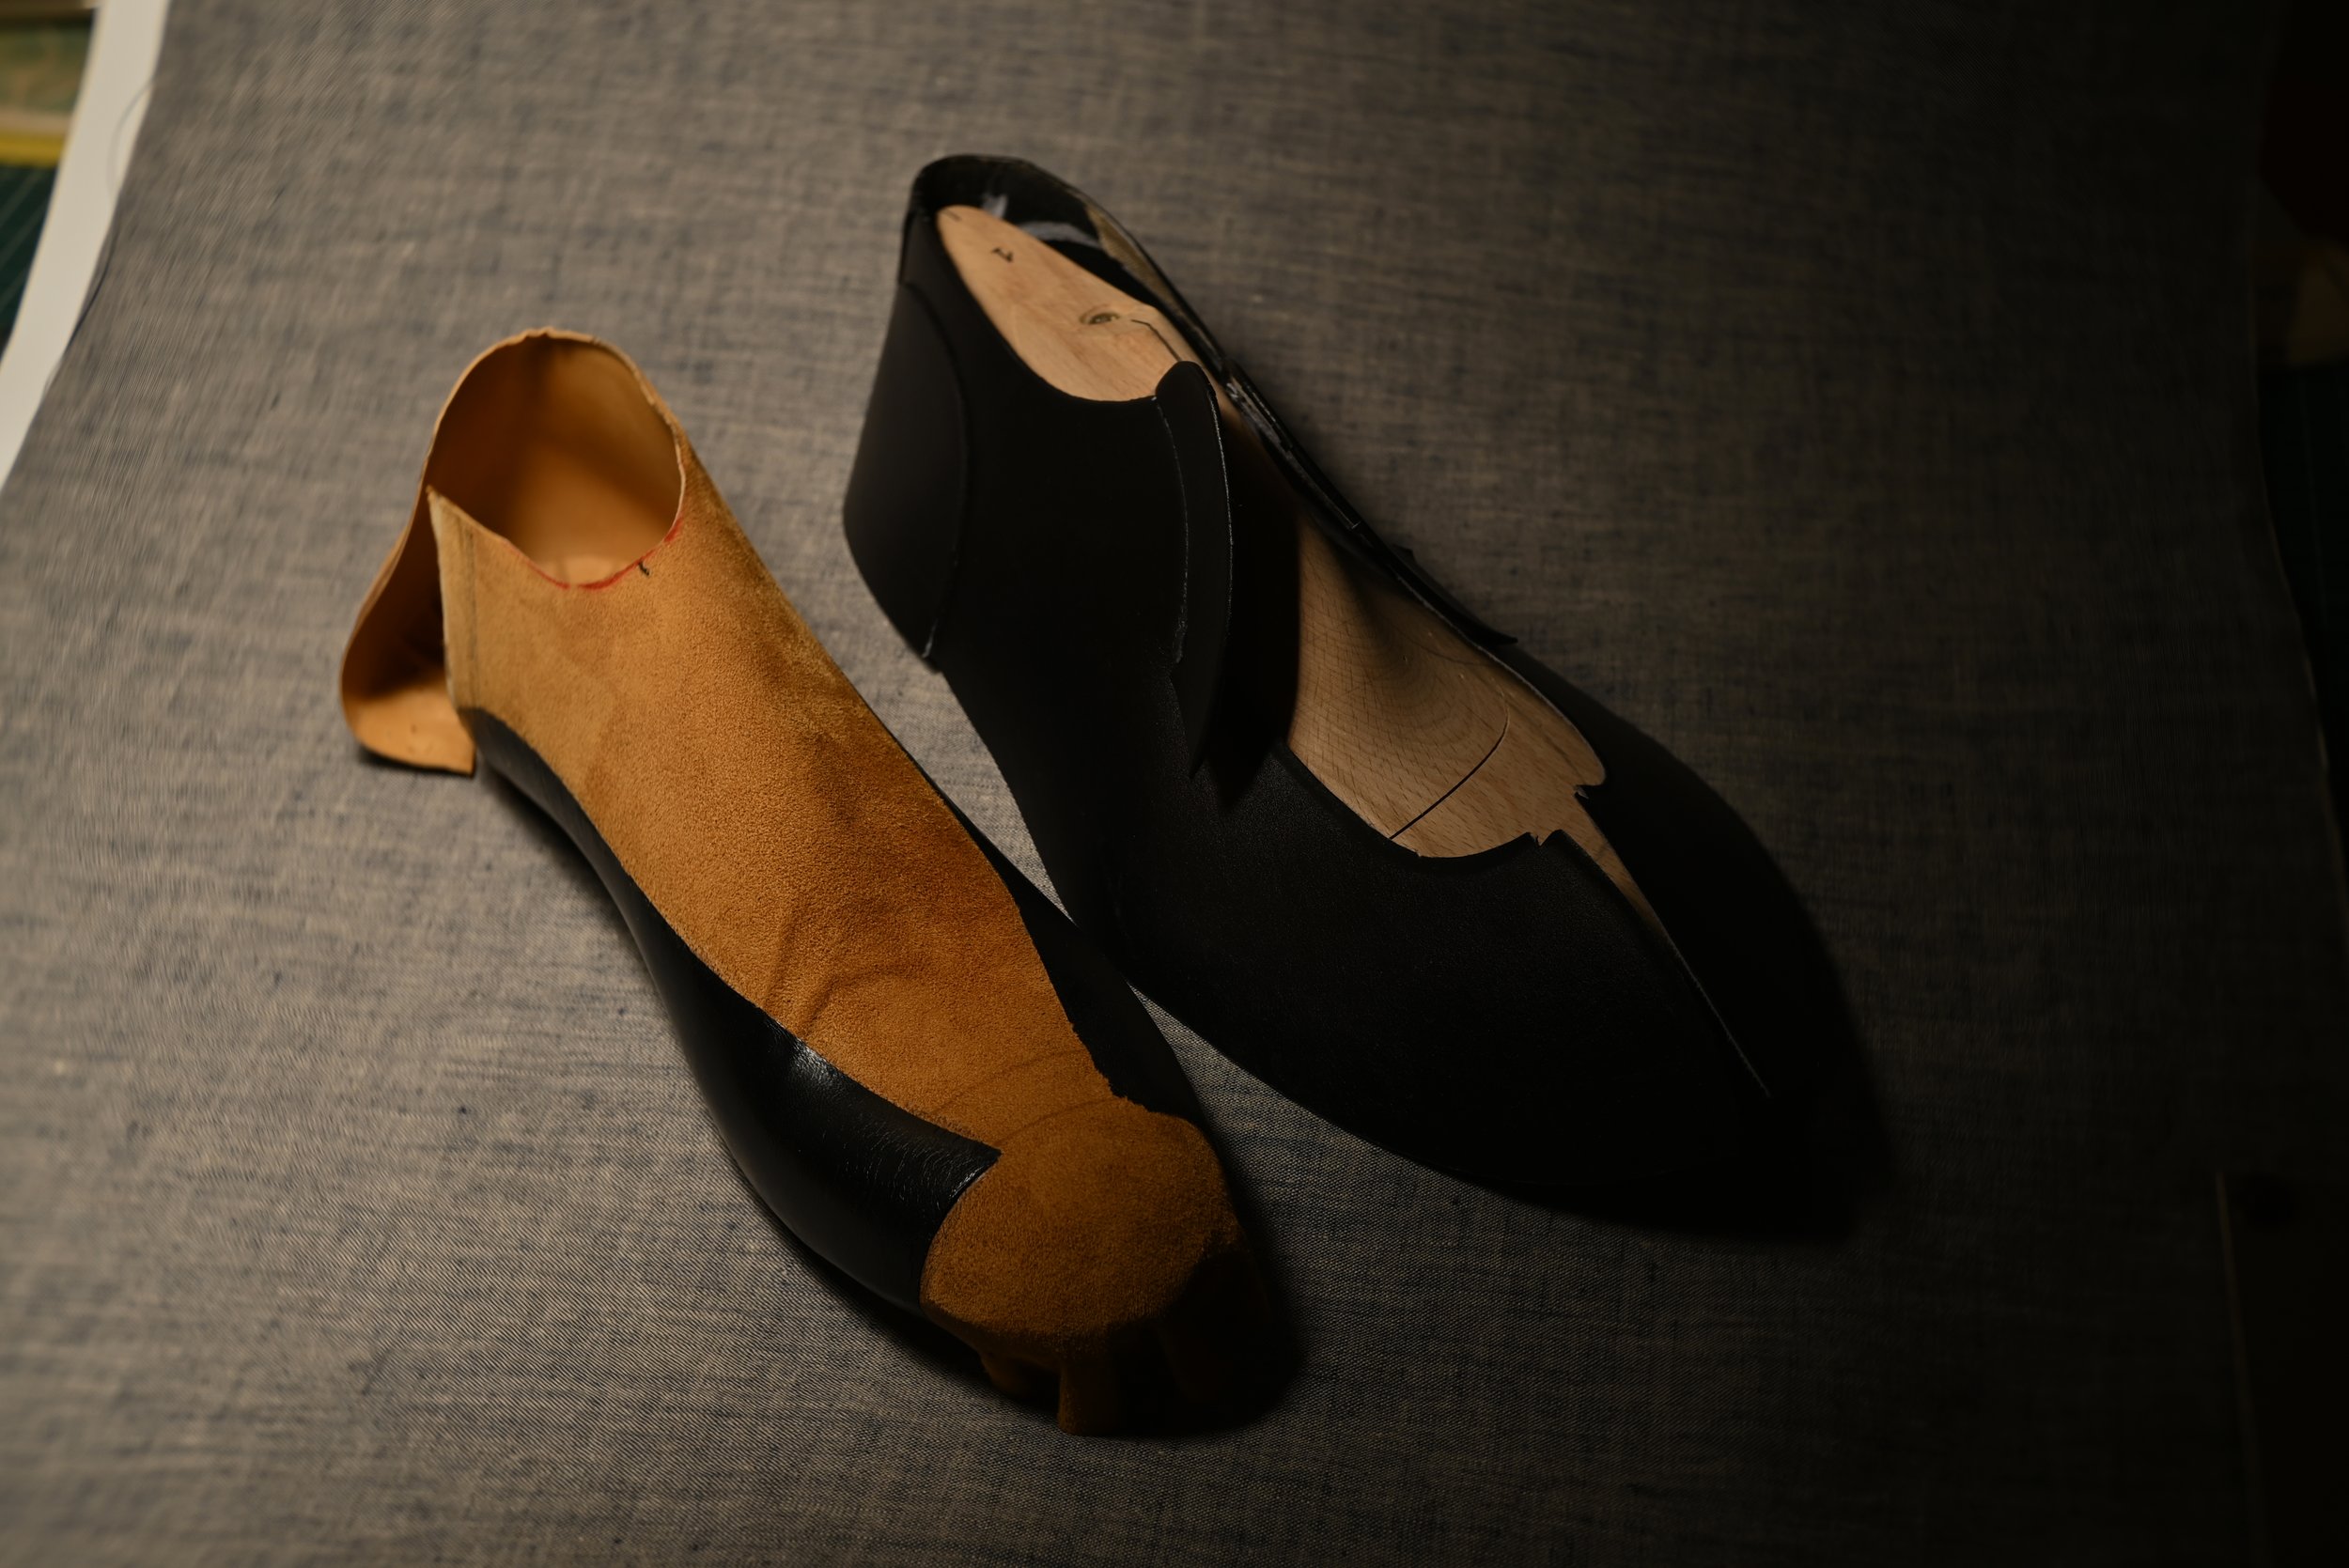
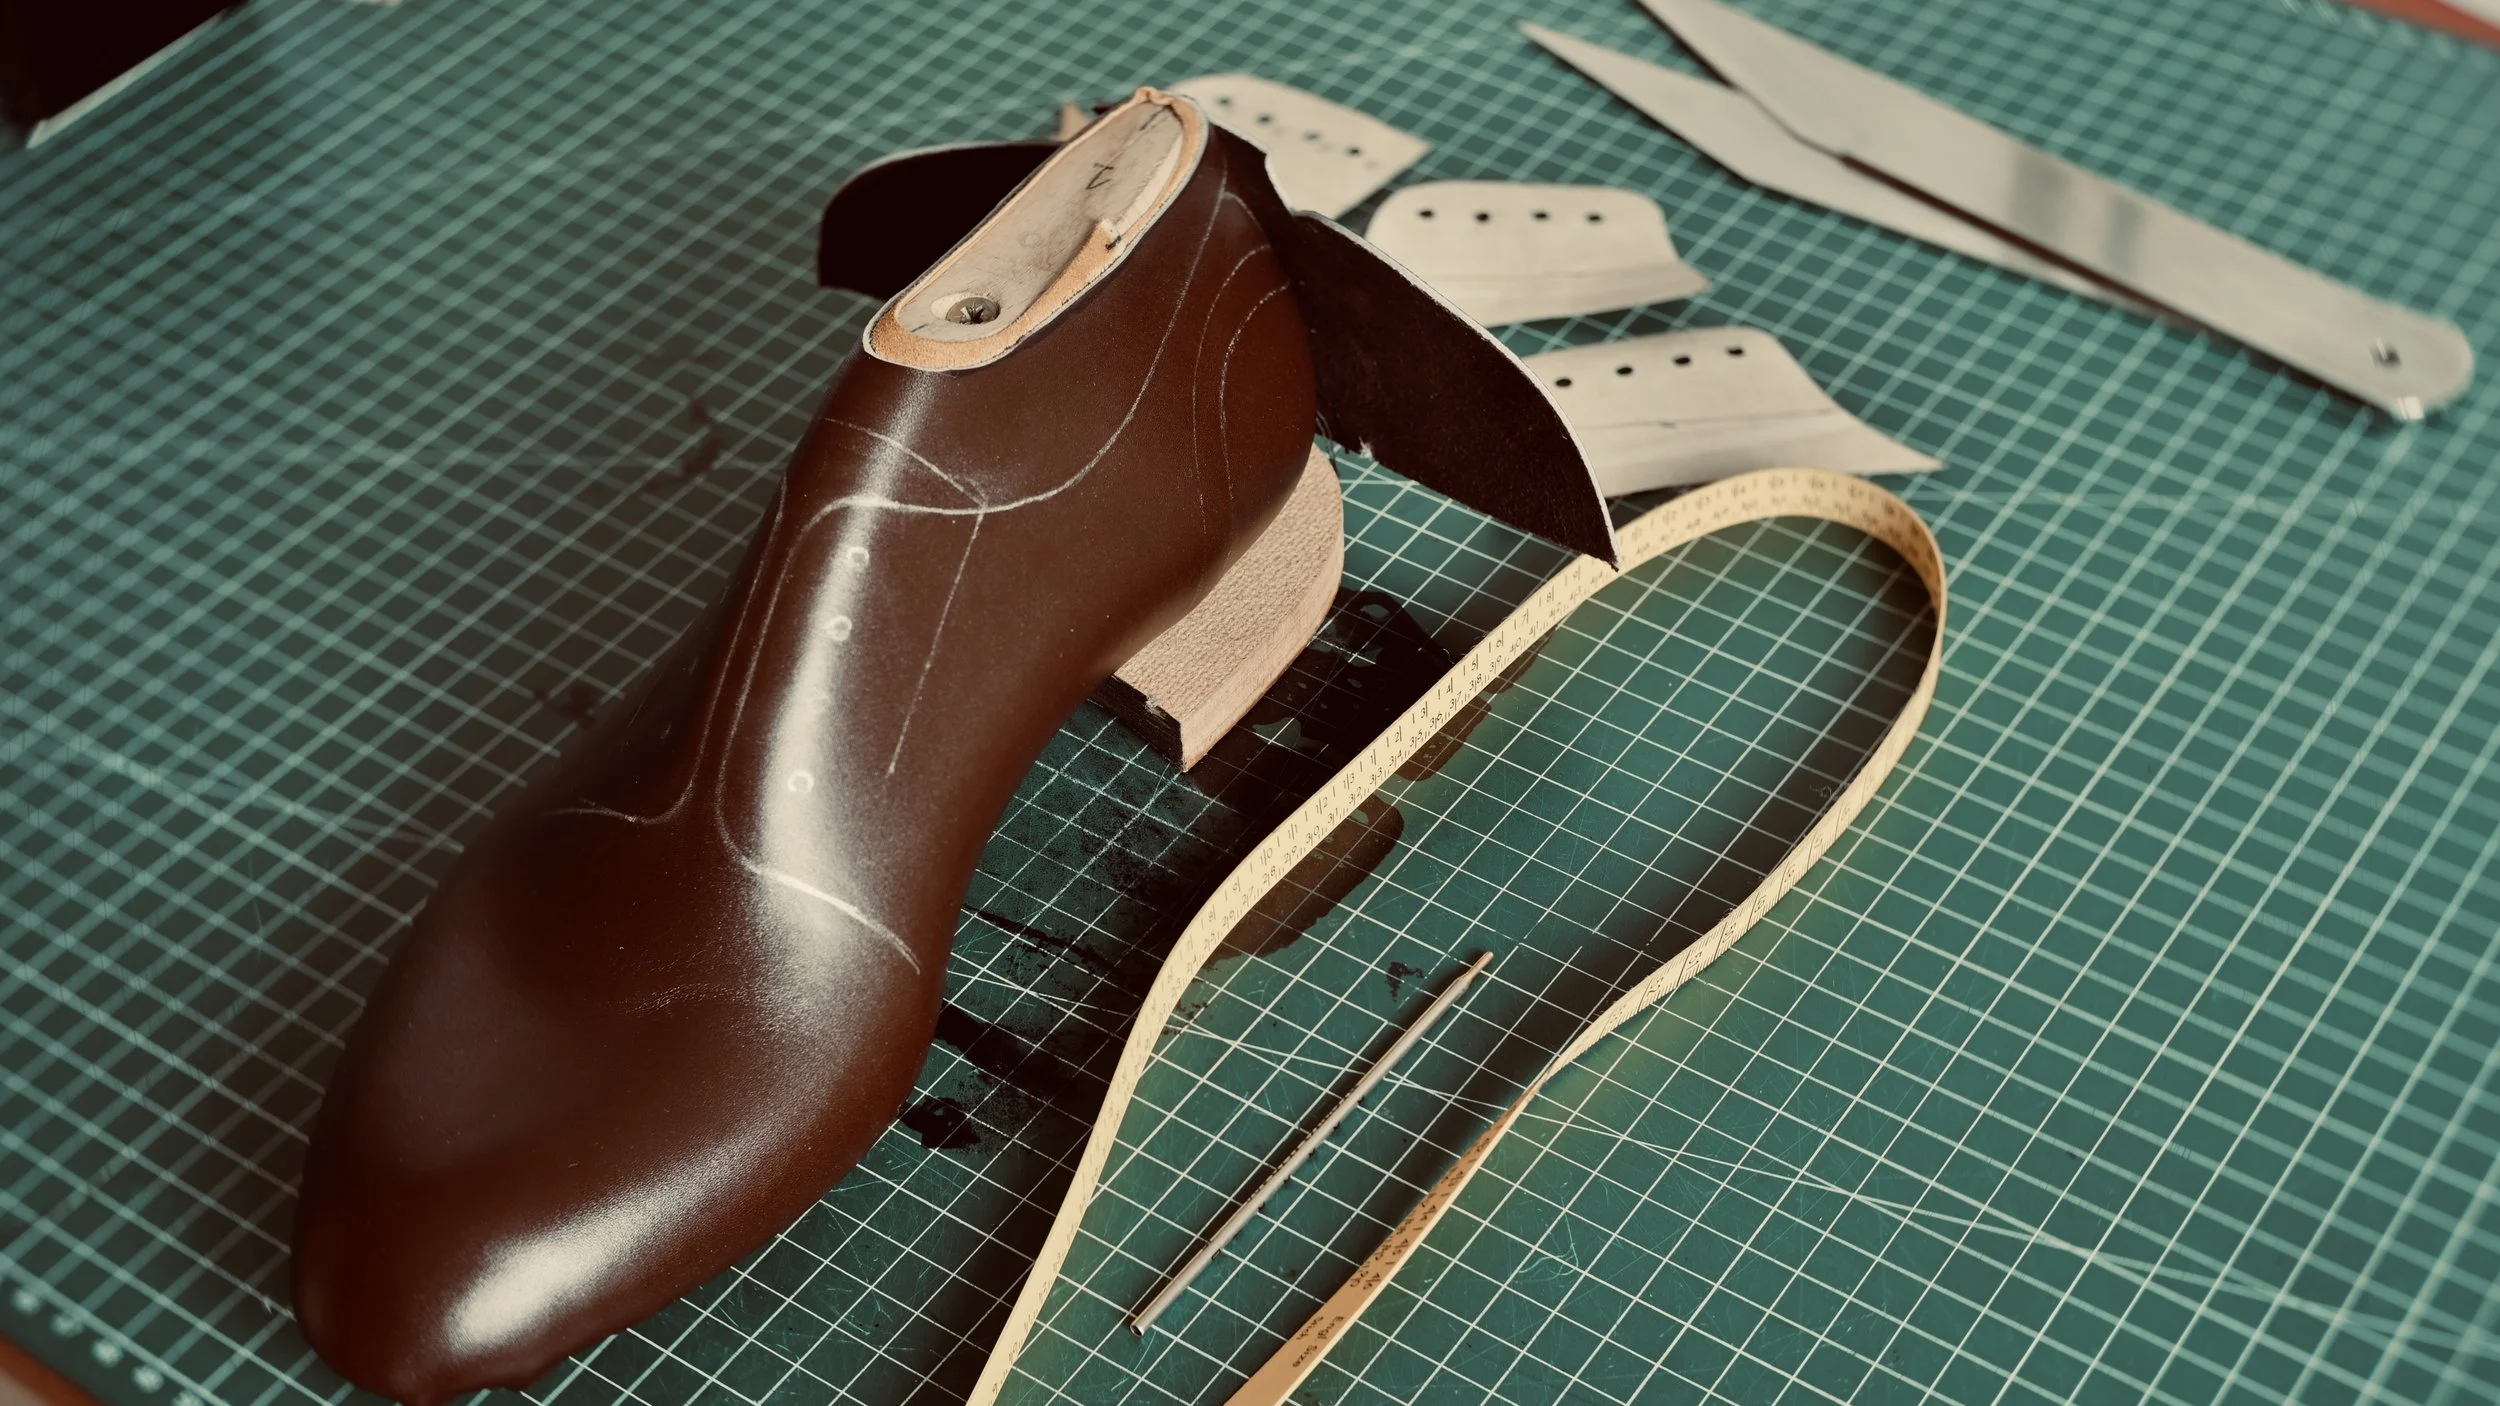
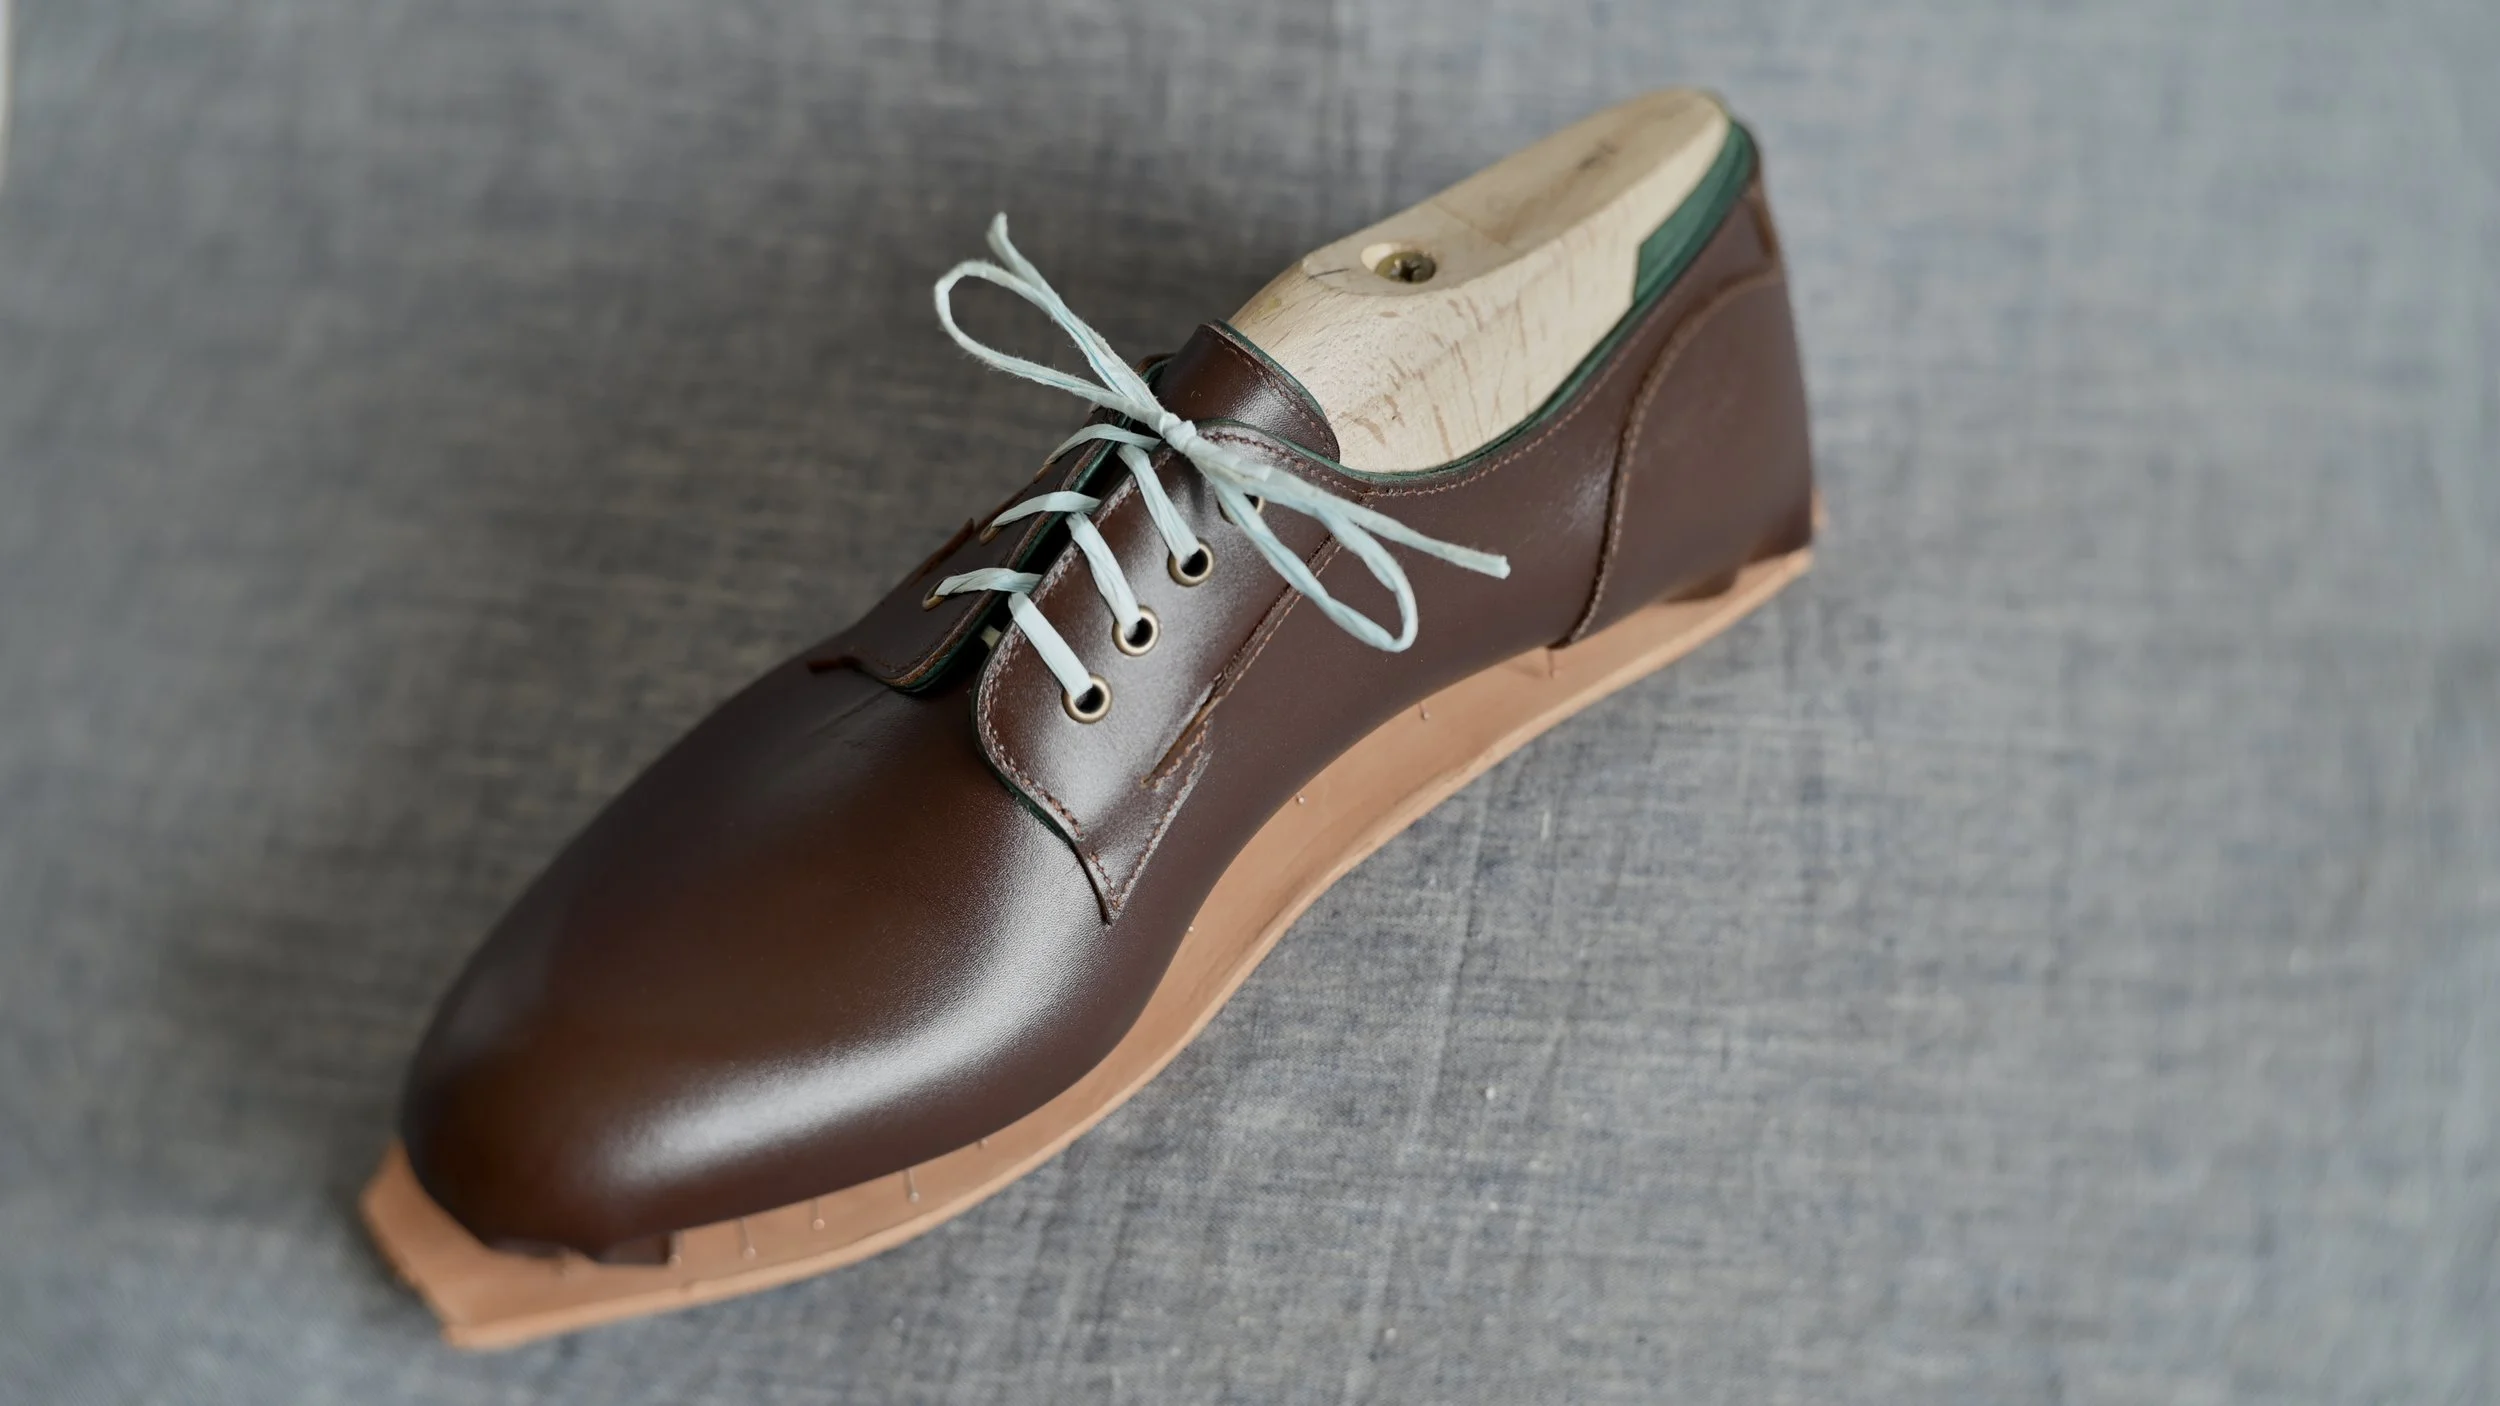
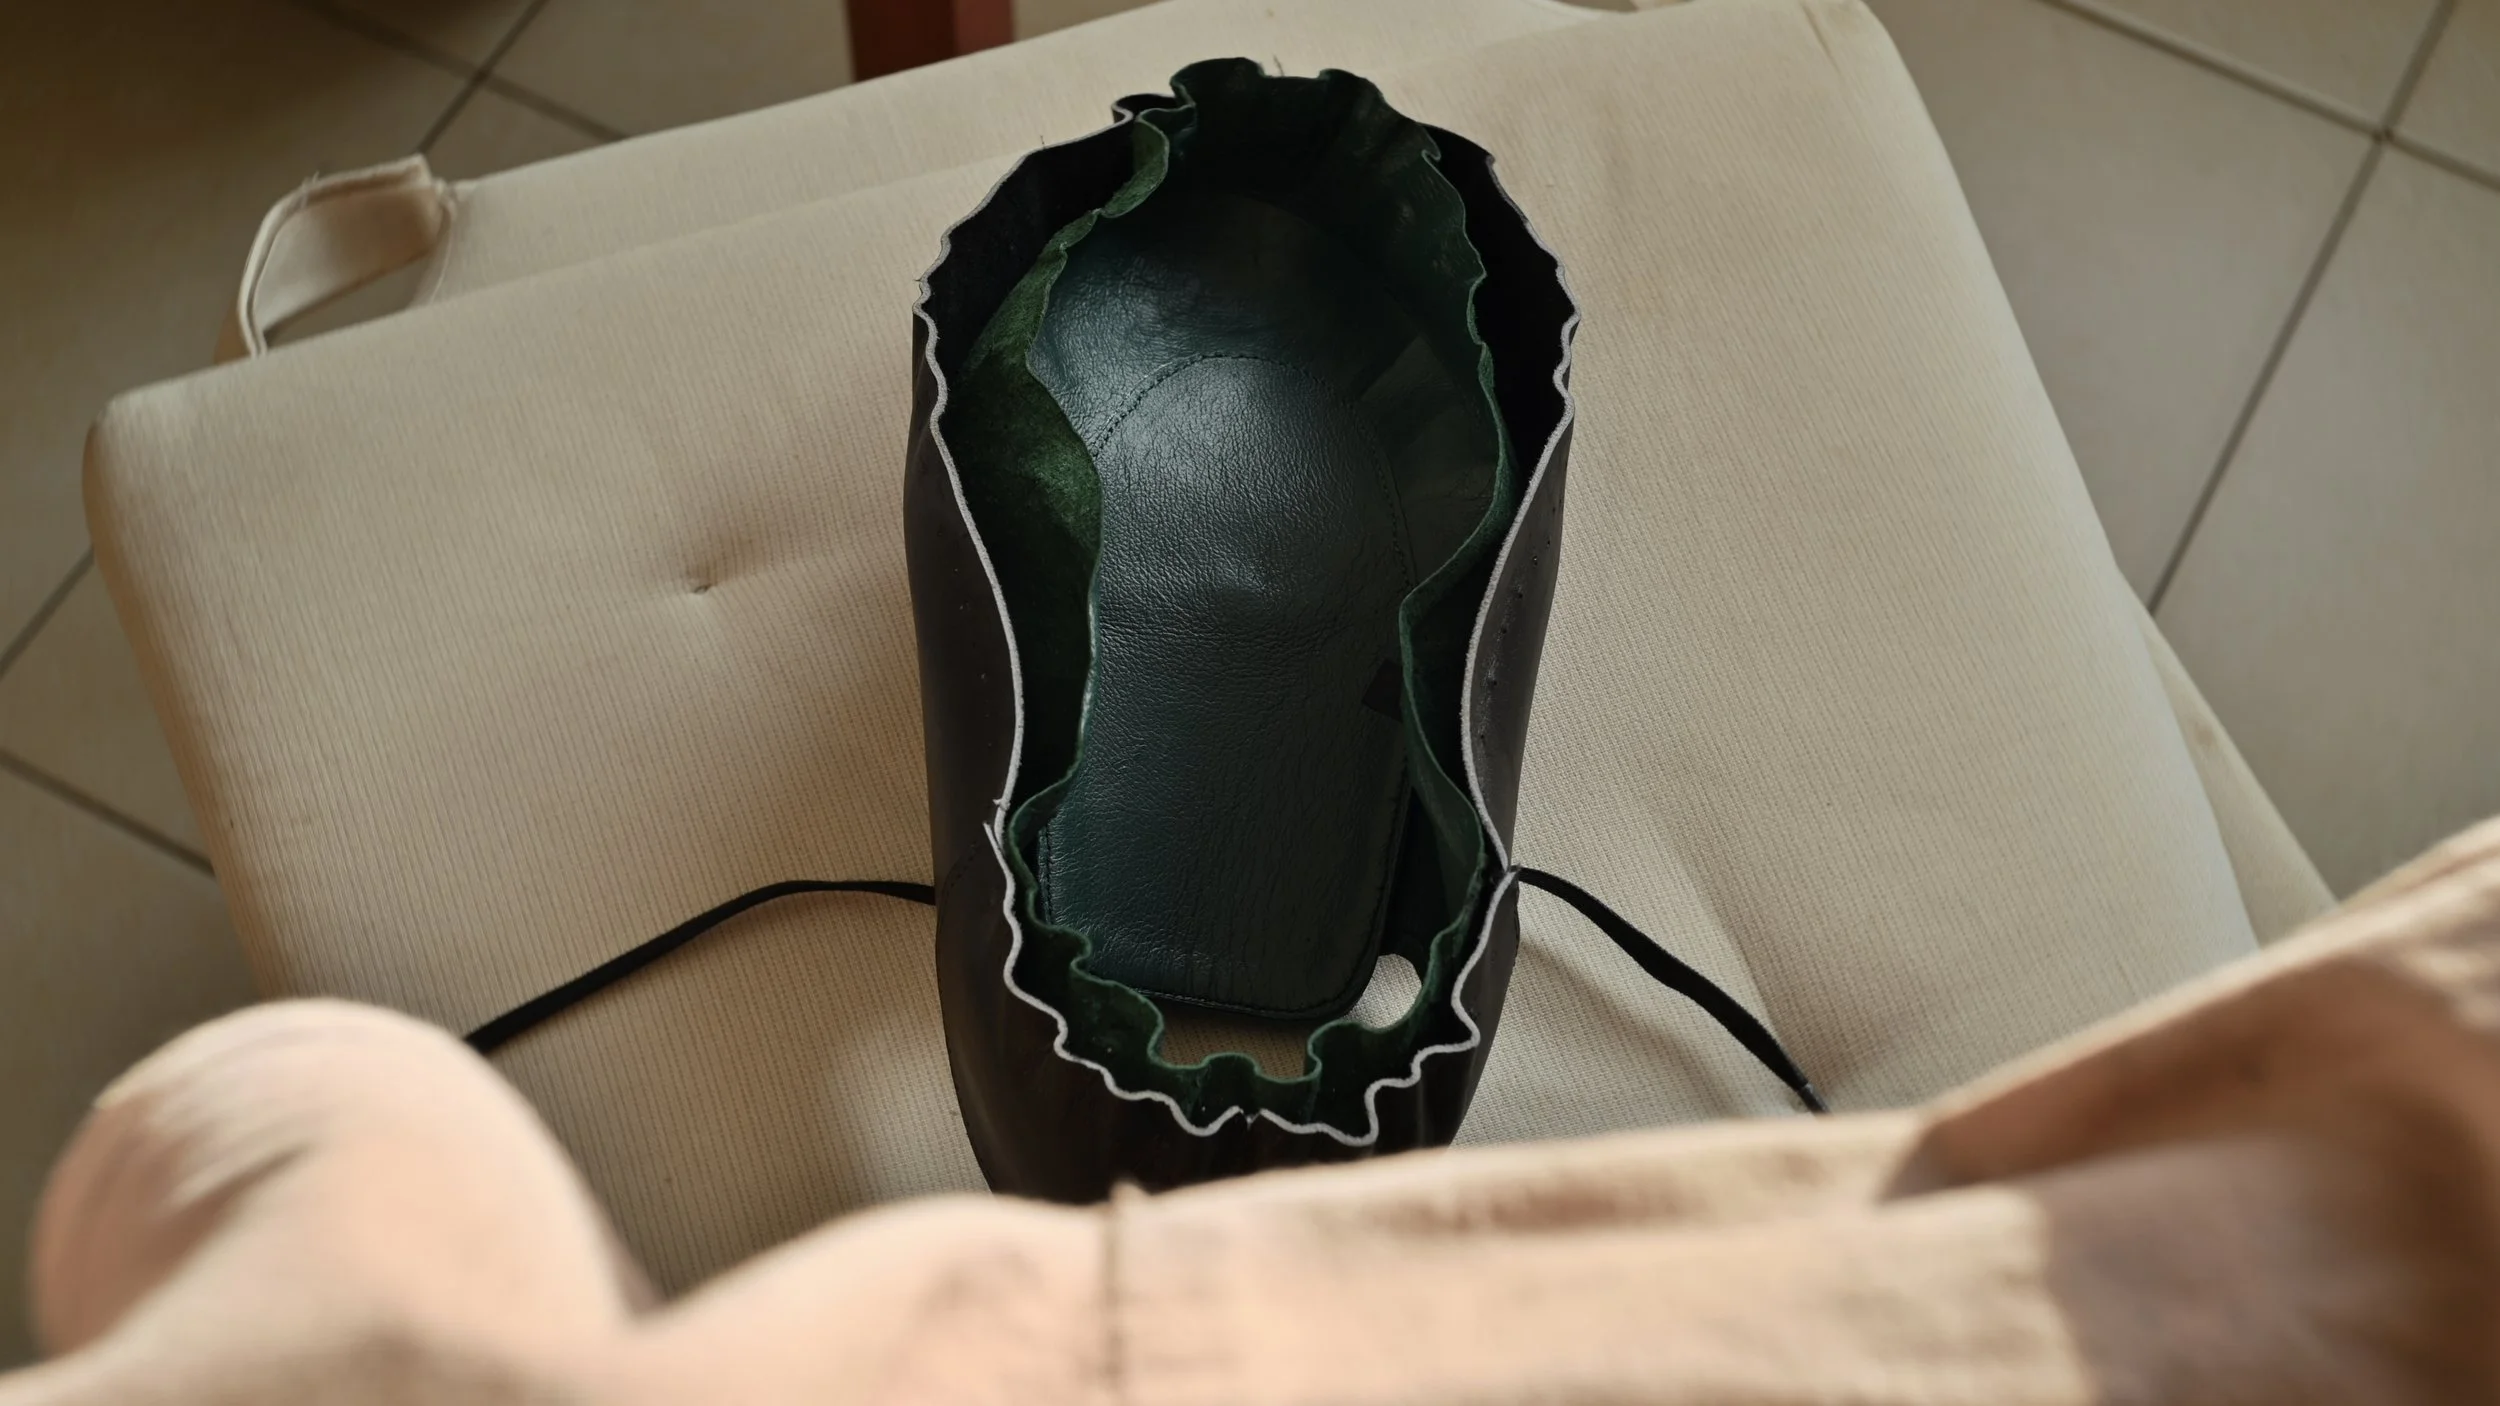
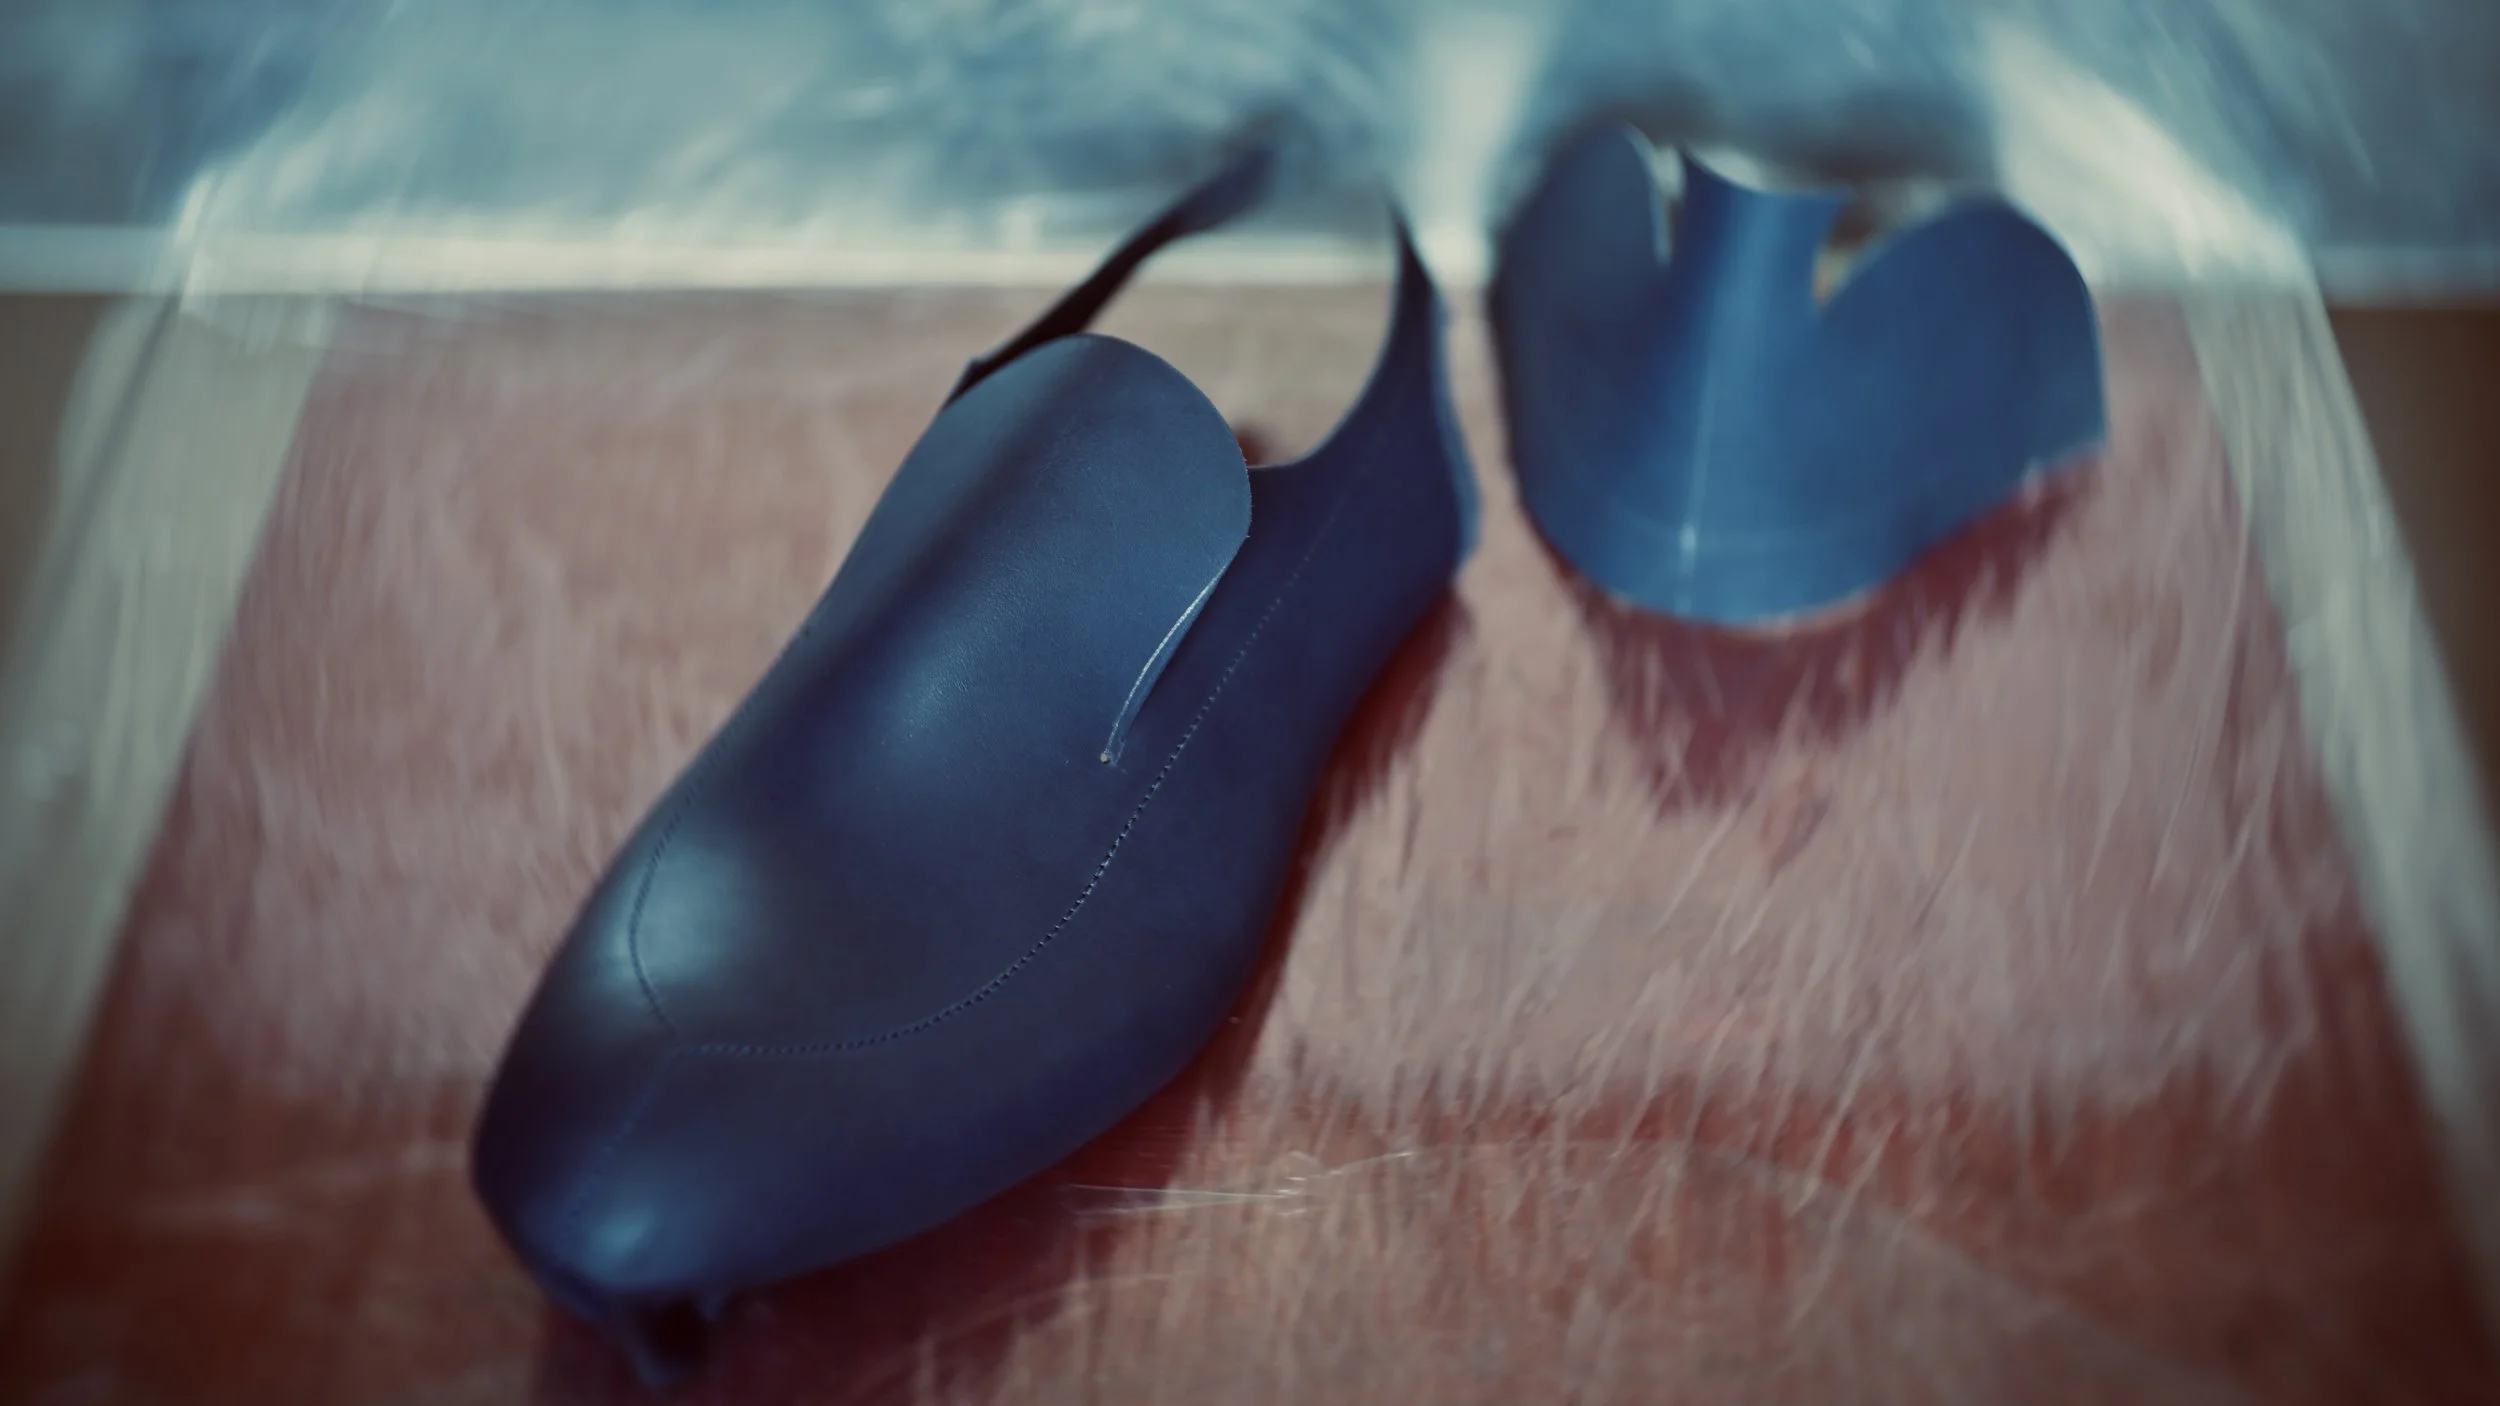
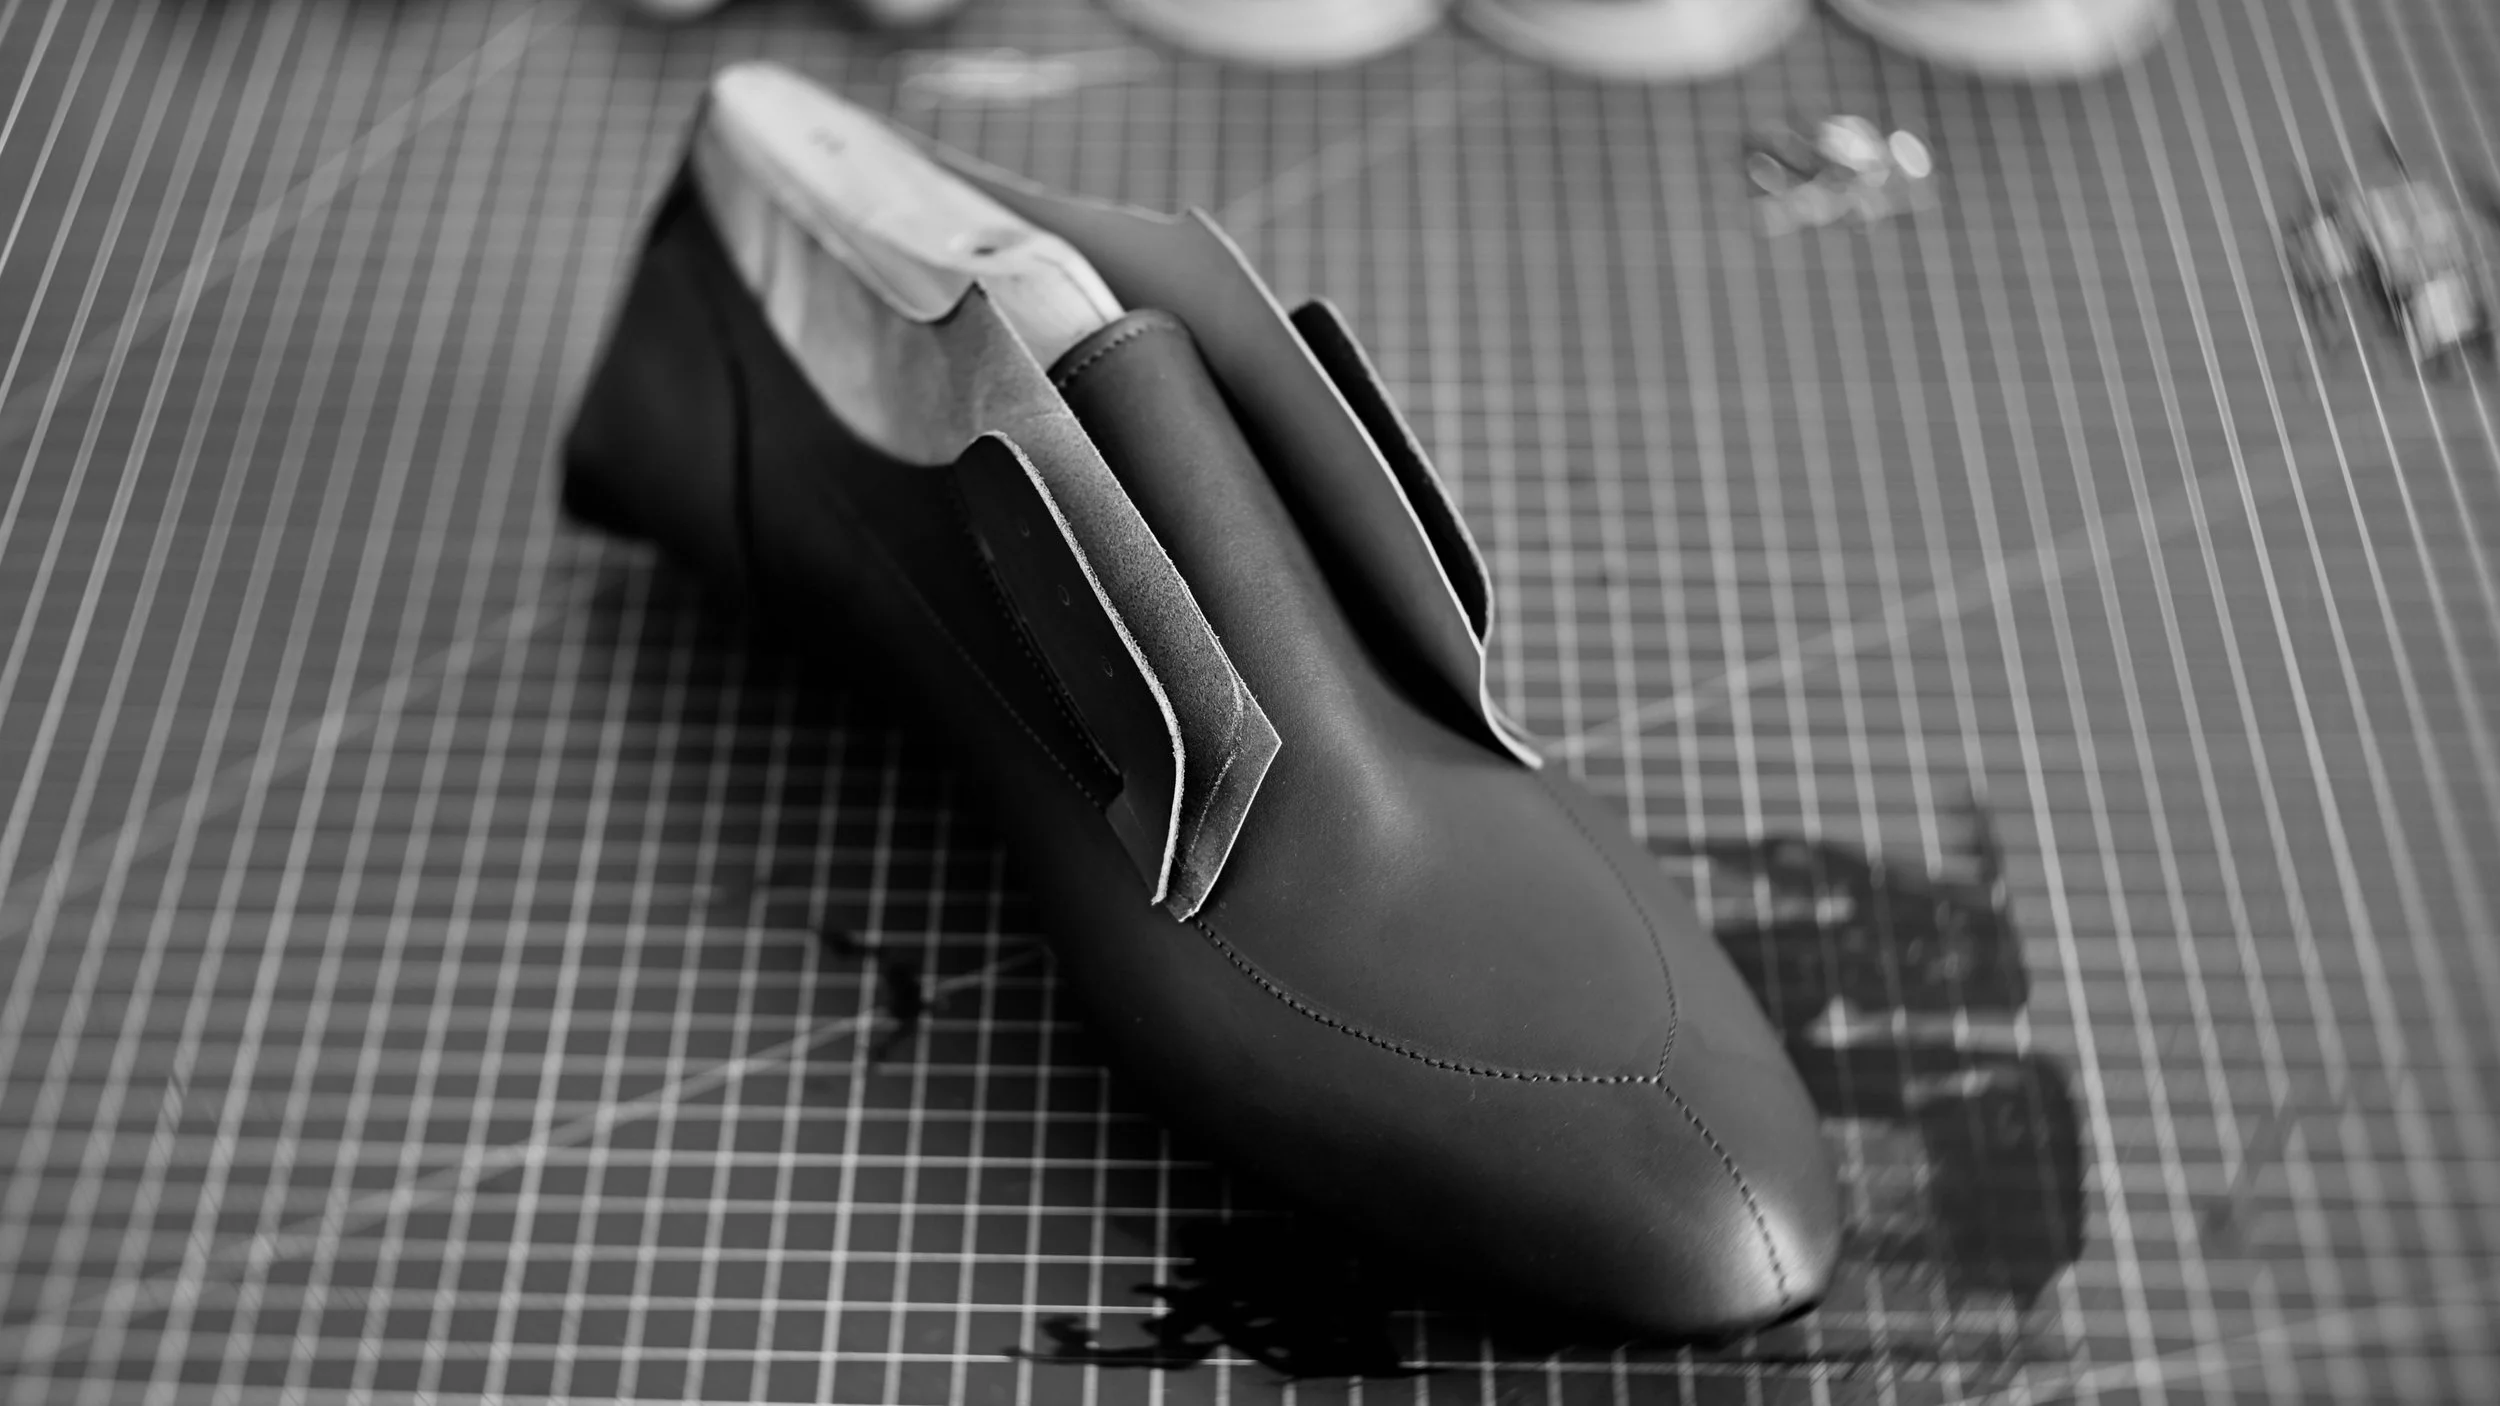
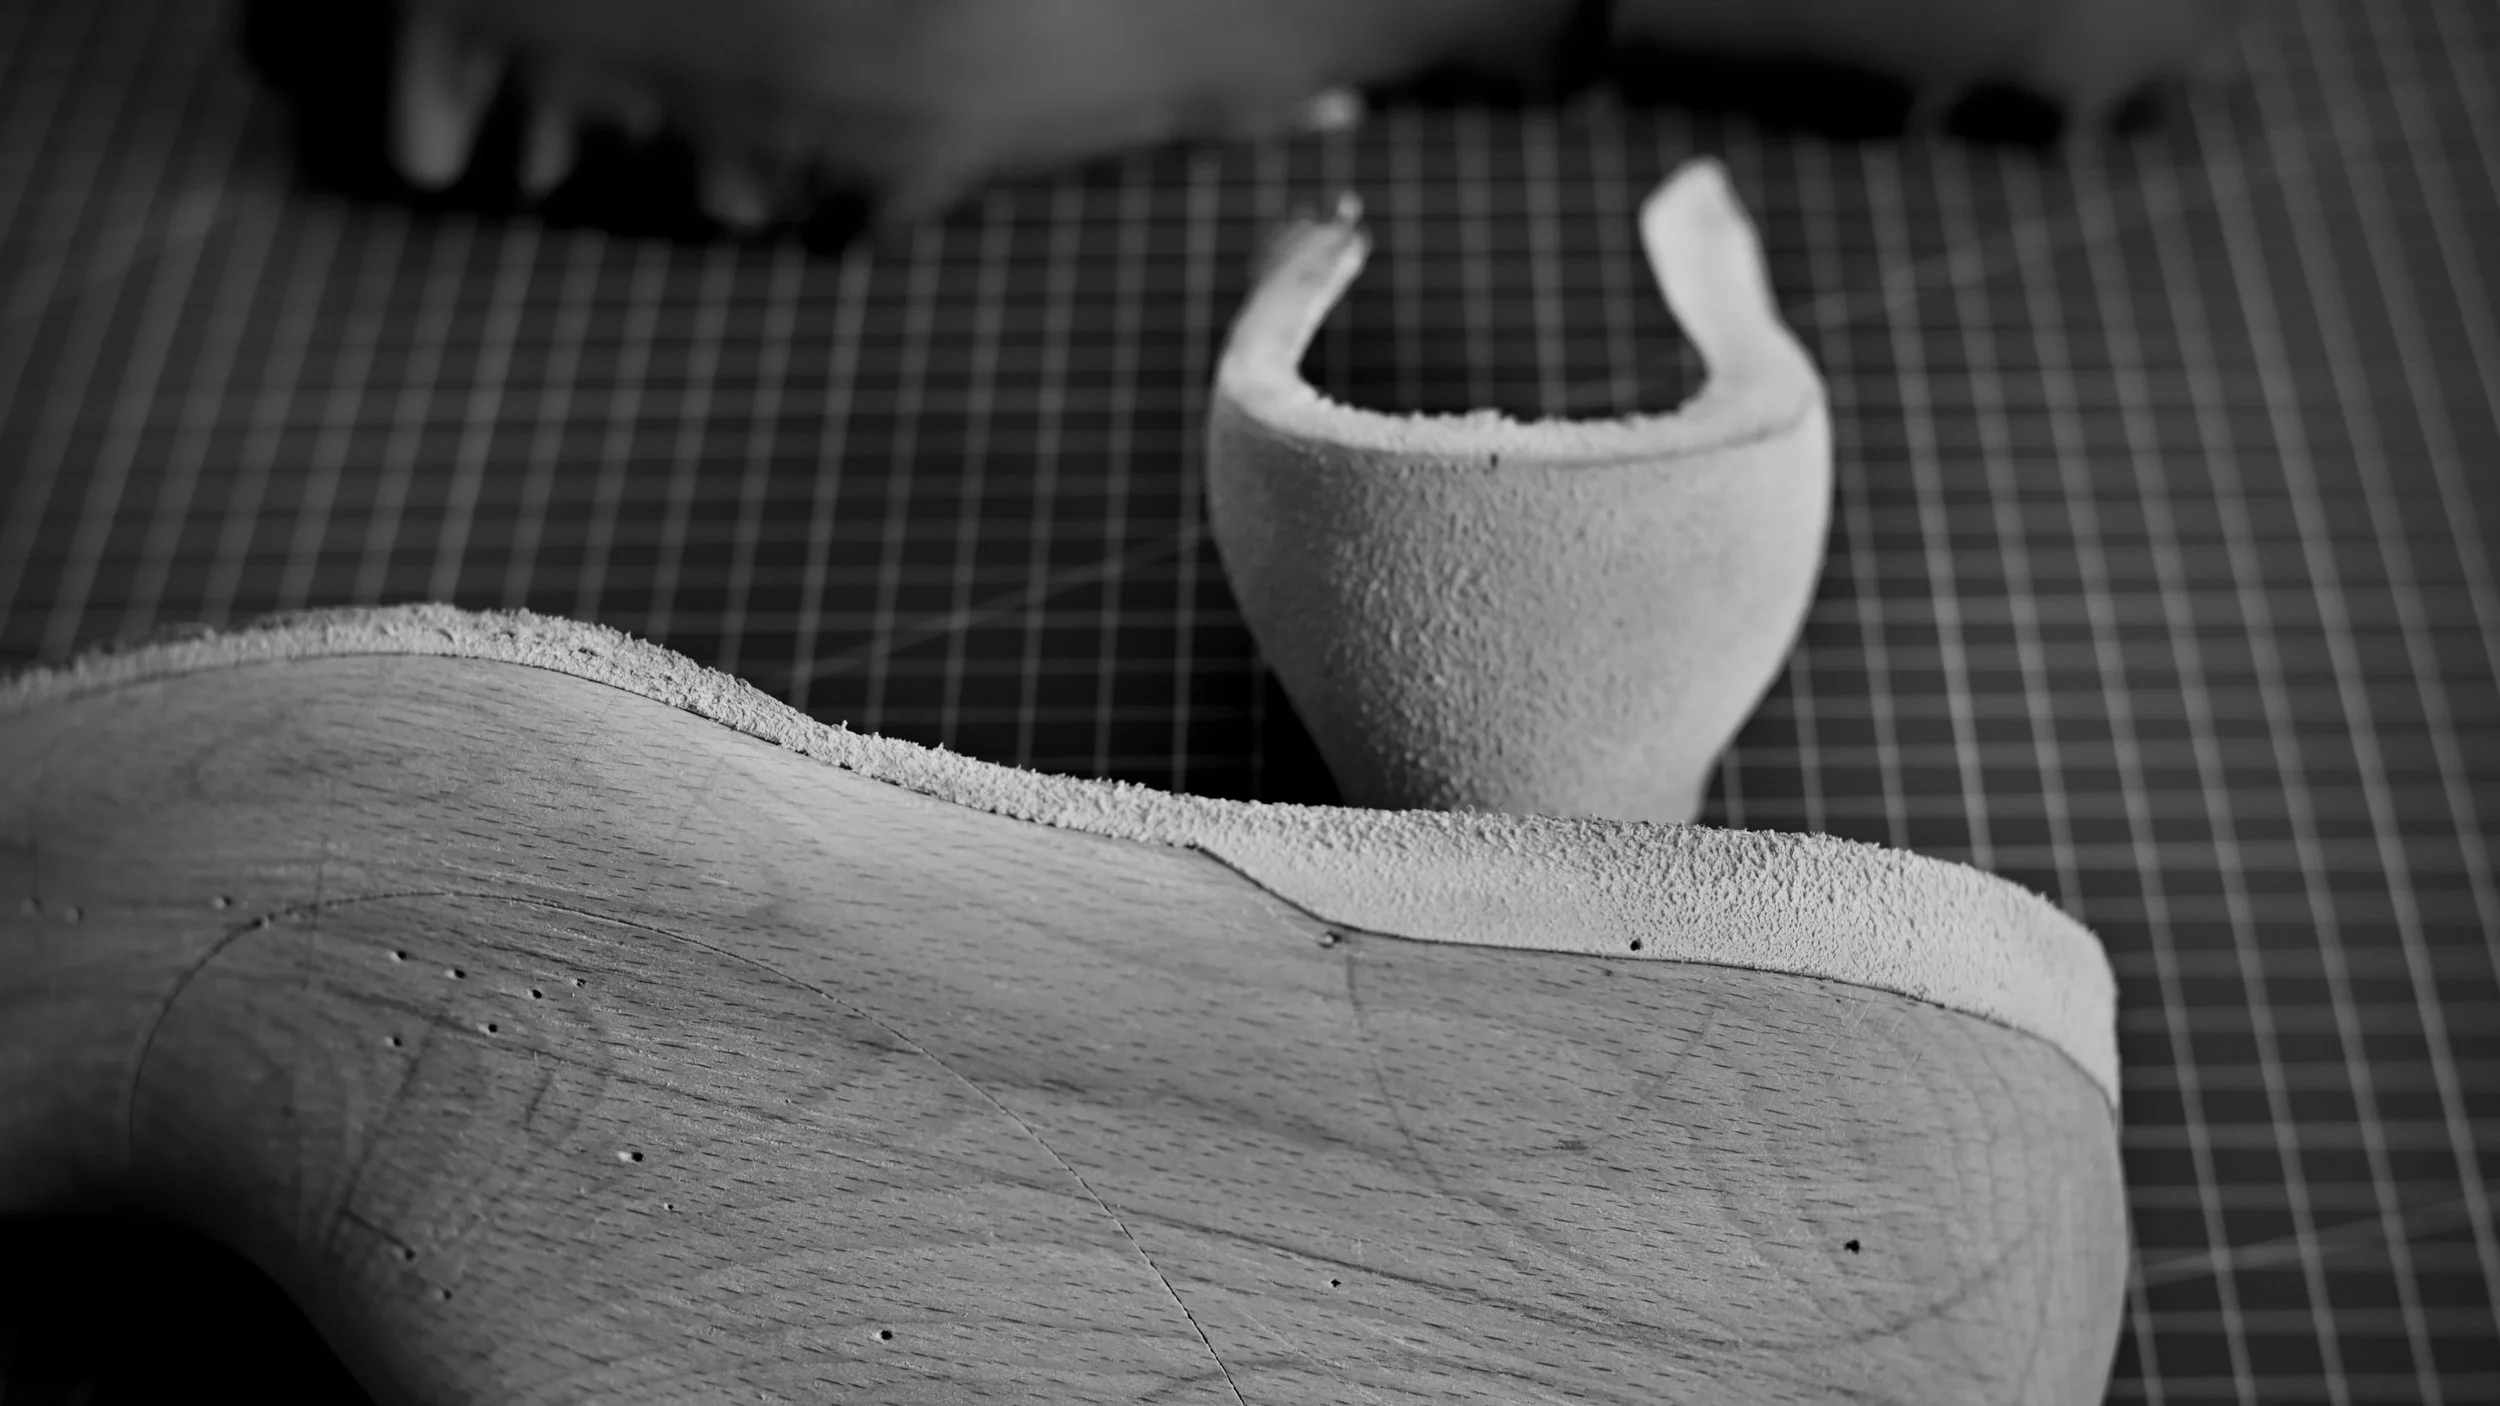
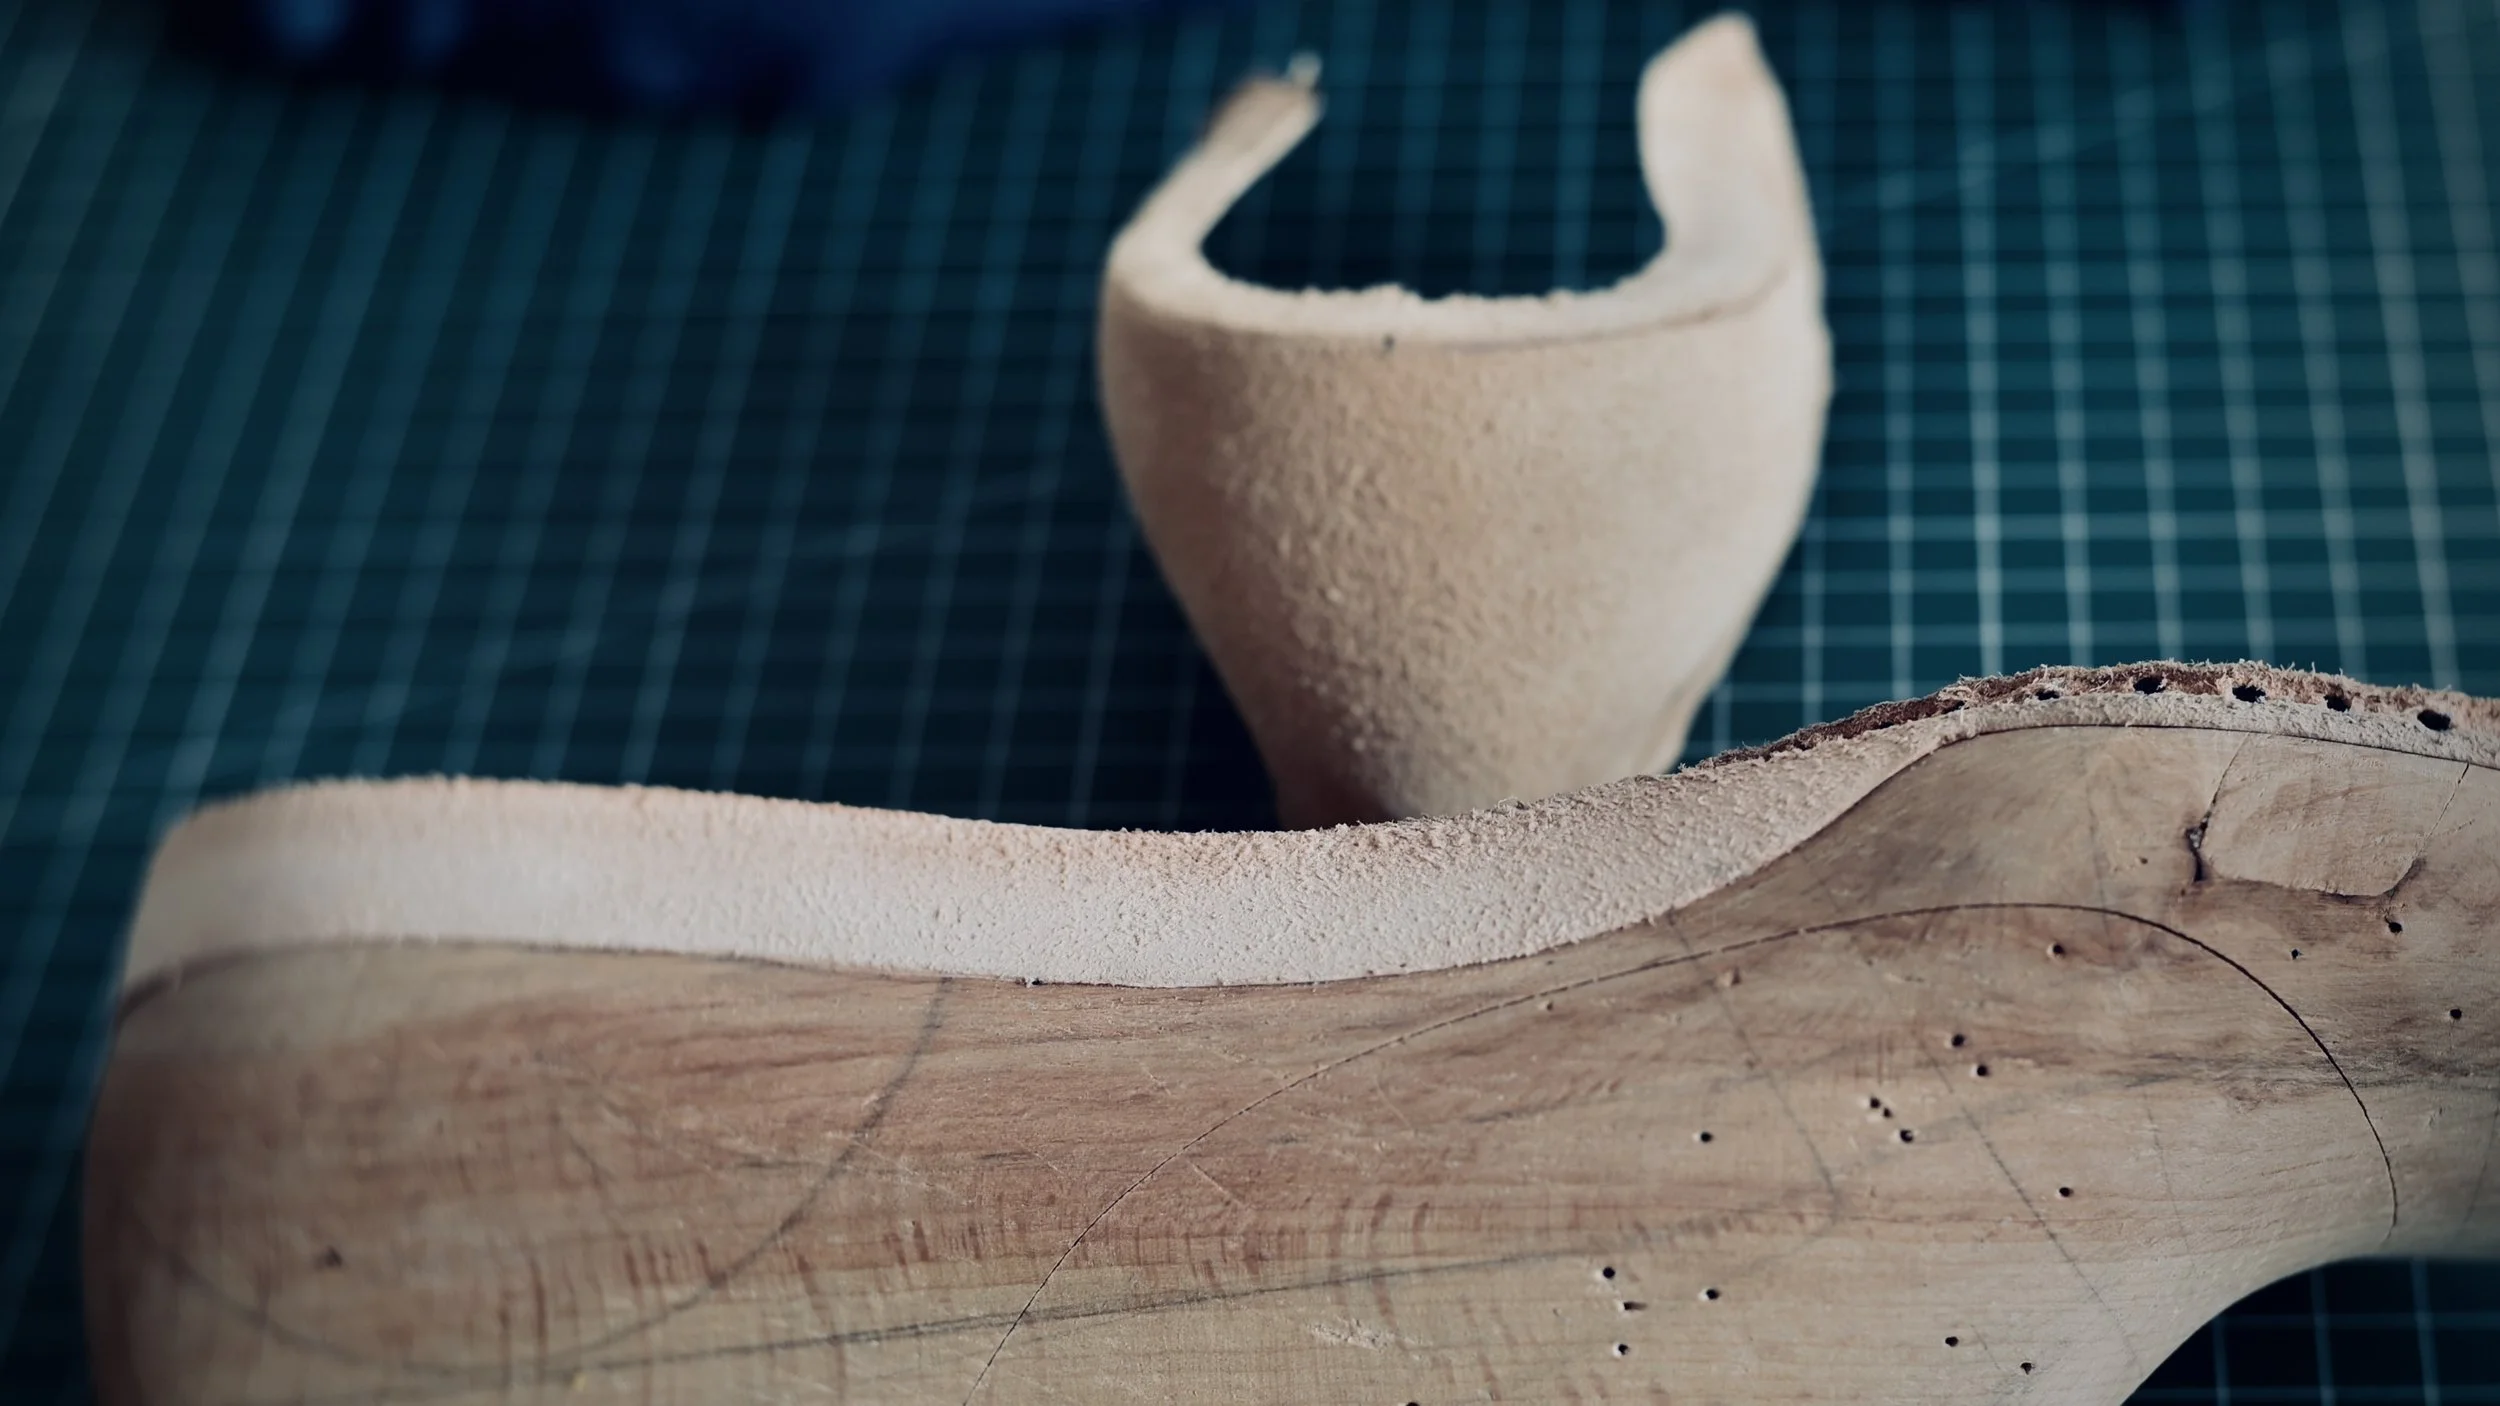
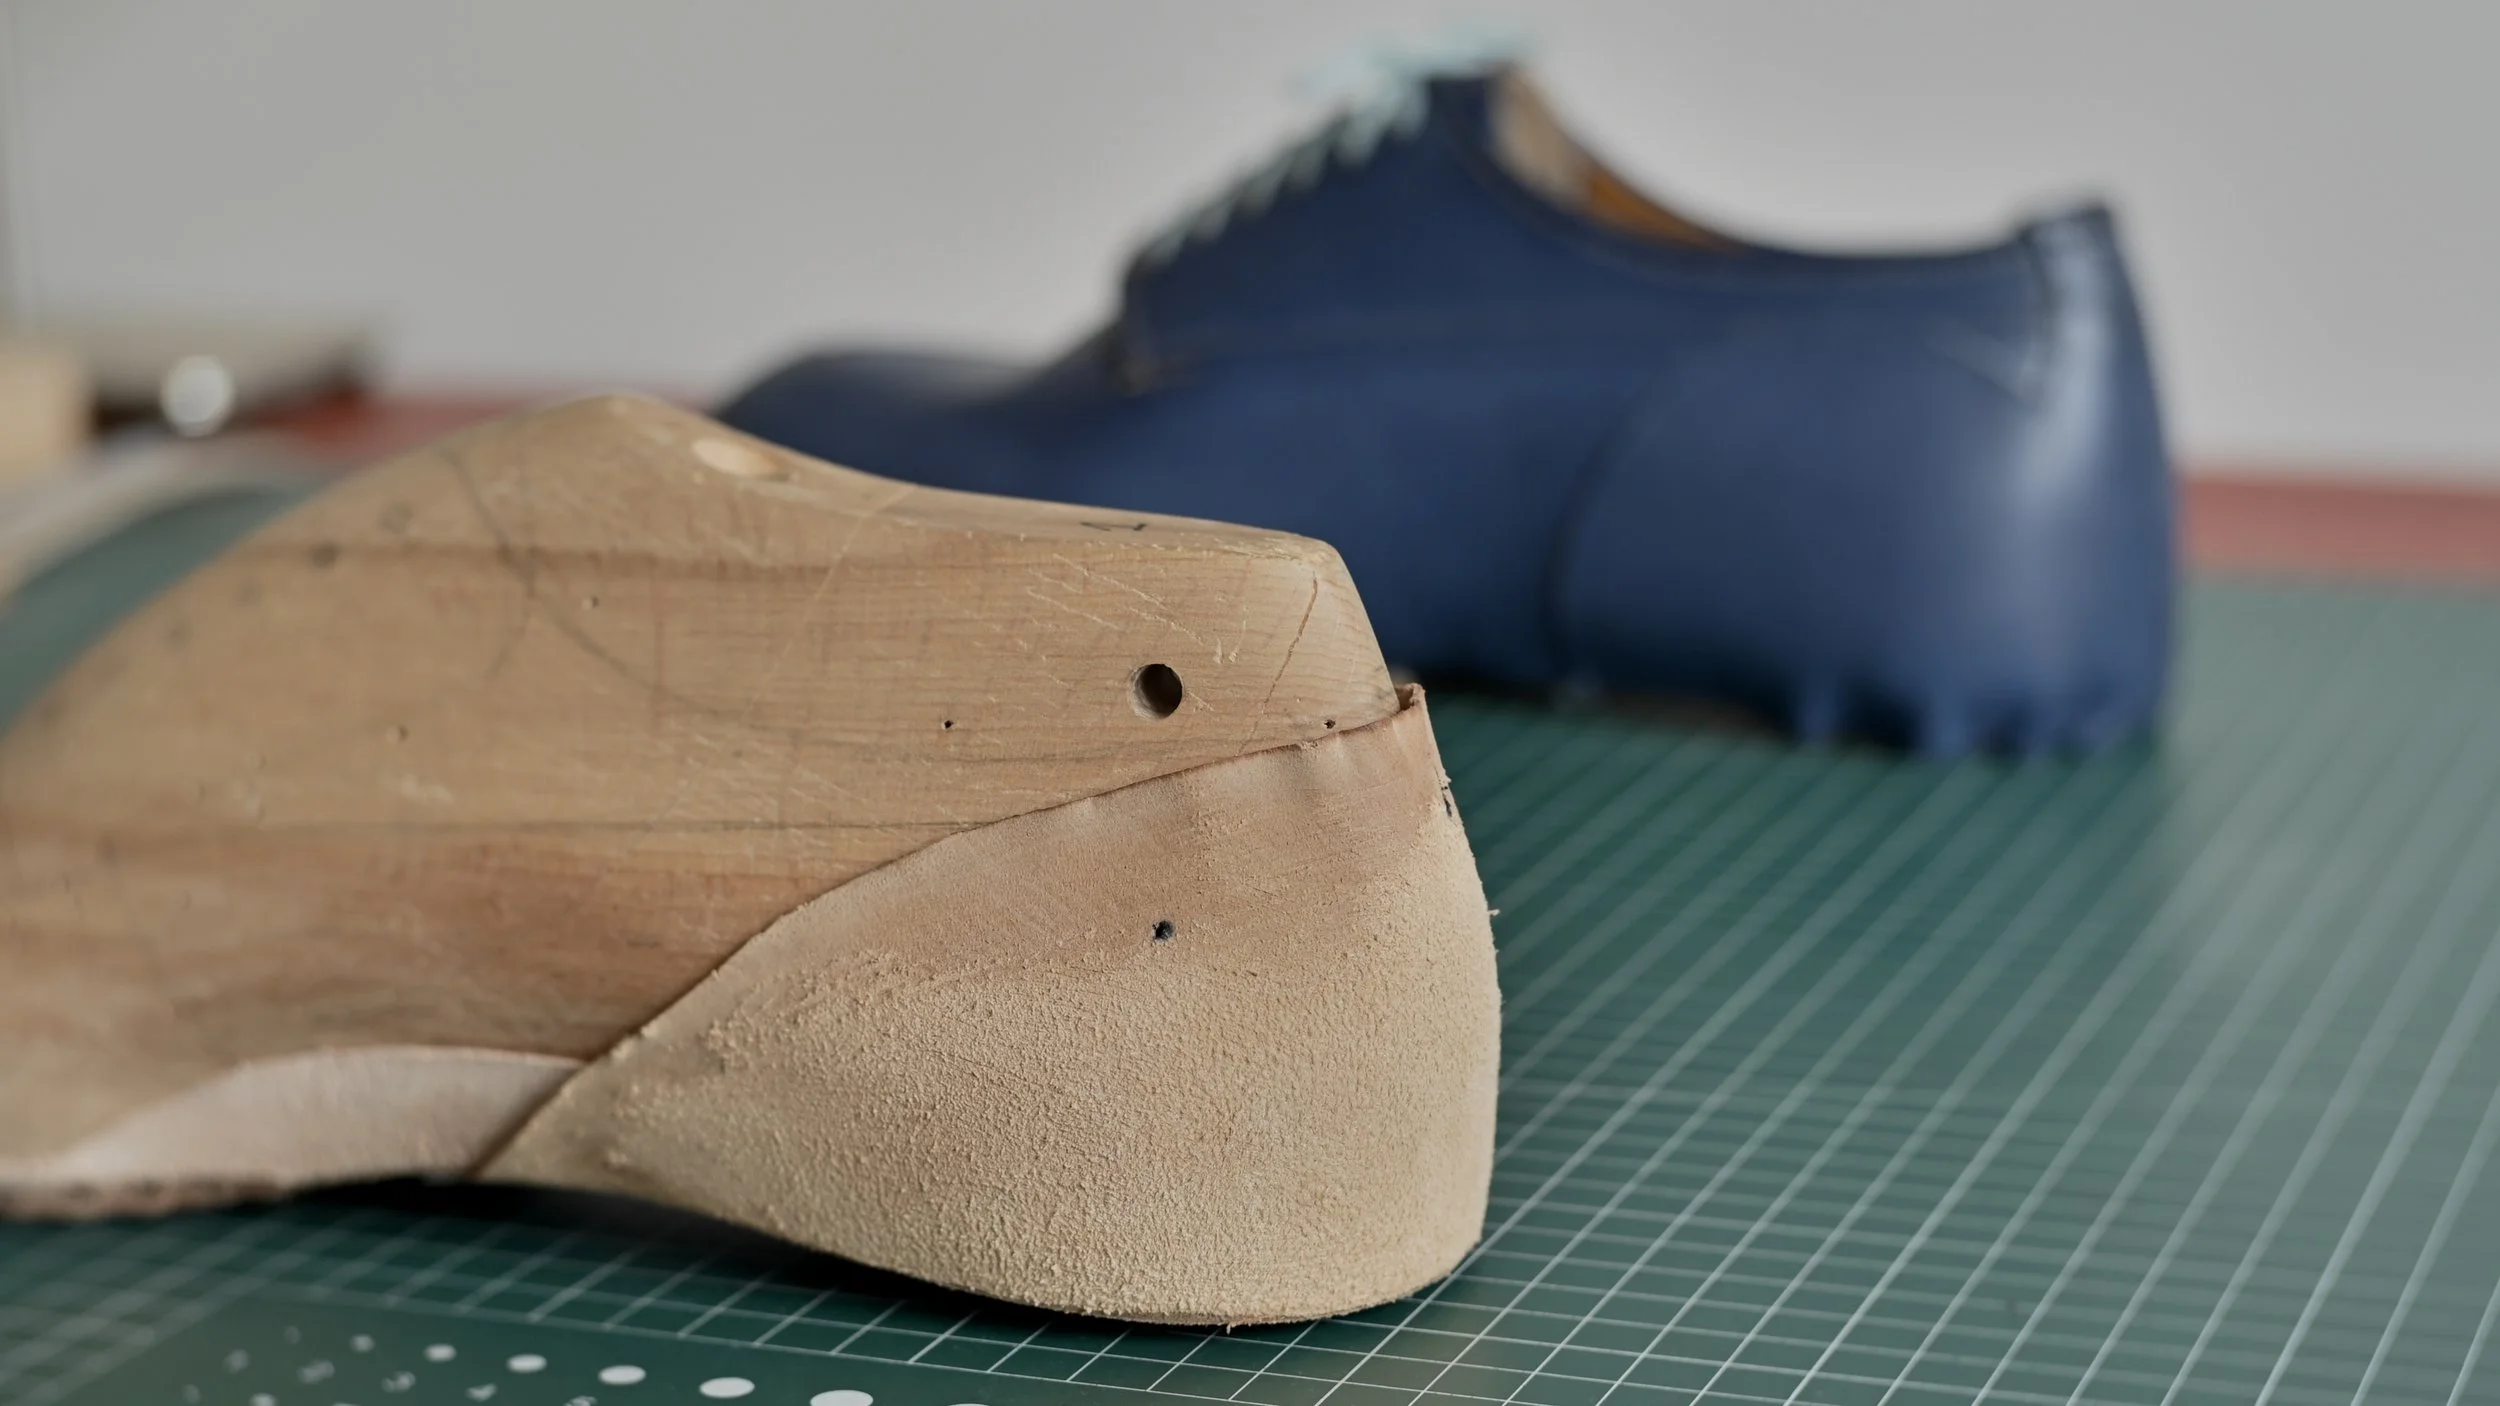
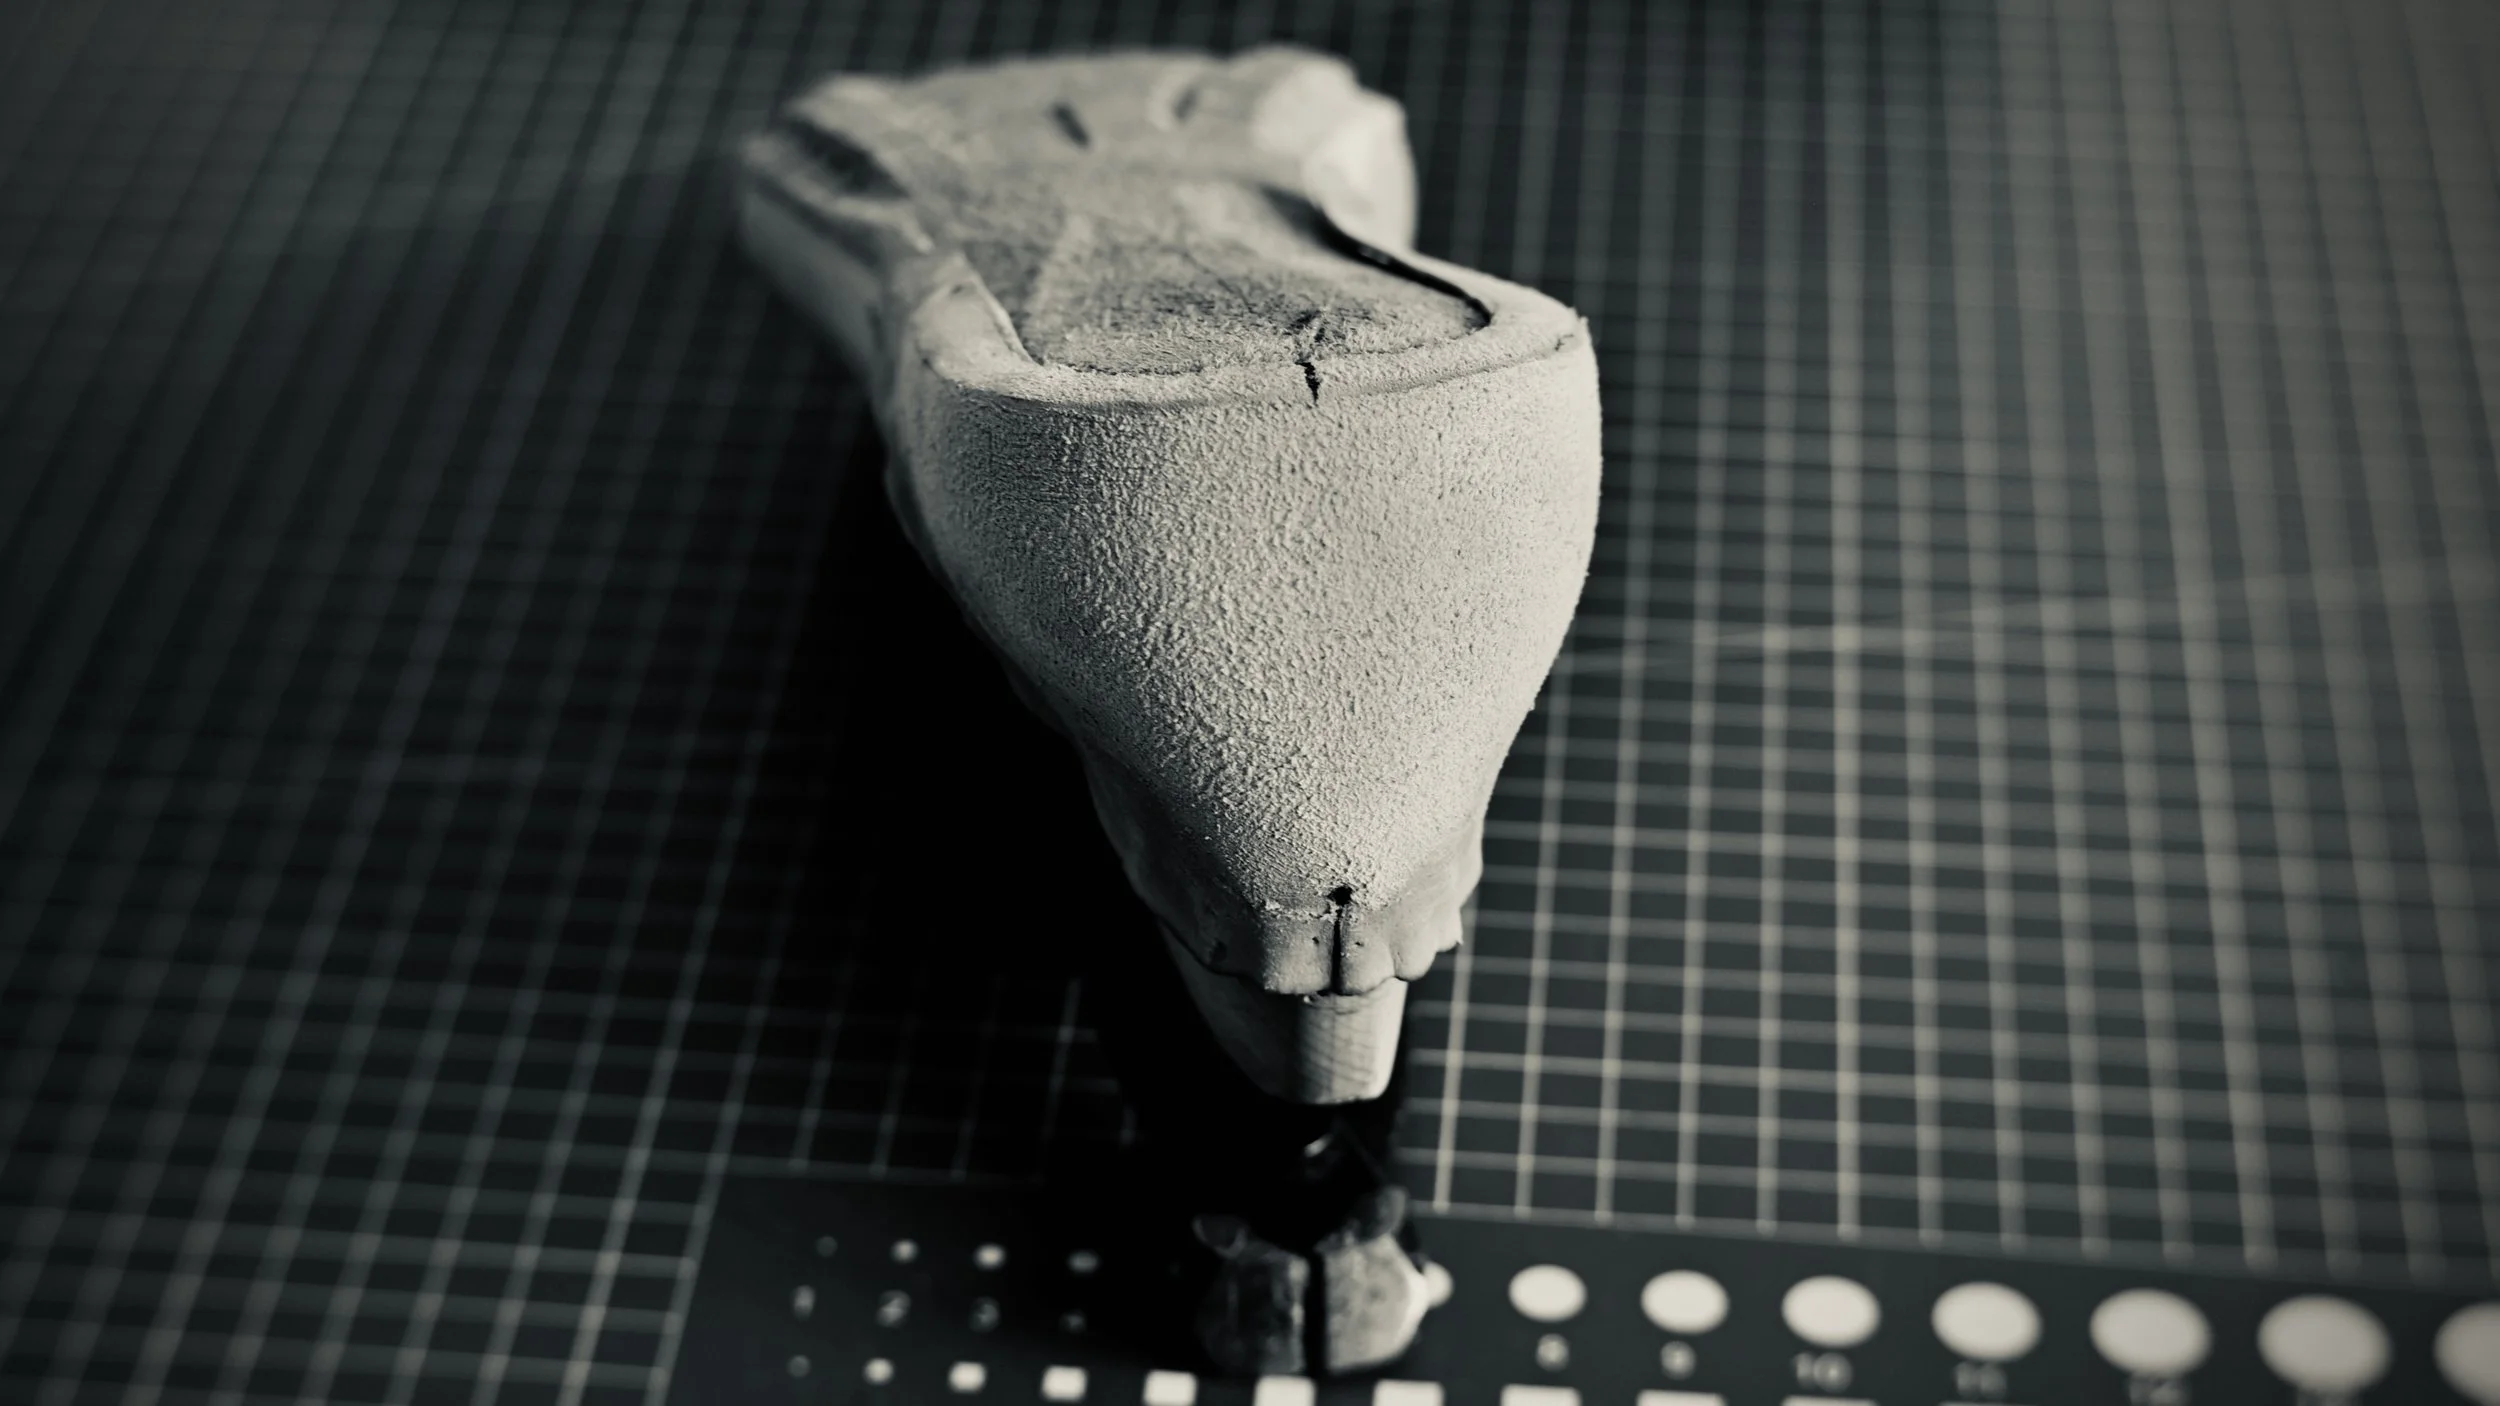
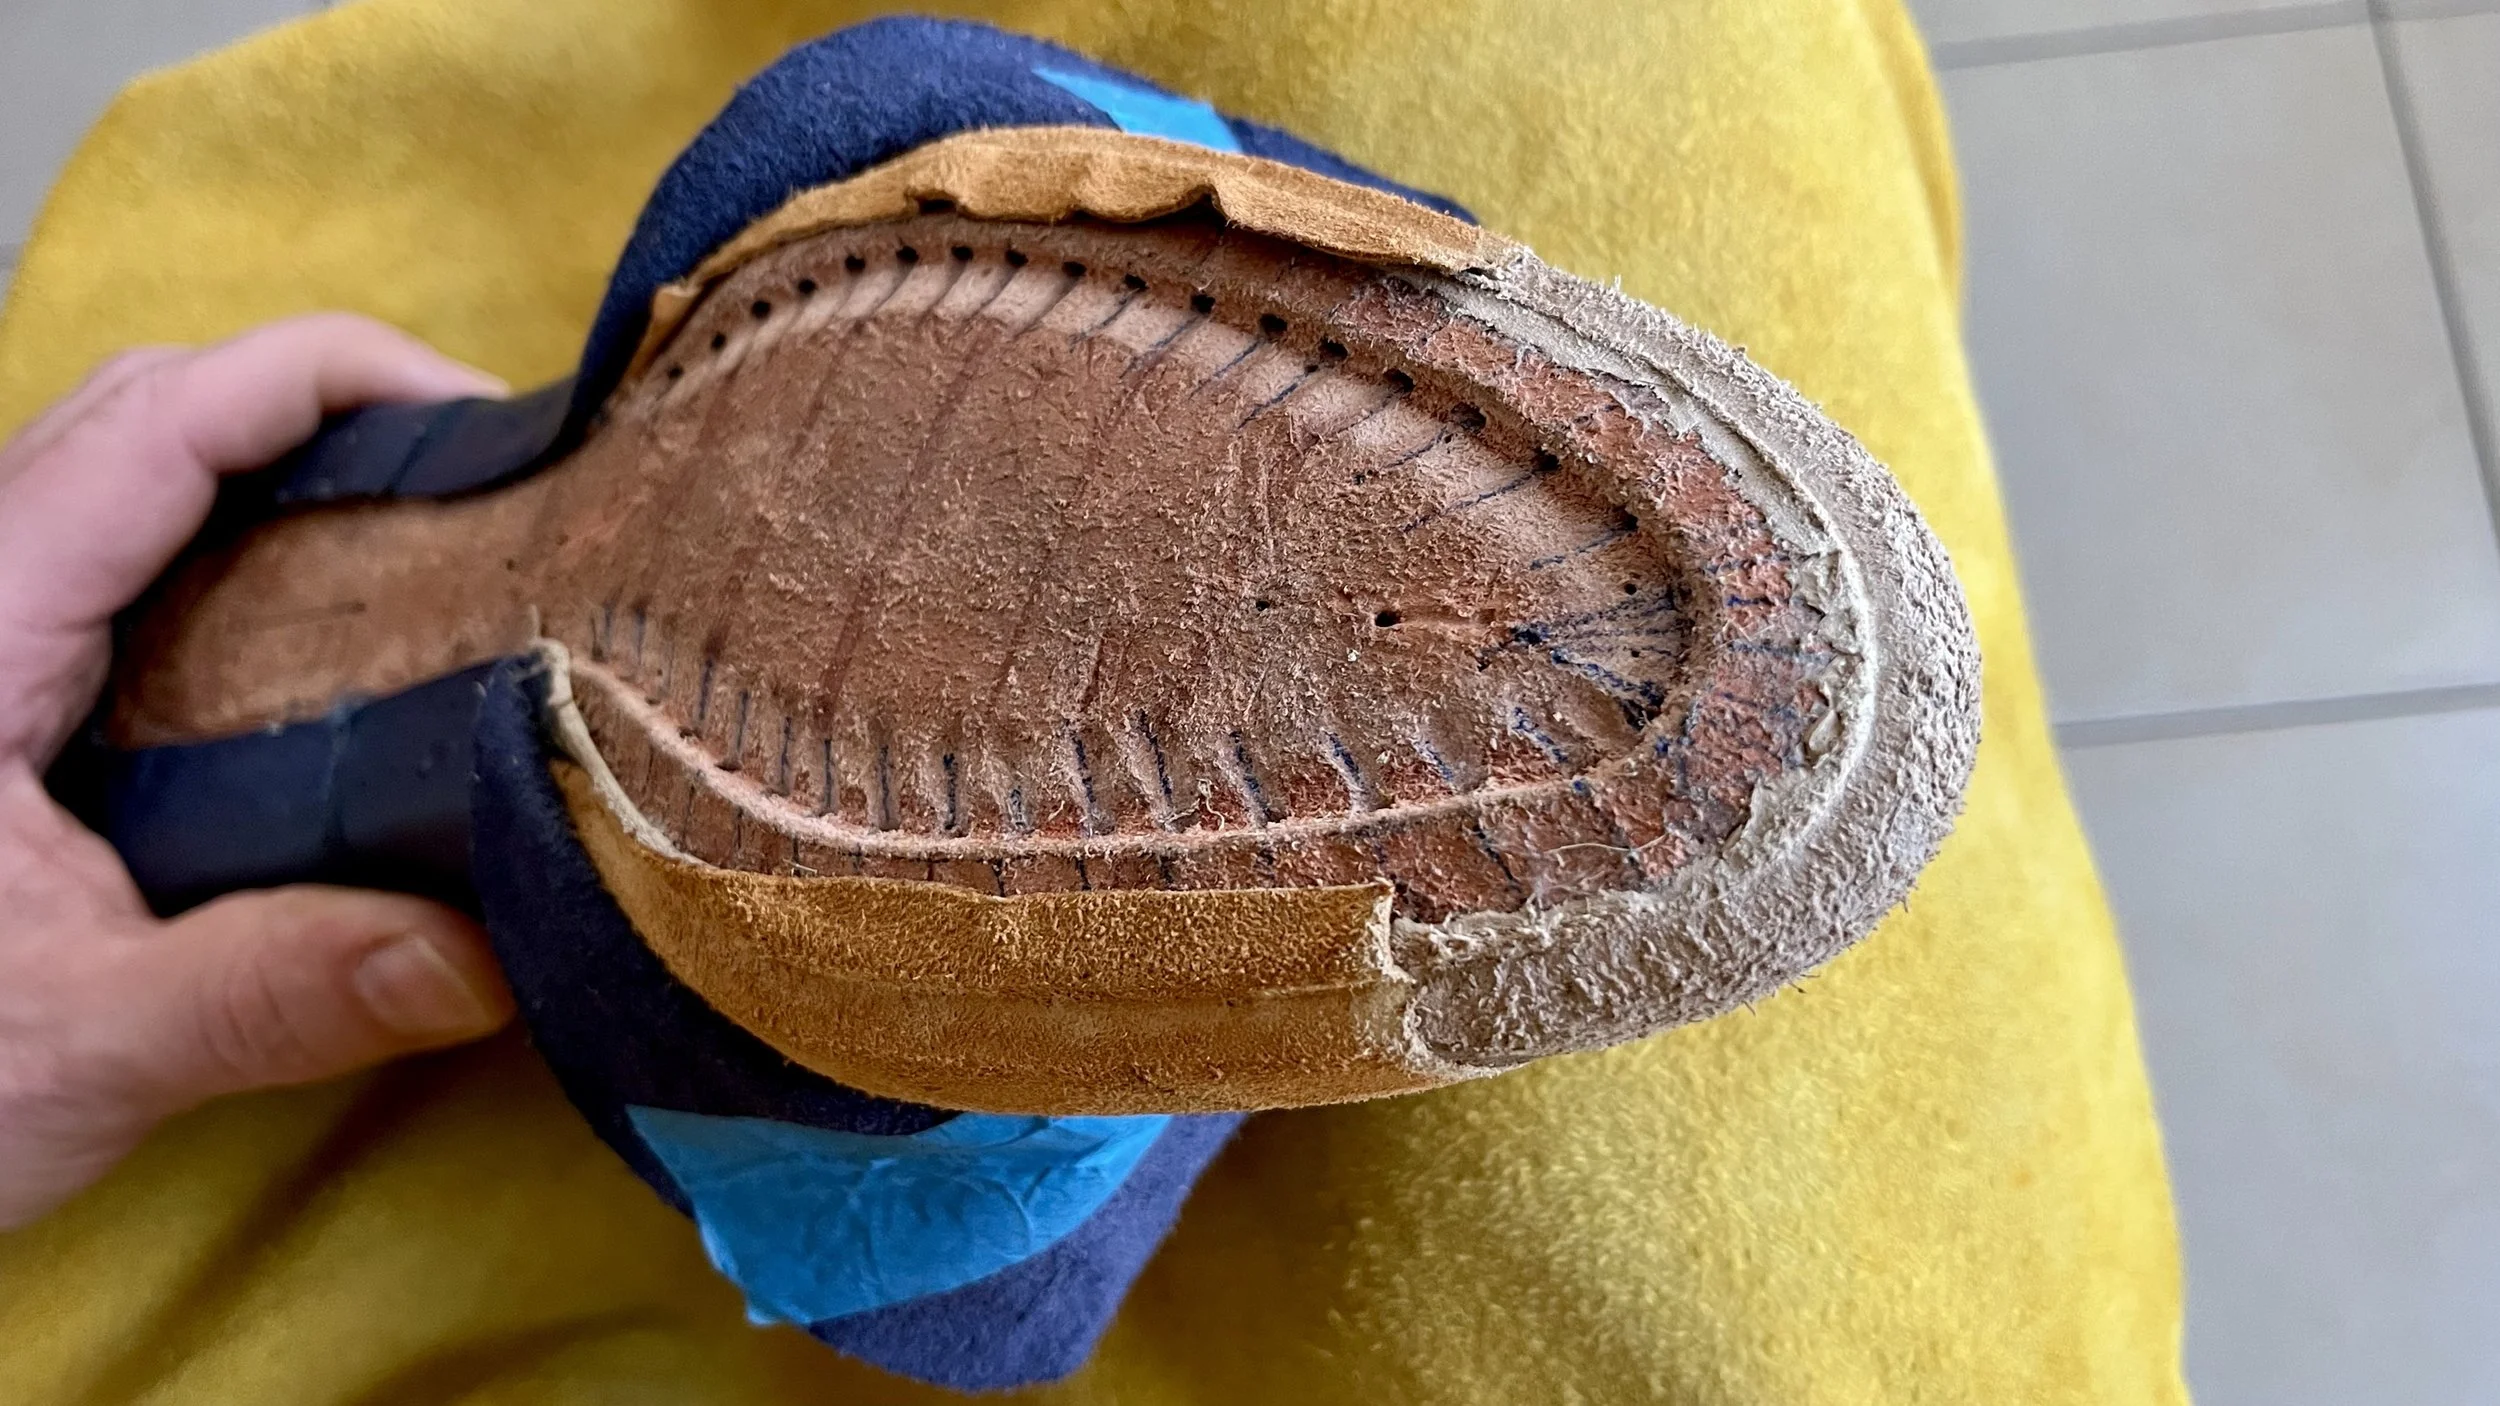
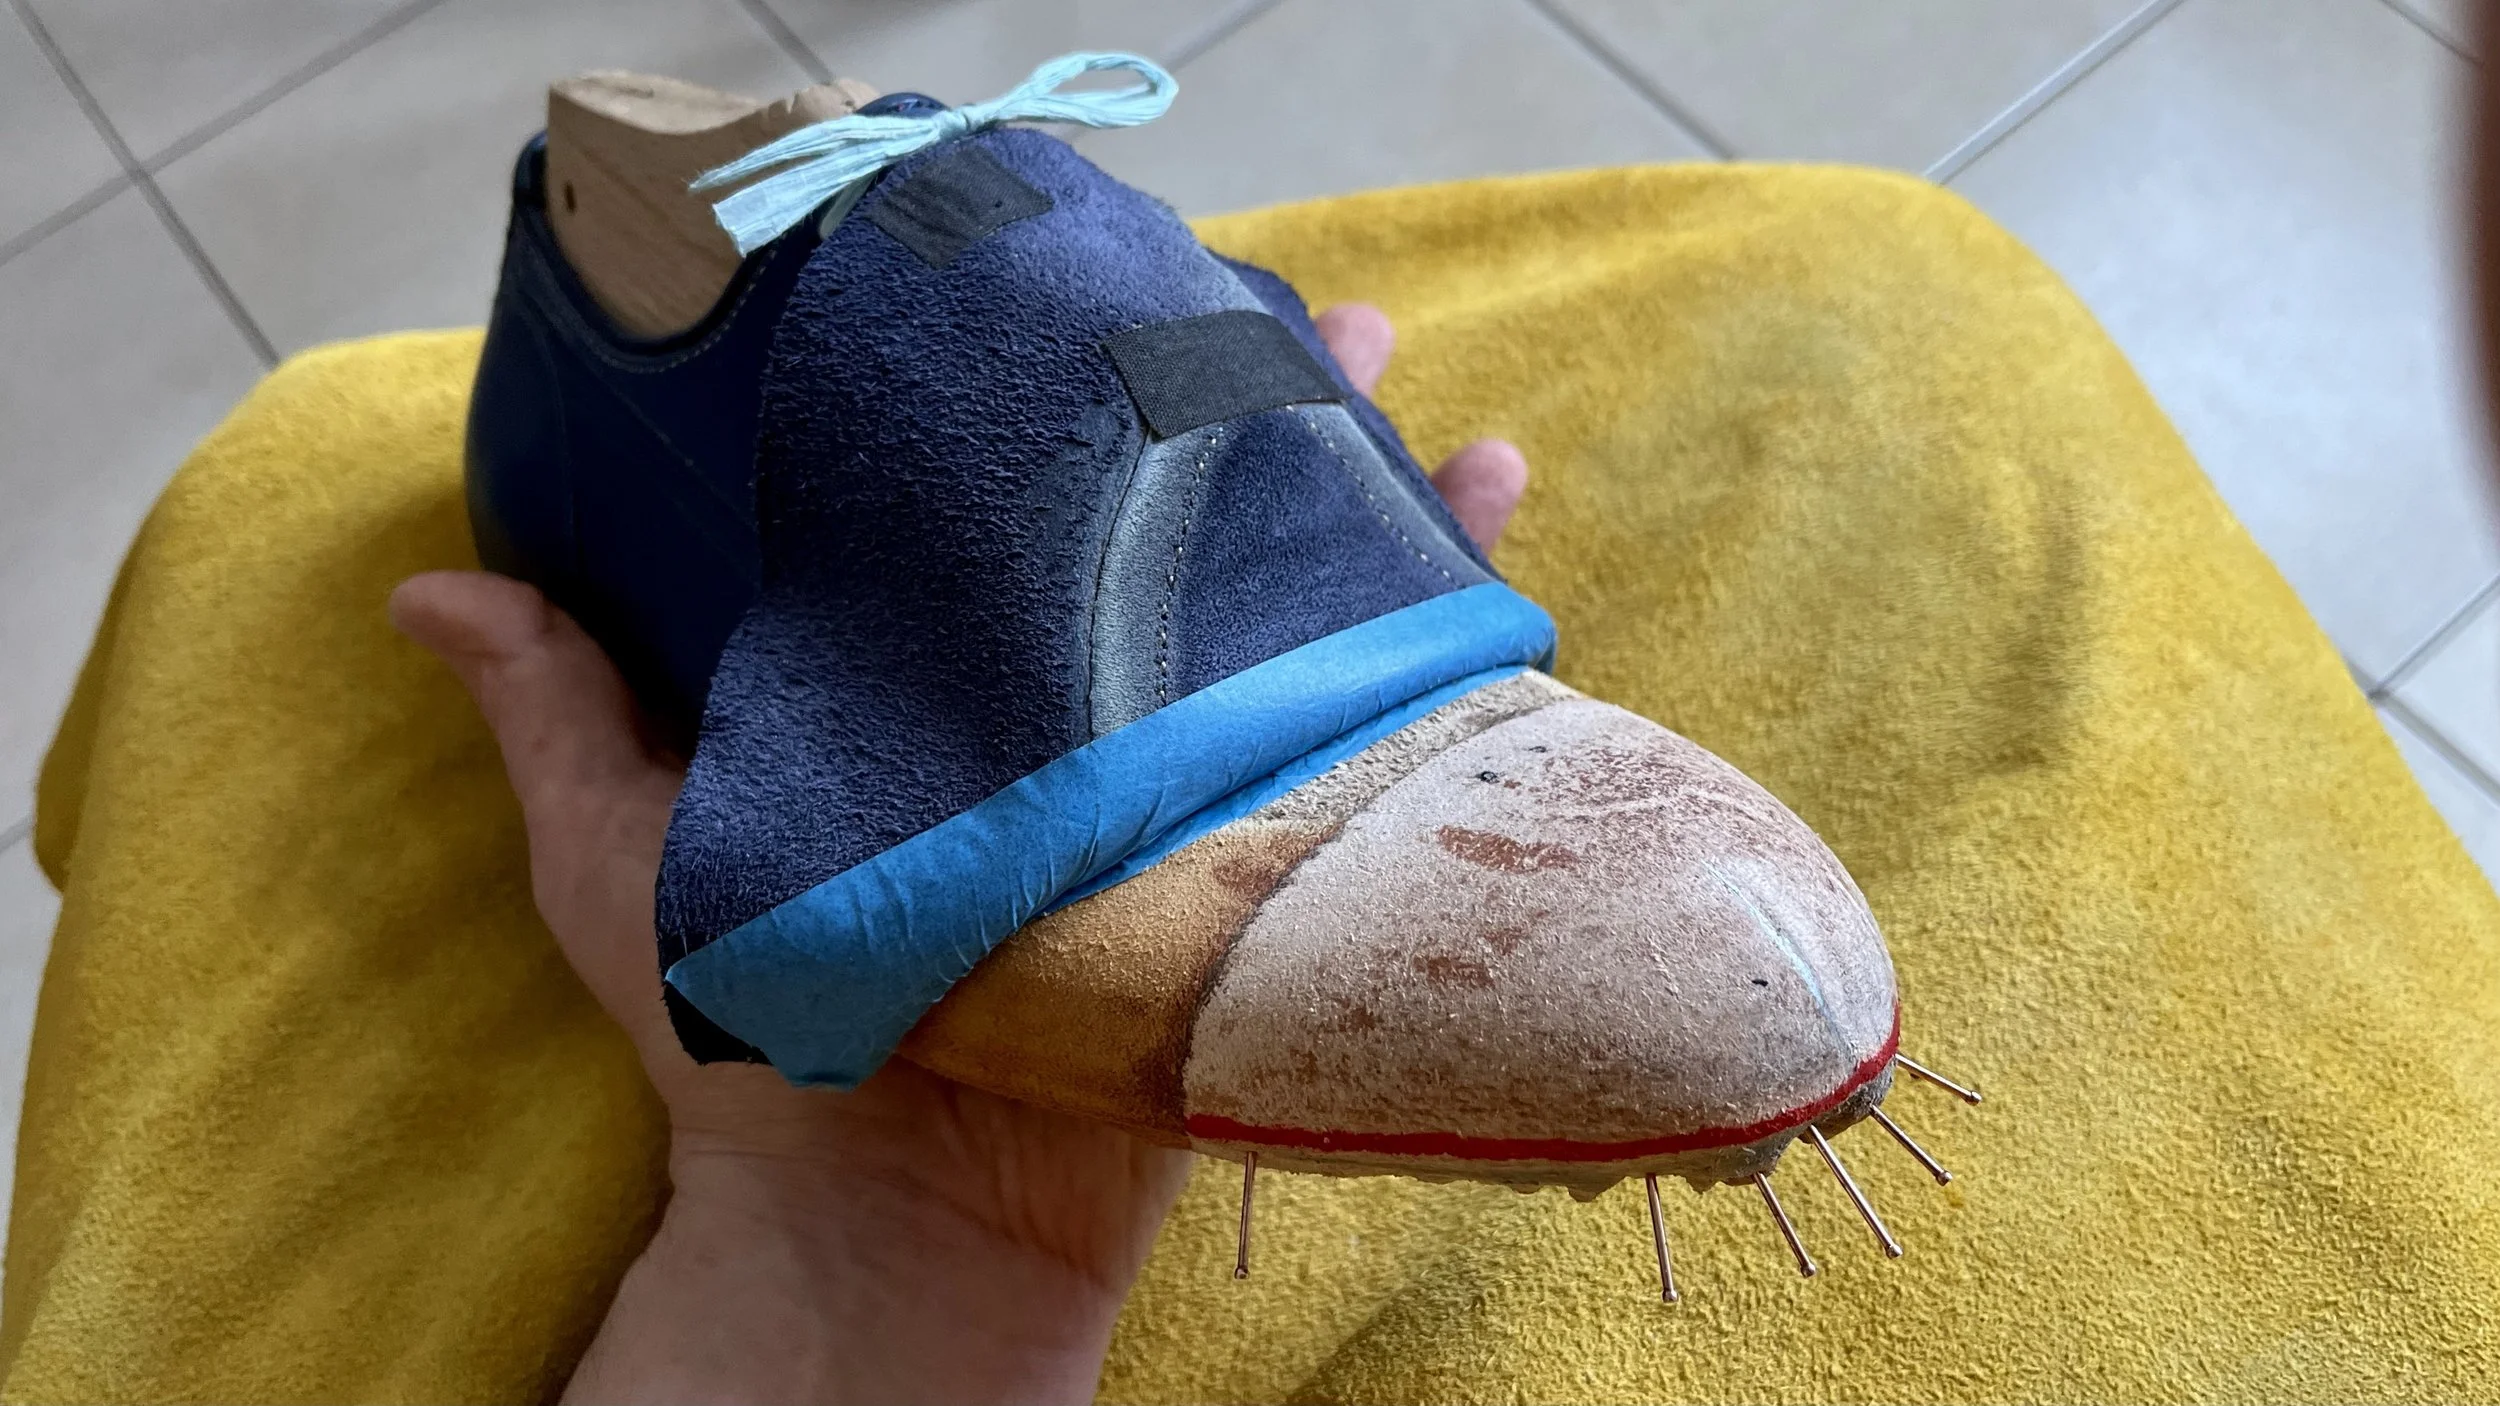
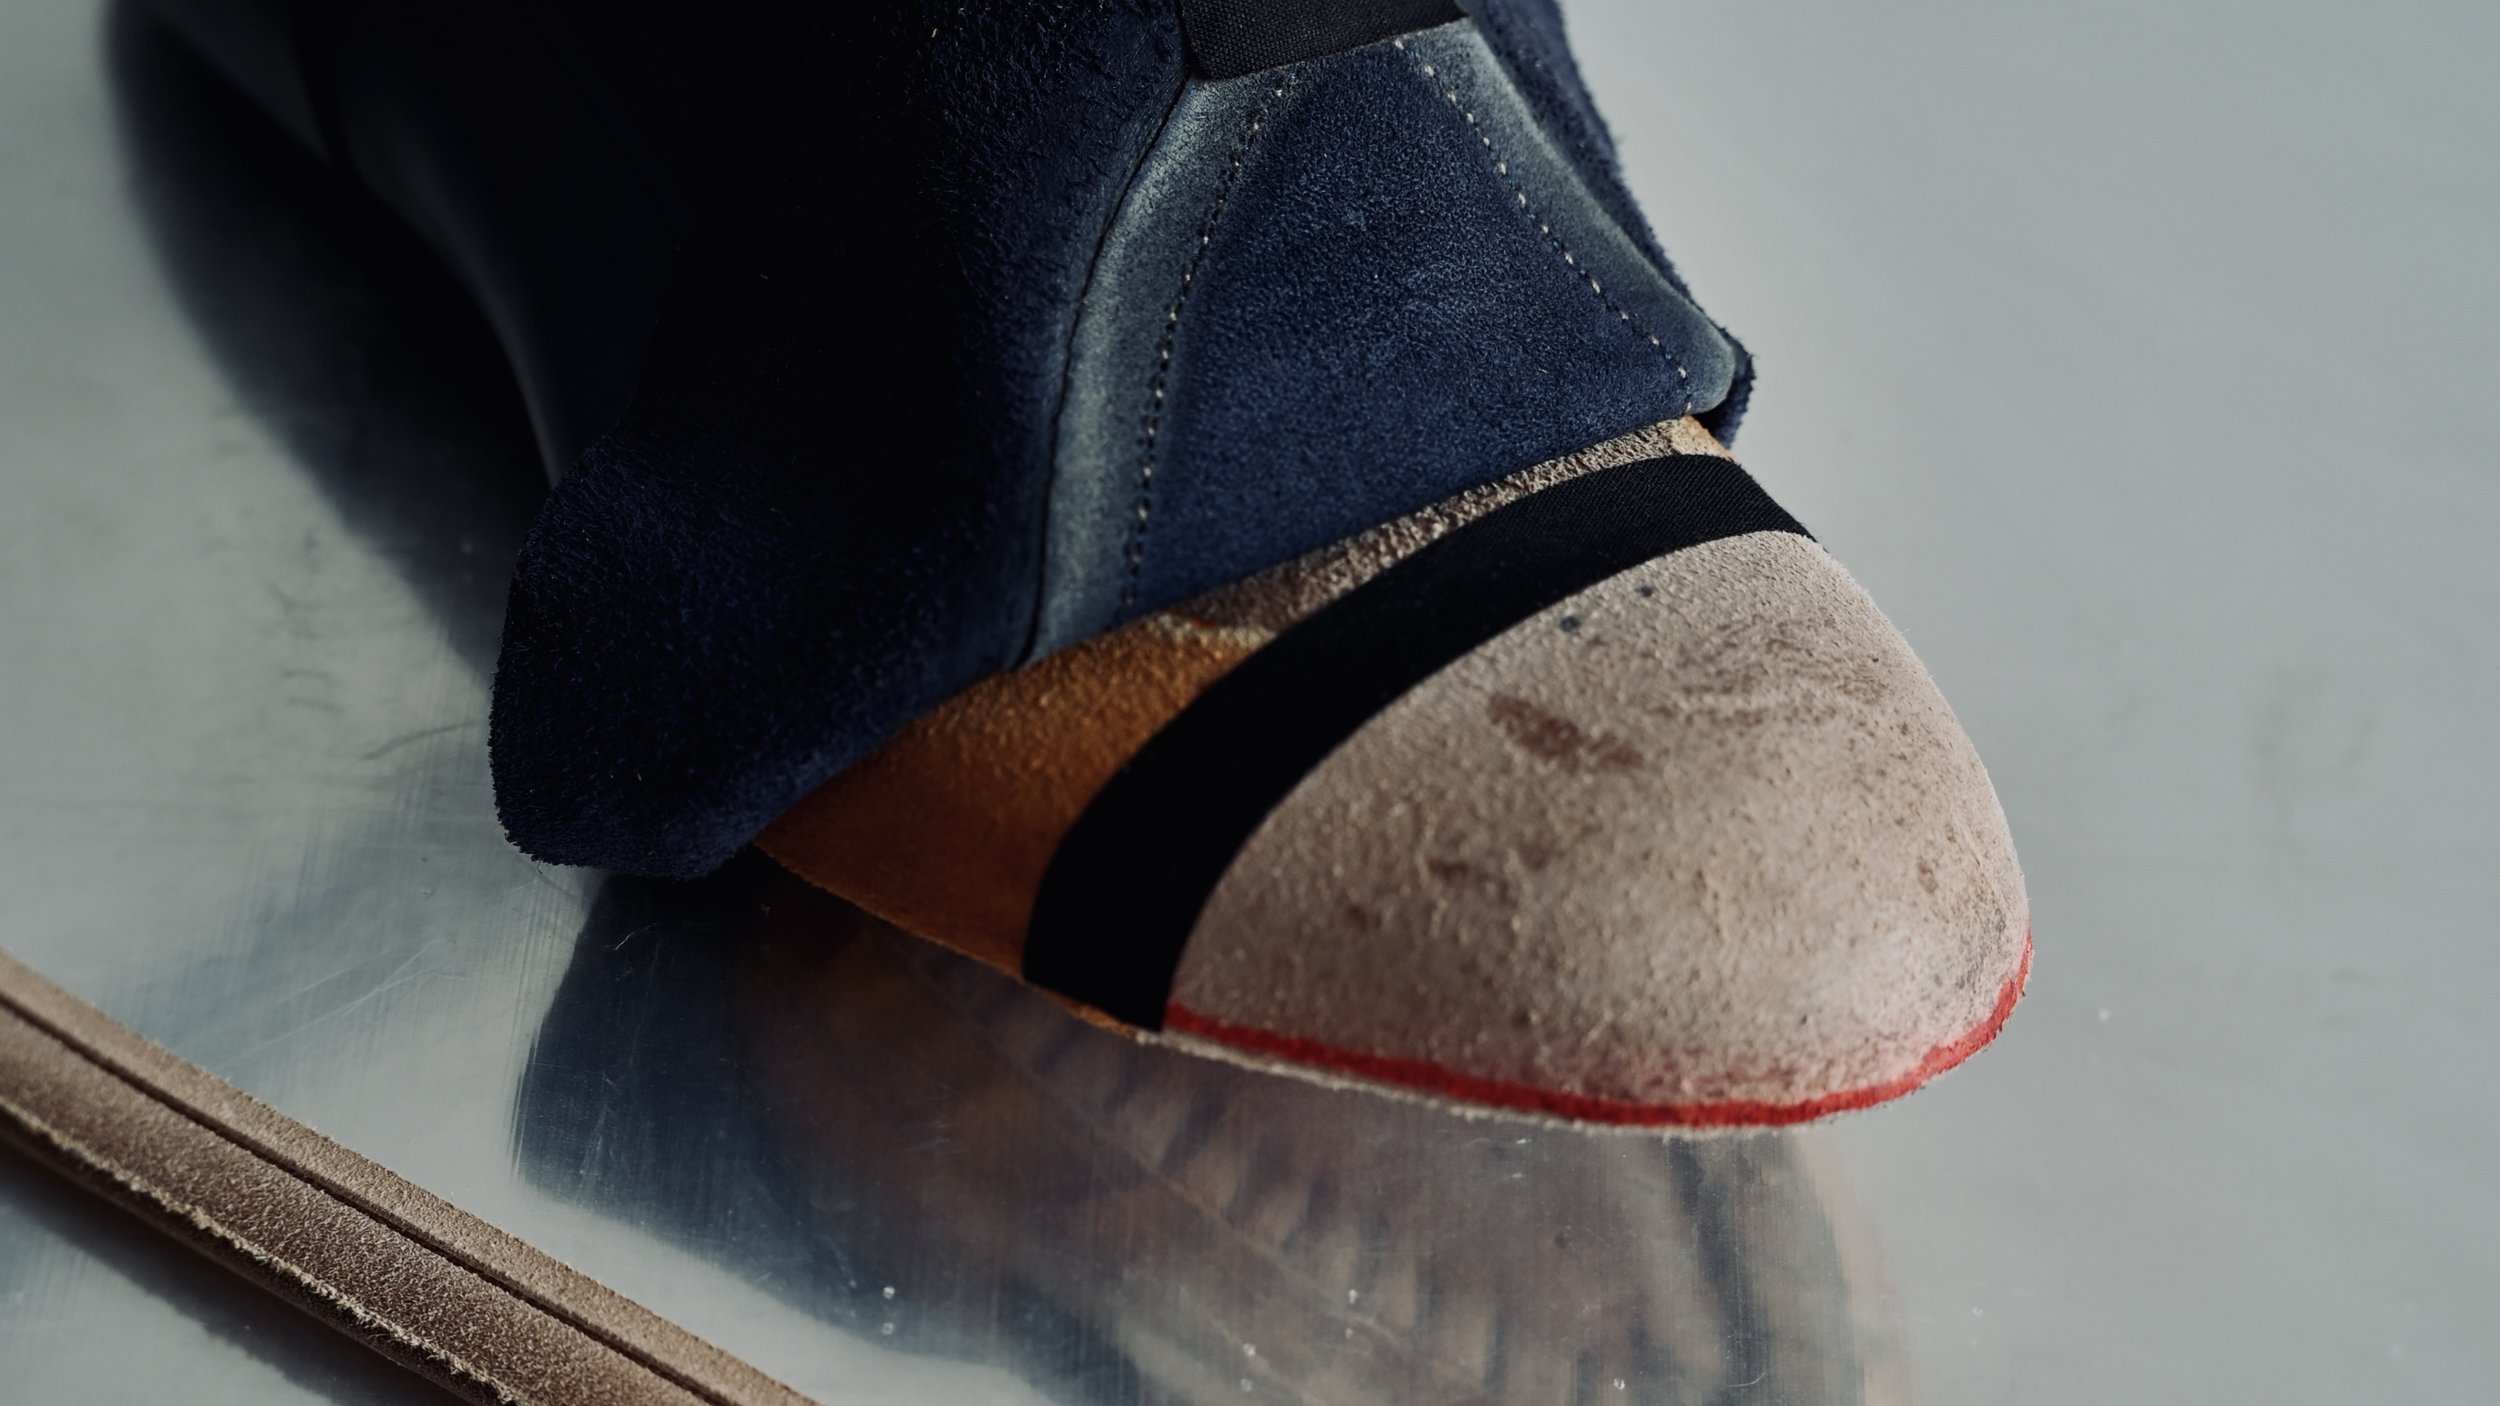
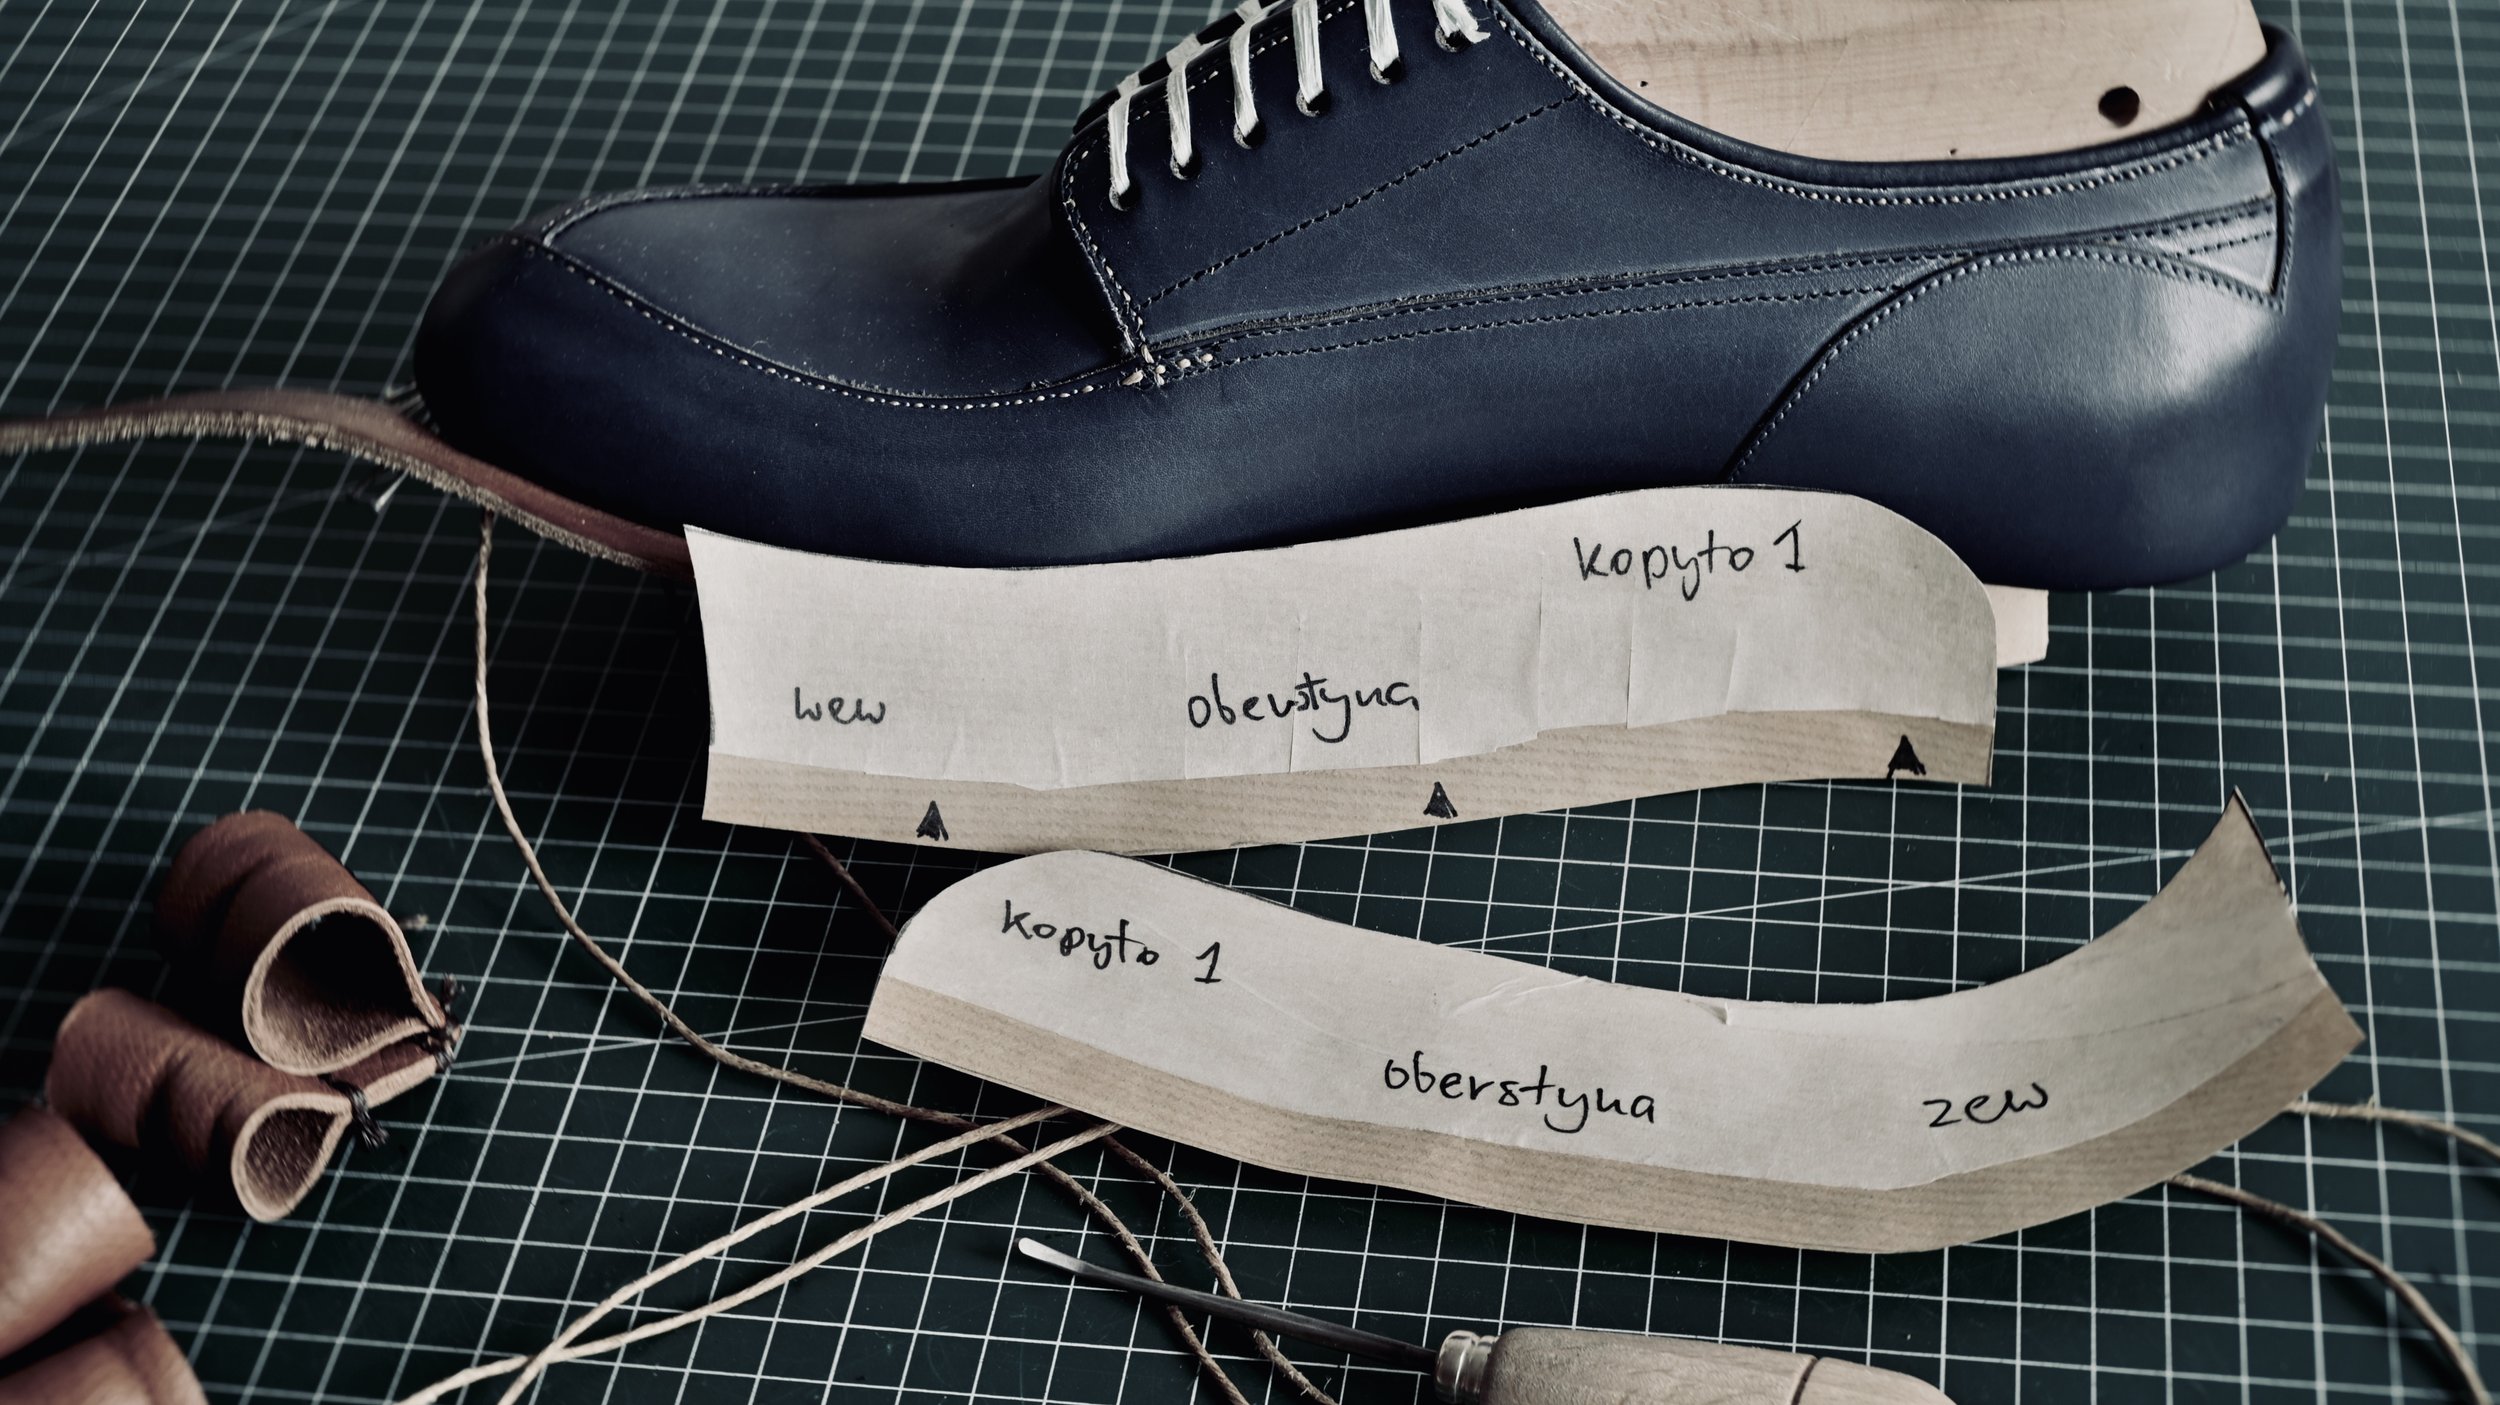
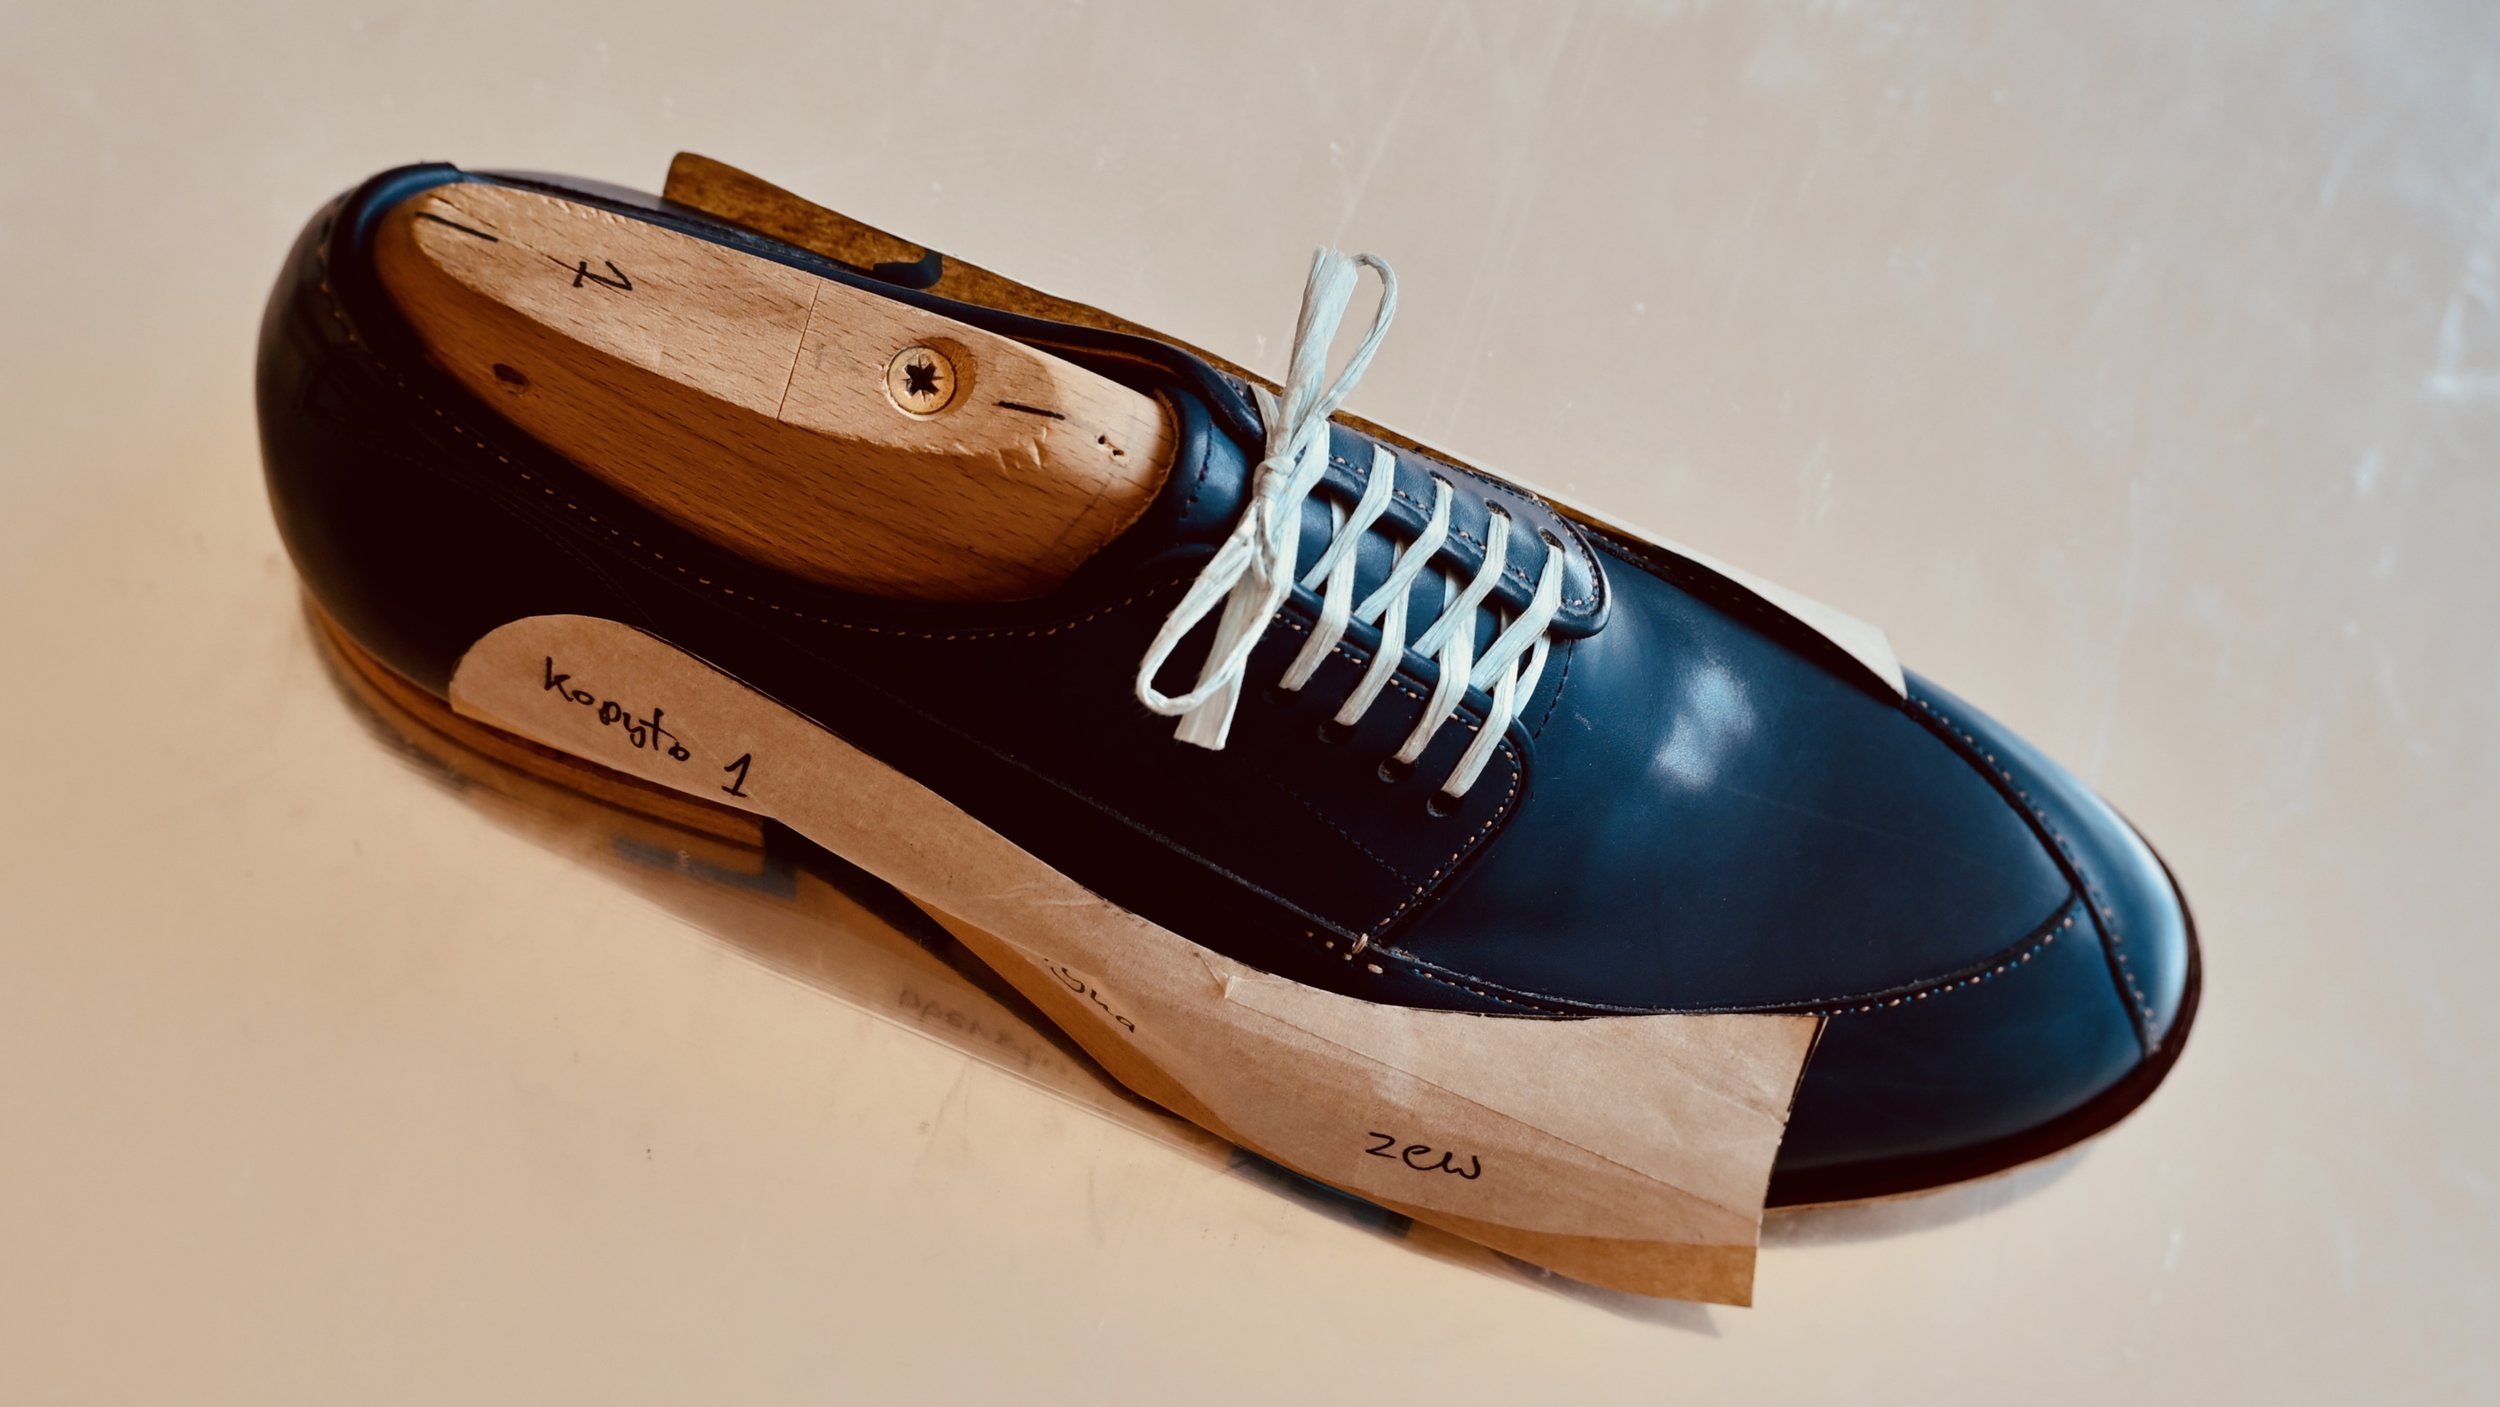
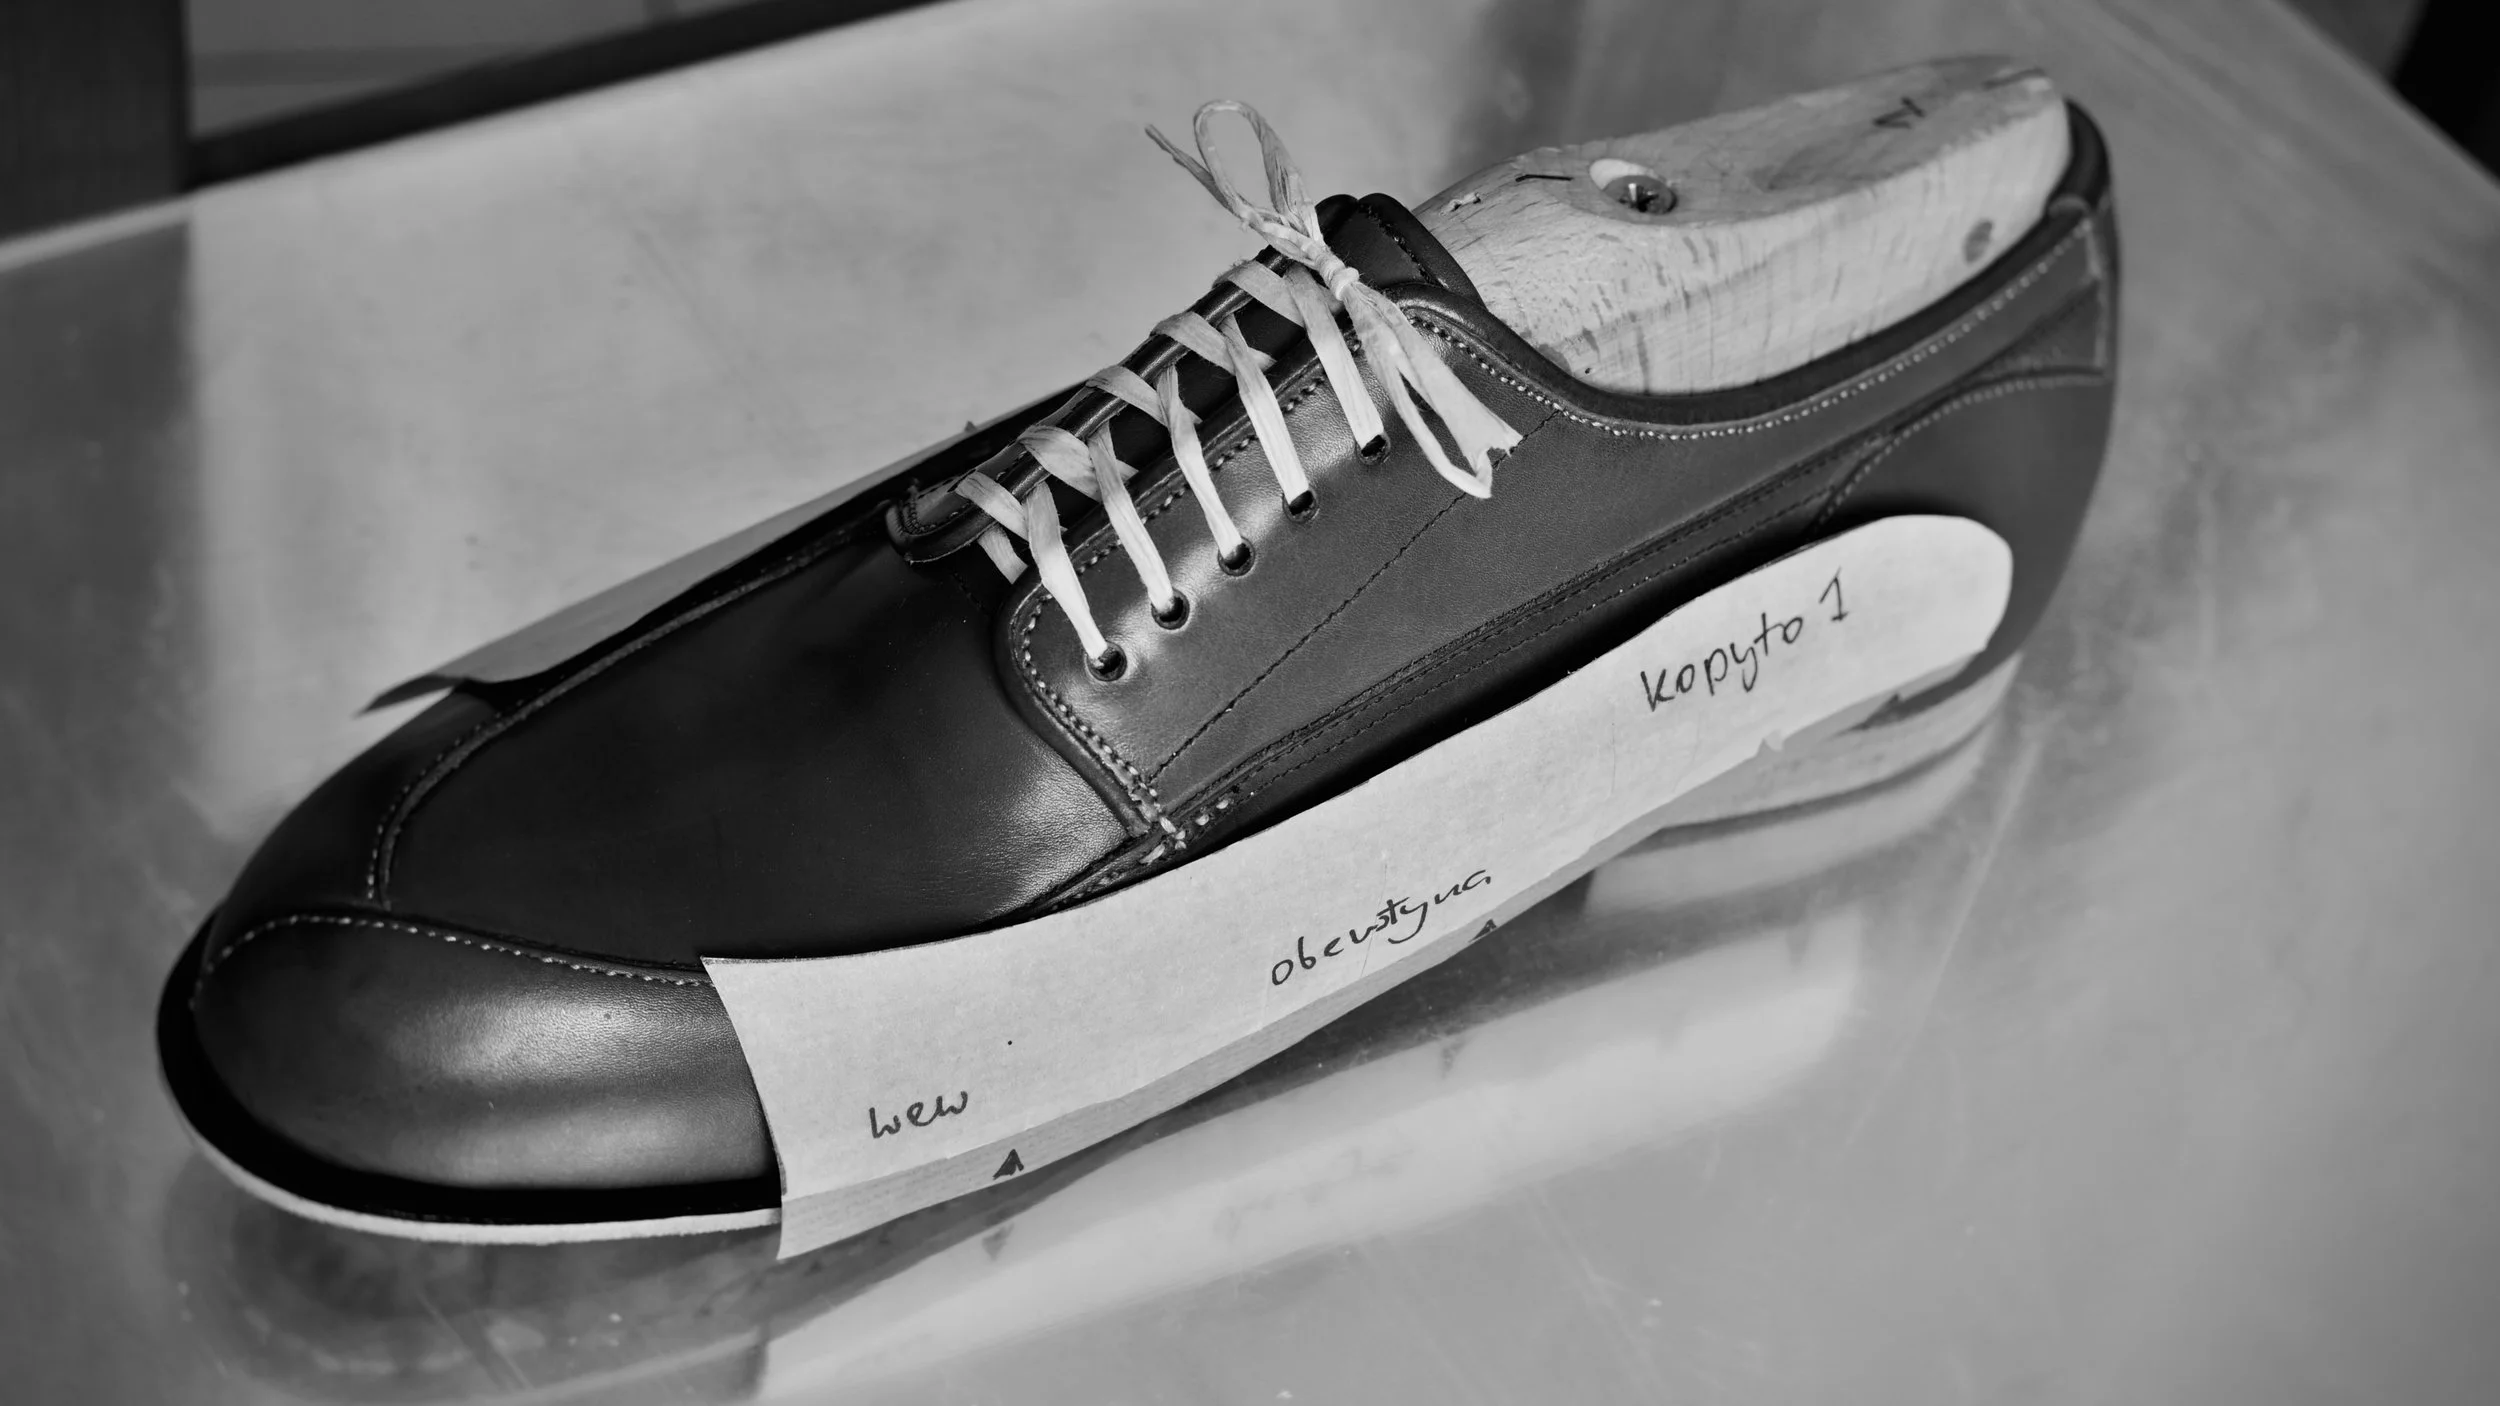
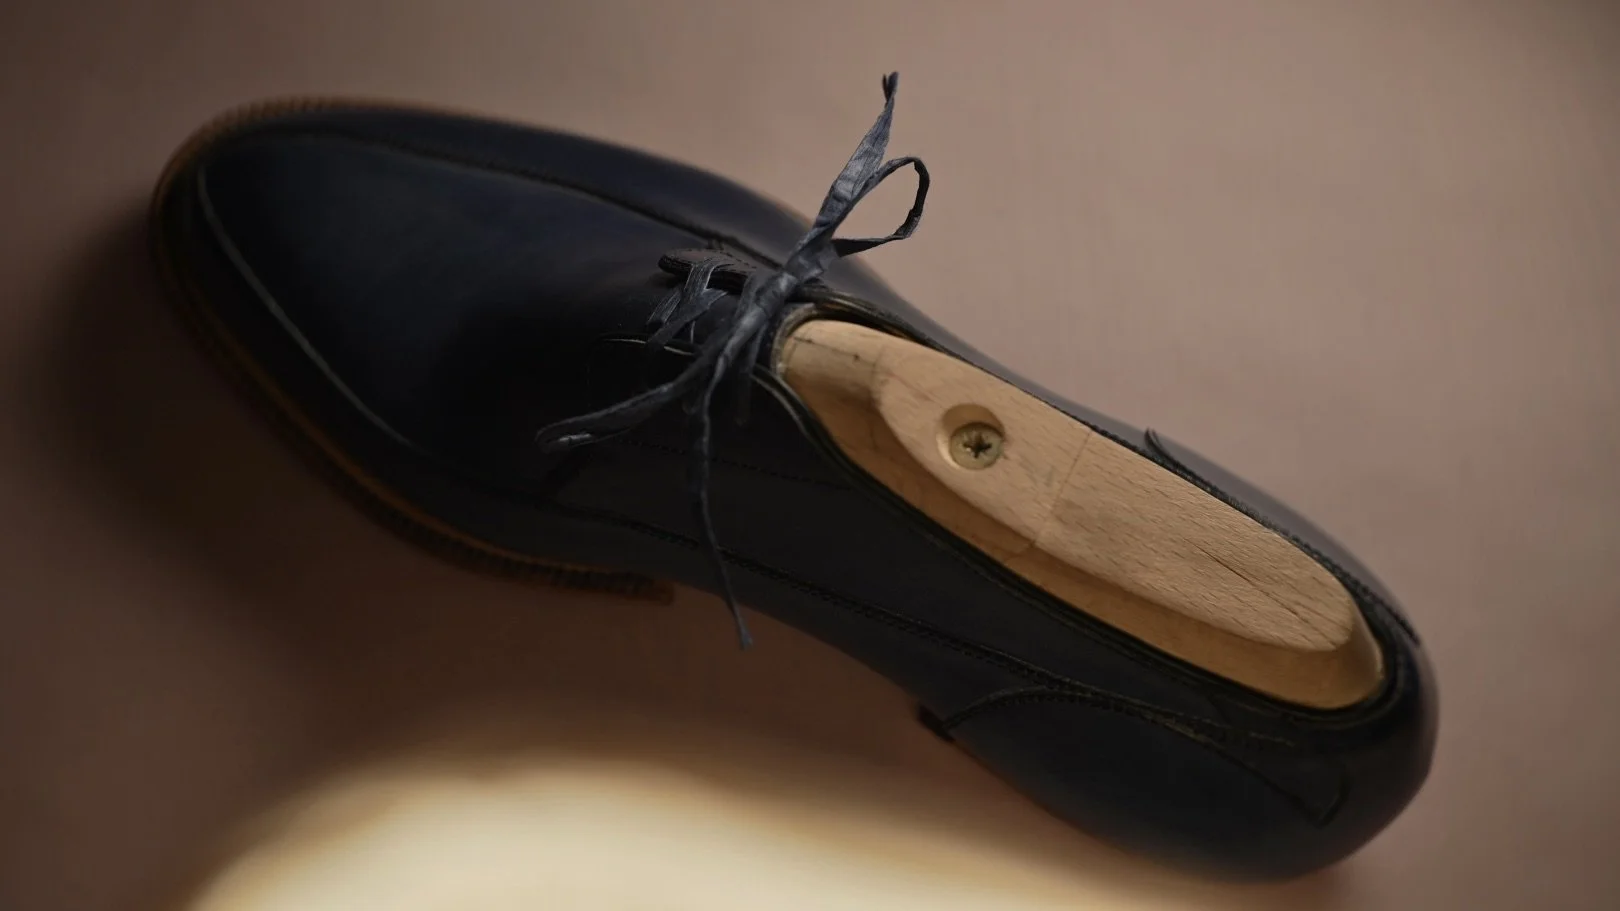
The prototype

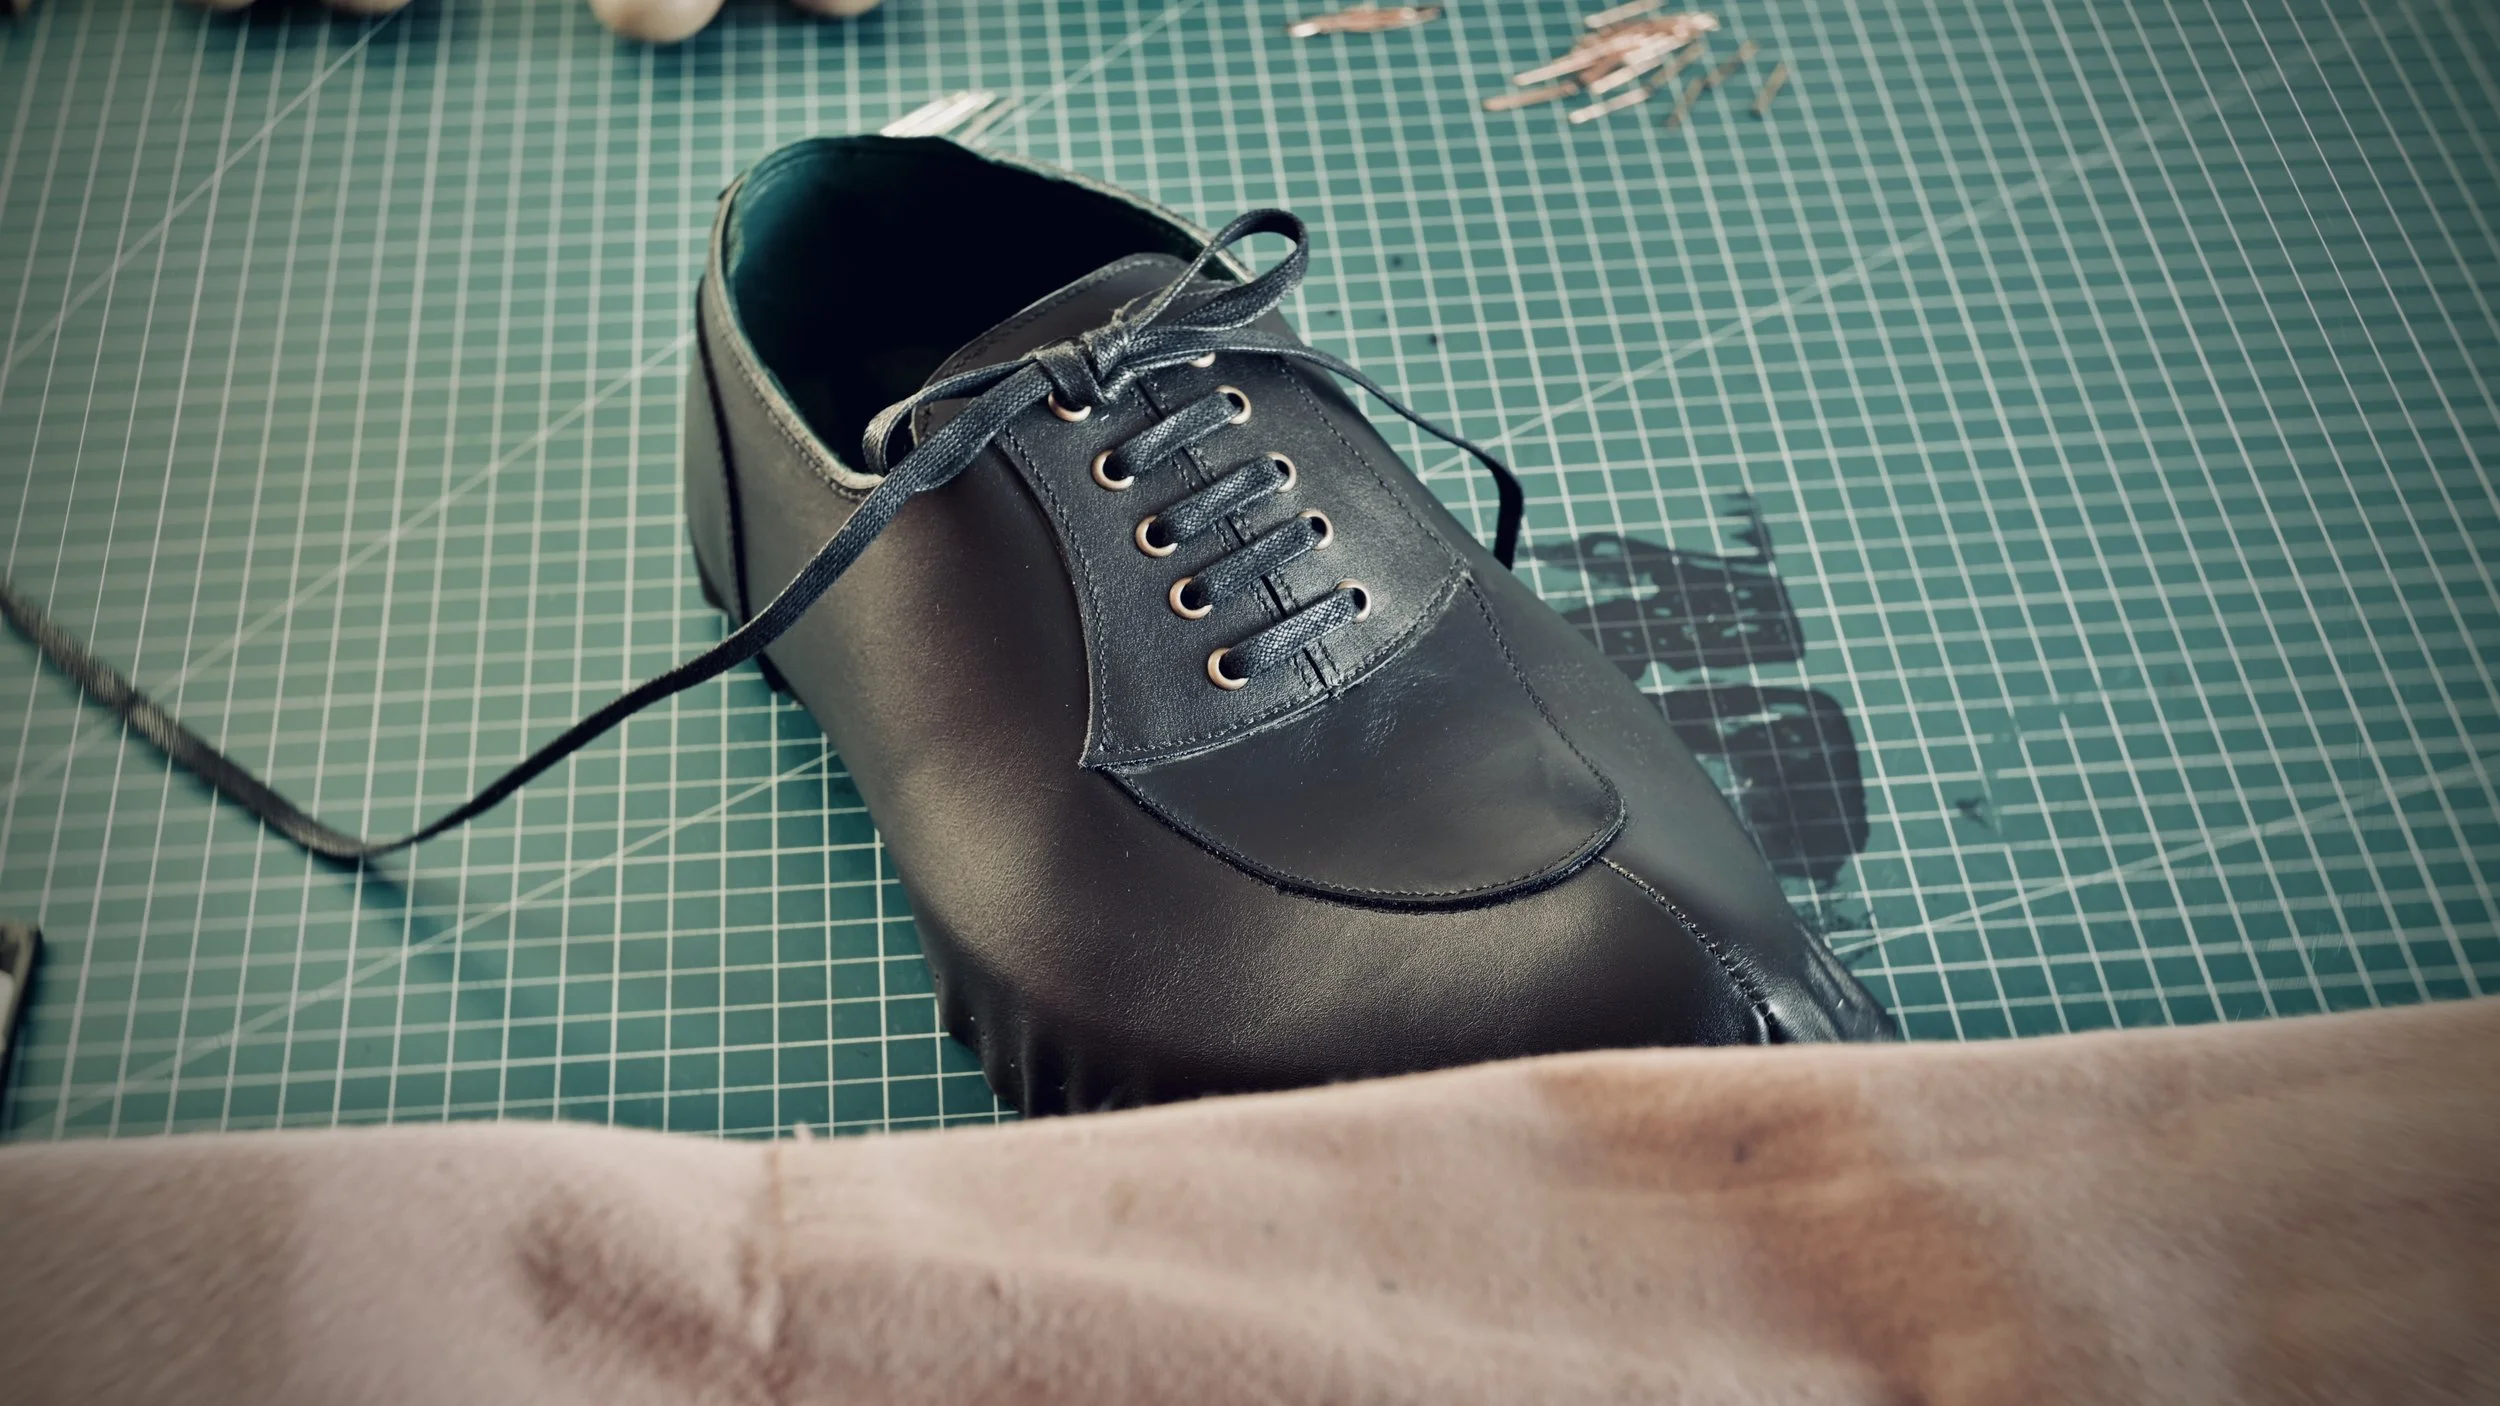
Perhaps this derby shoe design will serve us well as a prelude to my first tutorial session. The photo shows my first prototype for this commission. I think it will be interesting to see how the lines and ideas evolve from this stage to the final pair of shoes. In any case, that's the fun of creating fully functional builds.

  • Part One - The Design

    I thought I'd start with something like this. Divided and thematically linked into separate sections, taking you along on the process of creating a derby shoe design. I was inspired by the early days of cinema. The image is accompanied by captions. I hope this series will shine alongside my absolute love for what I do every day.

    My work, my photos, my words. Just the way I like it.

  • Let’s start with establishing the frame for the design. Absolutely basic stuff.

    This is a combination of lines and key points on the last. Along these lines, I'll anchor my design in the classic way. I usually use masking tape to draw, but this time I'll do something different – ​​I'll place my design directly on the last.

    First, measure the full length of the last at the bottom. Mine is 290 mm.

  • Mark the creasing line. It is mighty important key point.

    First and foremost, take a moment to estimate the total heel height. I'm looking for this line parallel to the ground. The client's foot should be in a neutral position so that the toes don't shift toward the front of the shoe. My size is the classic 25mm.

    The crease line marks the point where the sole touches the ground. Mark these points on both sides and create a line connecting them at the top of the last.

  • Mark key points A and B. The frame is anchored to the three key points.

    Draw the centerline of the last. Point A is marked halfway between the feather edge of the last and the centerline. On my last it reads 76 mm, so point A is marked at 38 mm.

    Point B is marked accordingly, although the distance here is 70 mm. The lateral side is always longer than the medial side.

  • Measure a full height of the heel counter. Mark key point C.

    Measure the full length of the last (290) and multiply by 0.22 to get the correct height. In my case, it's 64 mm. This measurement is also our key point C, marked at the centerline of the heel. Draw straight lines connecting points: A to C and B to C. You now have a frame ready to use! Our guidelines.

  • Original split toe derby shoes. The result of a single design session. Again.

    That's how I planned it. However, sometimes things take their own course. The guidelines we've established here remain universal for every project. However, the design itself will be different. More on that in the next installment.

  • To be continued...

    In the next installment, I'll be covering the process of creating the upper. I think this project is interesting enough to focus on. I'm pretty sure it'll be a lot of fun, as I'll be using techniques drawn from my experience creating wholecuts.

  • Part Two - The Upper

    As I mentioned in the "Thoughts & Prayers" section, some changes have occurred. Overall, I decided to simplify the design, though the general feel remains. I've already shown you my first attempt at this project, so there's no point in going back. Here, I'll walk you through the process of making the final upper.

  • Three takes

  • The Upper Ripens Like a Fruit

    It's going to be even more interesting than I originally envisioned. I'm currently working on my third prototype. I often get tired of wandering through the terra incognita of shoemaking, but on the other hand, my constant questioning is leading me to forge my own style.

  • Coming soon

    The only thing I'm lacking is free time. Subsequent installments will be released sporadically, as the opportunity arises.

  • Part Three - The Stiffeners

    In our community, we enjoy showing each other elements we know and love, but which, for the clients, will forever remain a mystery about their pairs. This is because we develop our own techniques over time and approach the entire process individually. This perfectly reflects the level of attention to detail that, to the trained eye, provides a clear message.

    Here are a few words about stiffeners, using the example of the process of creating one of my prototypes. I generally apply the same principles to all my pairs.

  • Heel Counter

    In this prototype, I'll be testing a method I'm interested in for sewing the heel into the shoe. That's why my insole has this strange frame around the back. As a result, I had to pay a little more attention to shaping the heel counter, as it won't naturally fit on the last as it usually does.

    However, aside from this small detail, the process remains virtually the same. I always shape the heel counter according to the design I'm working on. I design my uppers directly on the last, so I can plan the desired shape and length very precisely.

    I wet-mold the leather with the insole already attached to calculate the heel counters feather edge in a way that best suits my process.

  • Calculating the Proper Height

    Measure the total length of the bottom of the last in millimeters. Divide this by five and add three. This will give you the height of the heel counter, but remember that this refers to the last itself, without the insole. Mark this height on the last and shape the heel counter according to this measurement.

    Why this method? The total height of the back of the upper is calculated using a different method. It is explained in Part One of my tutorial. If you compare the two results, you'll see that the difference is usually about three millimeters. This is the correction resulting from the need of stitching along the top line of the upper. In this way, both heights of those elements will align perfectly.

    Therefore, when you insert the heel counter into the upper, the feather edge will always be well-defined, which is absolutely crucial to my method.

  • Shaping the Feather Edge

    Once you know the correct height of the heel counter, take into account the thickness of your insole as well. Now you can measure the correct proportions. Mark off the total height of the counter and add about twelve millimeters. While skiving the leather edges, also trim the underside edge of the heel counter to create a semicircular concavity that will fit nicely to the bottom of the insole.

    When shaping the counter, I usually mark its exact feather edge with a marker. This will become clear in my toe puff example. It's that red line. This helps me to know exactly how to measure that twelve millimeters of excess material. After skiving, the heel counter will naturally fit the last, as shown in the photo.

    After shaping the heel counter, trim what's under quite thinly. Then, use a rasp and a hammer. And you're done. The photos show exactly what shape it should take.

  • Toe Puff

    My method for installing the toe puff is a direct result of what I described earlier. Therefore, the process can be treated similarly.

    For men's pairs, the toe puff should be up to sixty-five millimeters long. For women's pairs, this value is reduced by ten millimeters.

    Before sewing the welt in, I precisely glue and cut the lining in place. This allows me to form that sharp feather line using the same method as for the heel counter. The long stiffeners, toe puff, and lining are formed so that when sewing the welt, I also pass through all these materials.

    So, everything is sewn in, but I have a cleaner view, and I only have to care about the upper while working. It's clean, aesthetically pleasing, and there's less cutting after welting is done.

  • Respect your Time and Materials

    This is just a prototype, so it's worth emphasizing one more thing here. Learn to manage your time wisely, and above all, respect the materials. Remember that the leather is very valuable, so for this type of work, use only the worst possible pieces of the hide.

    This is just about testing ideas, so there's no point in trying too hard. Knowing how to pair time and material investment according to your goals is incredibly important.

    The toe puff before and after shaping the feather edge. I work on the underside first. The leather of the toe puff here is still thick enough to easily form a well-defined edge line.

    In the case of a real-deal pair, this line is even and razor-sharp. For that use case a thicker piece of leather is more appropriate. So you can use your shoemaker’s knife to neatly shape that stiffener after its installation.

  • Long Stiffeners/Side-Lining

    My long stiffeners are cut from templates measured to fit specific lasts. That's why my templates are carefuly marked, and the finished stiffeners fit perfectly. I usually use very thin lining leather. I glue them skived to nothing already using water-based glue directly onto the lining. After the uppers have been removed from the last. Right after the initial lasting process.

    There are relatively few rules. They should go fairly deep under the heel counter and at least seven millimeters under the toe puff. They should be glued evenly along the entire length of the lining, at a height of about thirty-five millimeters. The pre-formed upper itself indicates how they should be glued. There should be no creases or wrinkles.

    The amount of excess under the last doesn't really matter. I add about twelve millimeters there.

  • A blog post coming soon.

    I've already planned a post in the "Thoughts & Prayers" page on this very topic. I'll talk through the entire process in more detail there. Here, I have presented only the basics of stiffener installation.

    Like with any other shoe construction element, everything matters. The key is to ensure that, when properly installed, they don't visually reveal their existence in the finished shoe.