About the Importance of Stiffeners
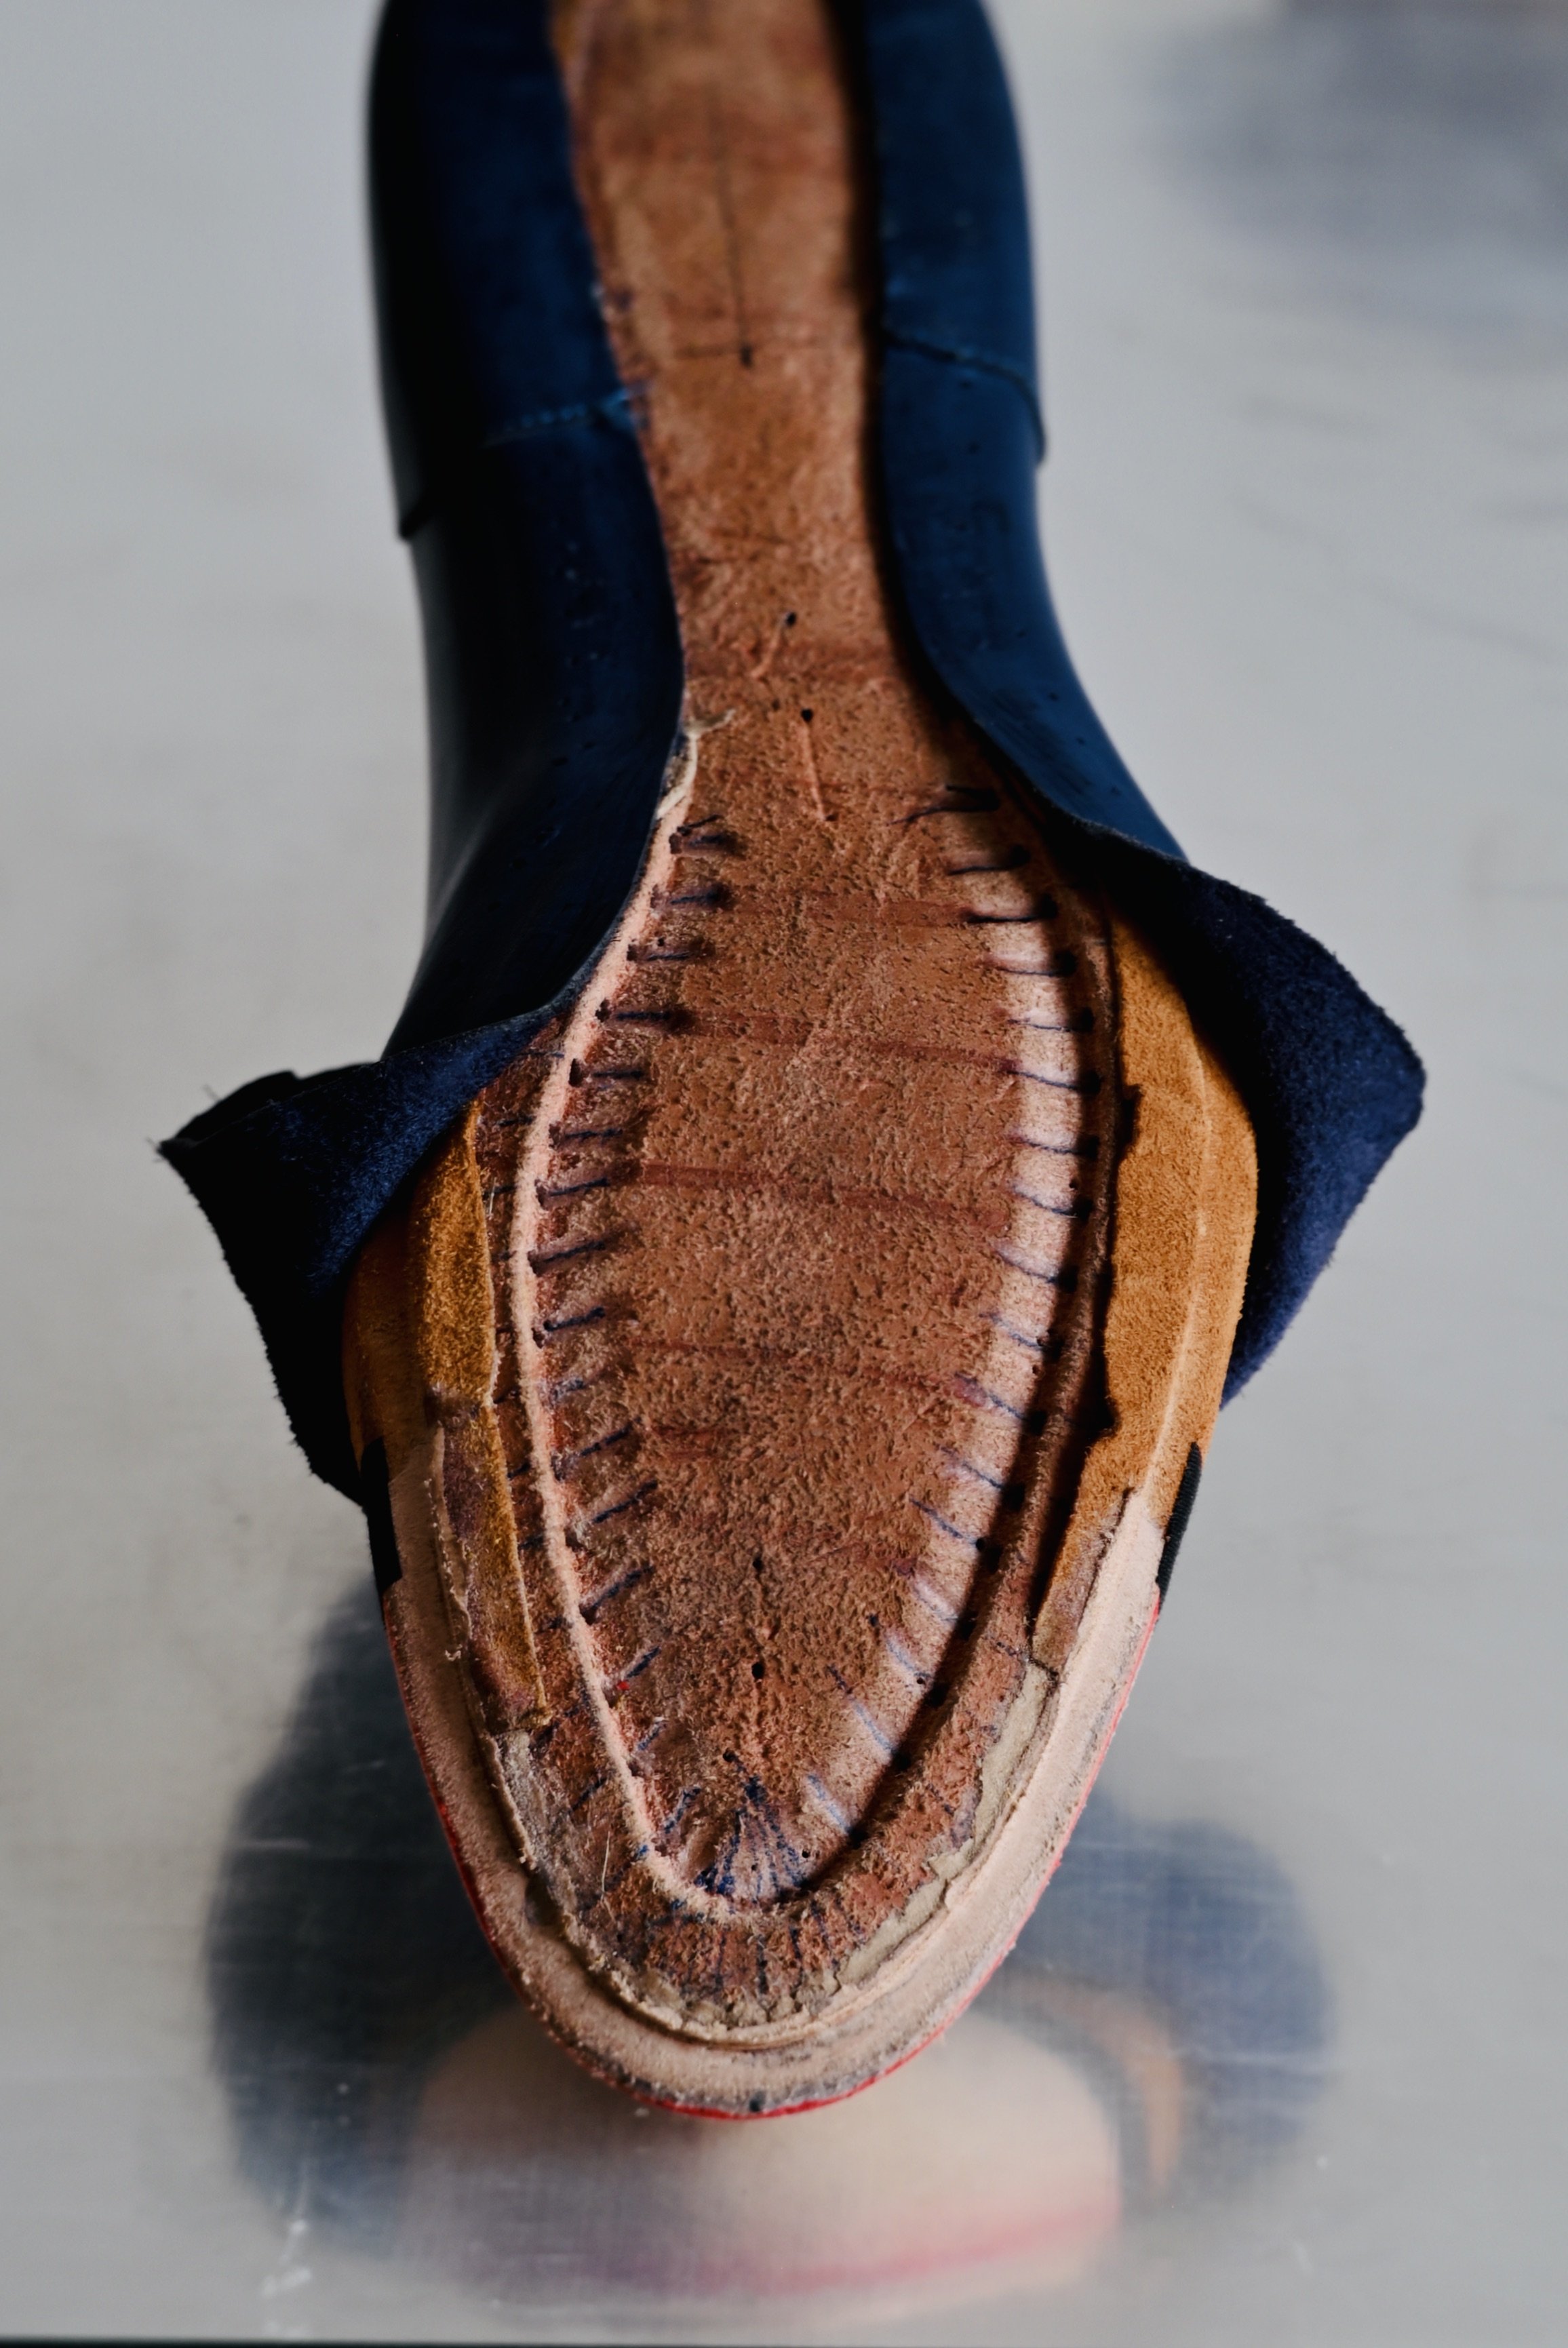
The bottom of the toe puff is already fitted and ready for the welt to be sewn in. The long stiffeners are very thin and will be cut along with the upper.
To properly assess the level of sophisticated methods and extensive experience in installing stiffeners correctly, you need to hold the shoes up to the light. If the uppers visual does not reveal any internal stiffening, you can tell the difference in quality of shoes. It took a lot of trial and error, but I finally learned how to do these things well.
Generally speaking, the technique boils down to the correct degree of skiving. This applies especially to toe puffs and heel counters. It takes some time to understand where and to what extent it should be delicate and thin, and where it should be solid and substantial.
In my practice, I've also developed an element of desire for extremely sharp edges, as I'm looking for a very specific effect of a smooth transition between the upper and sole elements. Particularly when designing heel profiles.
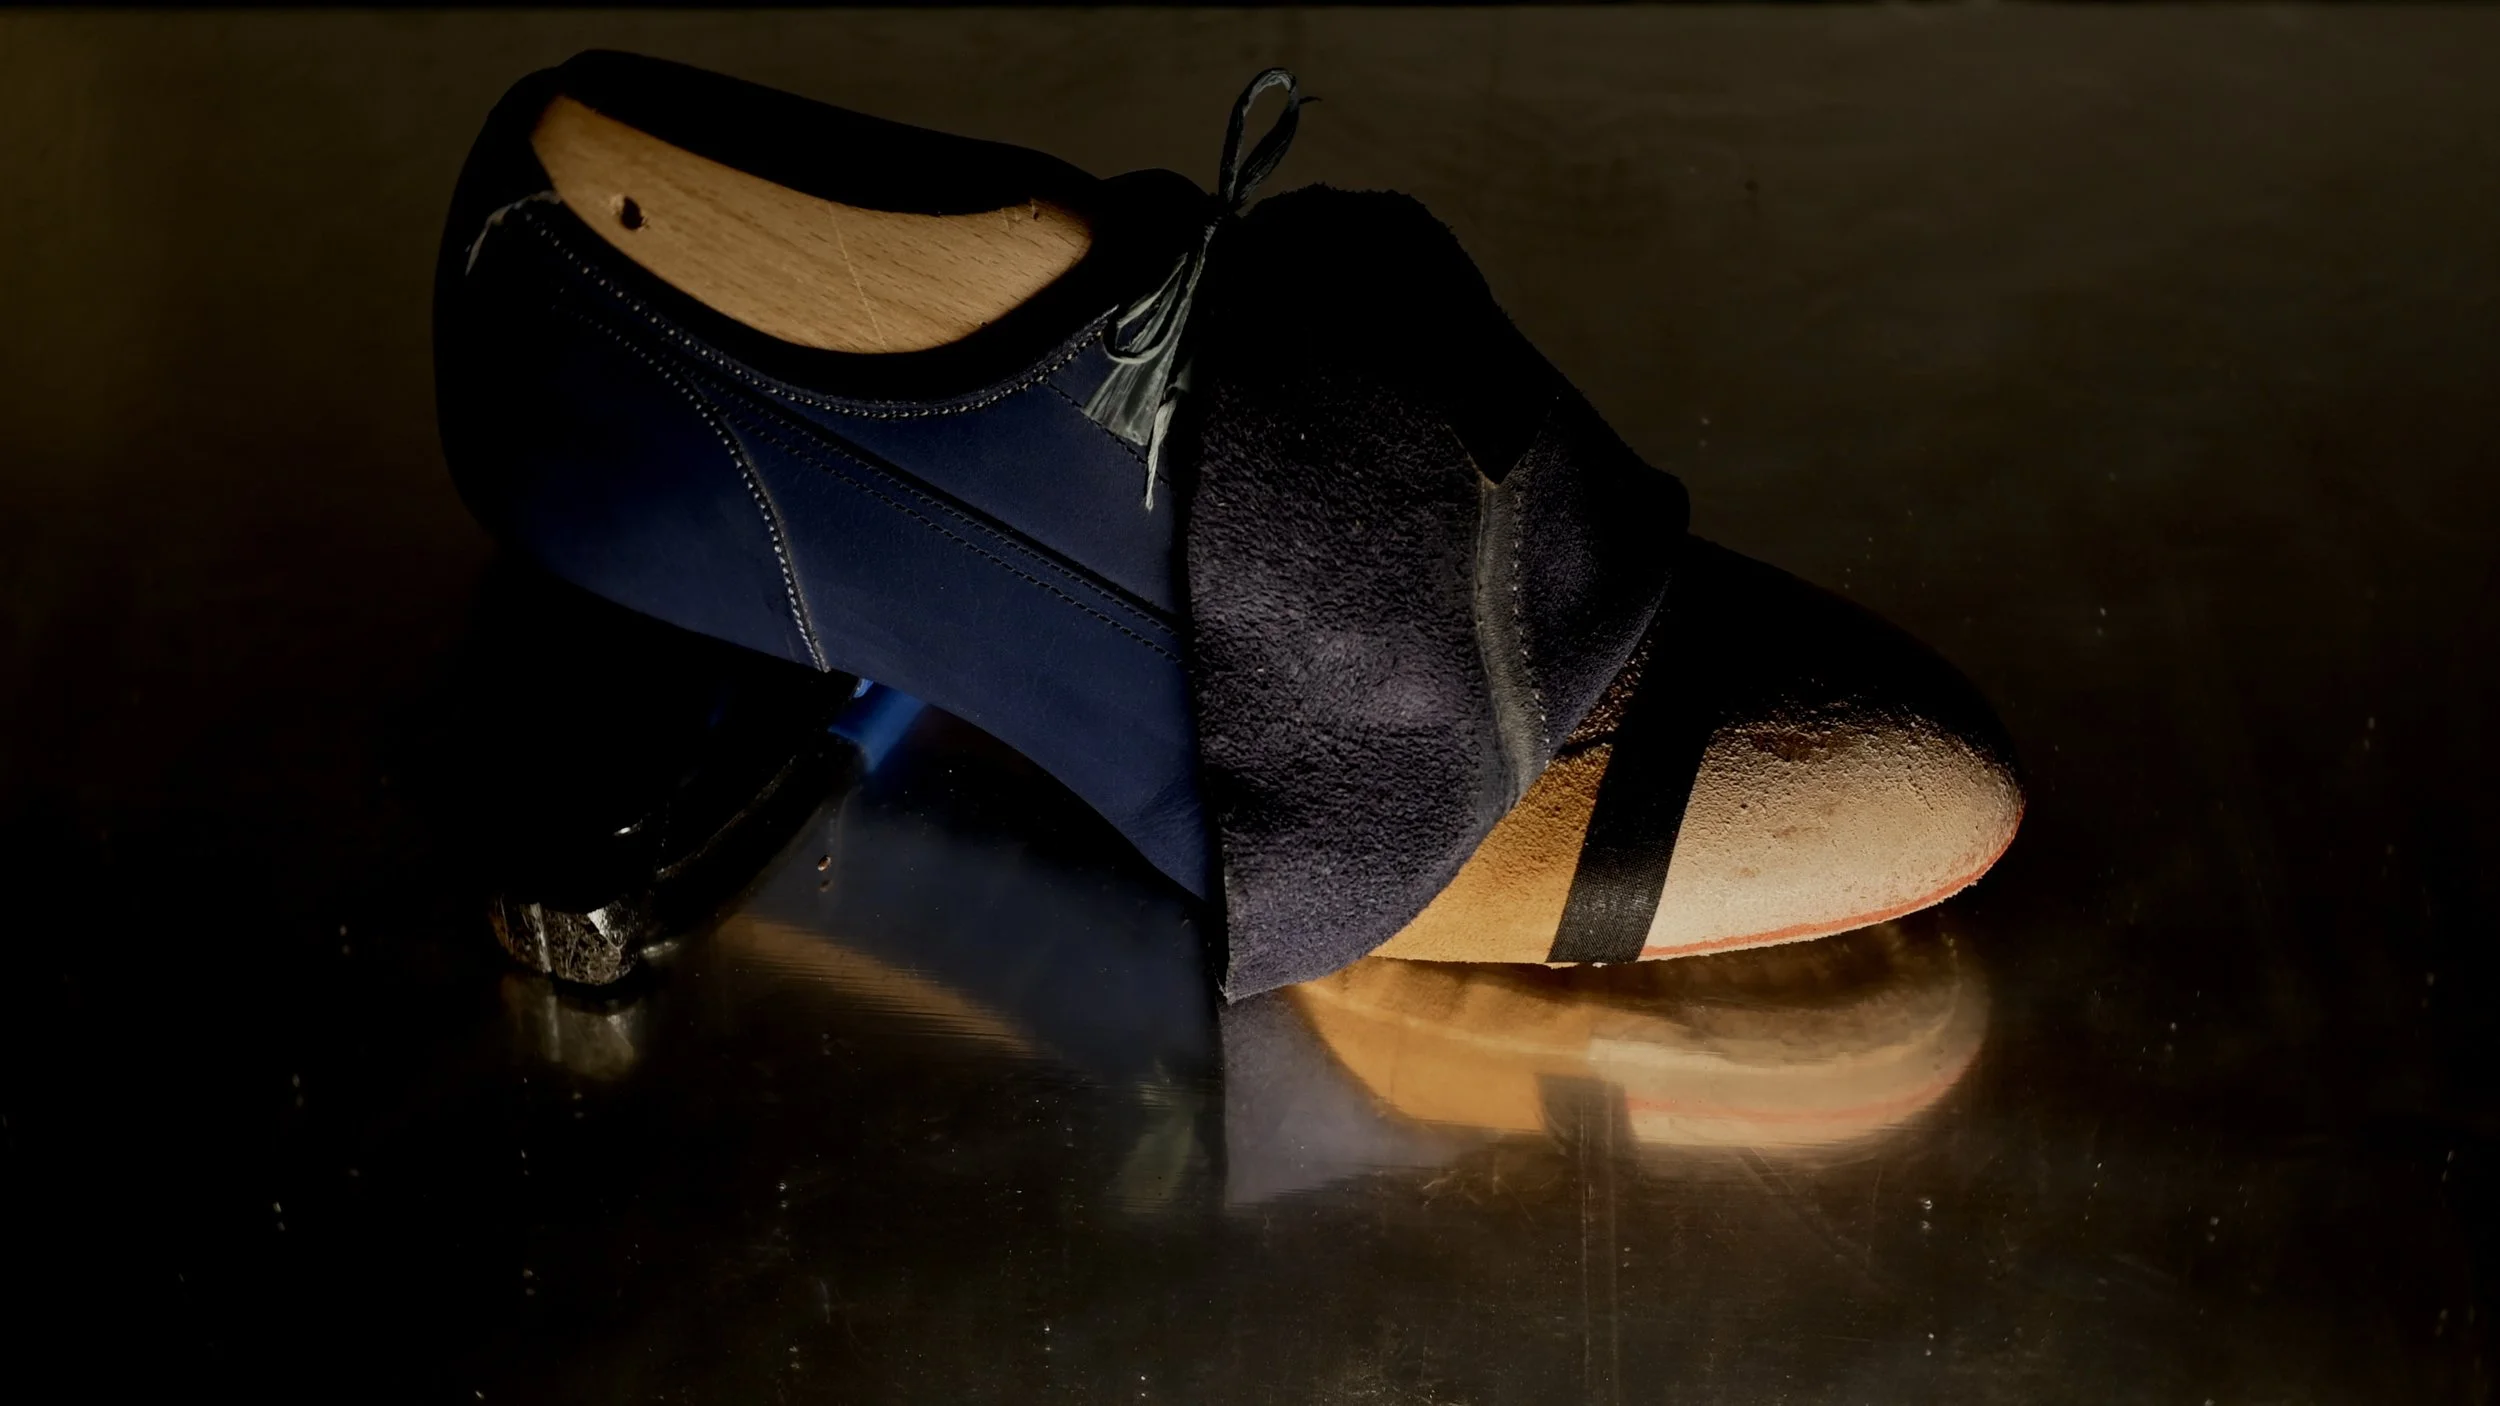
Toe puff and side-linings installed. Ready for welting!
This is a detail I'll continue to work on. I want to make this a defining element of my shoemaking style.
In addition to skiving, it's also crucial to thoroughly hammer the leather fibers before shaping the elements into their final shape on the last. Not only because you can see the leather itself taking on the desired shape, but also for purely practical reasons.
Such prepared toe puffs and heel counters guarantee durability for the entire life of a pair of shoes.
Therefore, for the production of stiffeners, you’ll always need: a shoemaker's knife to skive the leather, a glass to remove the top grain part, and a hammer to squeeze the leather fibers together for increased durability.
For the toe puffs and heel stiffeners, I use only hard shoulders of a cowhide. The stiffer and denser the fibers, the better. The best material for these elements is one that can barely be bent between the fingers. To install those in place I use my favorite Hirschkleber exclusevely. This glue works best in this case because it creates a hard bond that, once dry, perfectly holds the parts together, making them even harder due to its natural formula.
Additional information includes: special attention paid to the surface texture of the stiffeners and the protective measures I use to avoid unpleasant surprises when assembling the parts.
The surface of the heel counter remains slightly rough. The glue tightly fills these minor scratches, ensuring the stiffener is sufficiently strong. Leather prepared in this way also reduces its tendency to crack and make squeaky sounds while walking. Because the leather of the upper is not subject to any particular stress in this area, this specific texture allows the heel counter to be firmly seated in place.
I install those in two stages. First, I get them in place, gluing only the outer surface of the stiffener. This allows the lining to remain completely loose and can be precisely positioned on the inner part of the heel counter. I then do the lasting job, paying attention to all its elements, as re-lasting will repeat any possible errors at this point.
Once dry, I remove the upper from the last. I fold up the lining, and make sure that the edges of the heel counter are exactly where I want them. Next, I glue the inner part of the counter to the lining and I do lasting job for a second time, this time generously dusting the upper and last with talcum powder.
The toe puff is tightly pressed between the lining and the upper, so I pay special attention to the smoothness of its surface. Not to mention my meticulous work on skiving this structural element. Any imperfections at this stage will be double-times more visible in the finished shoe.
While I'm at it, I seal the gap between the lining and the upper with masking tape, thus preventing the ingress of debris and dust that inevitably arise during the toe puff installation process. Once finished, I remove the tape. This leaves a clean and safe environment for the final assembly stage.
The only tape remaining inside is the one glued to the edge of the toe puff where it meets the lining. Traditionally, this is done with a strip of newspaper, but I also experimented with masking tape, and that worked well too. This tape further smooths the transition between the elements, making that forced transition invisible at the toe of the finished shoe.
In "Part Three" of the "Tutorials", I showed you the basics of assembly. This is more or less how it works with me in practice, although I didn't share all of my production secrets there. This post should give you a slightly clearer idea of the whole process, though.